
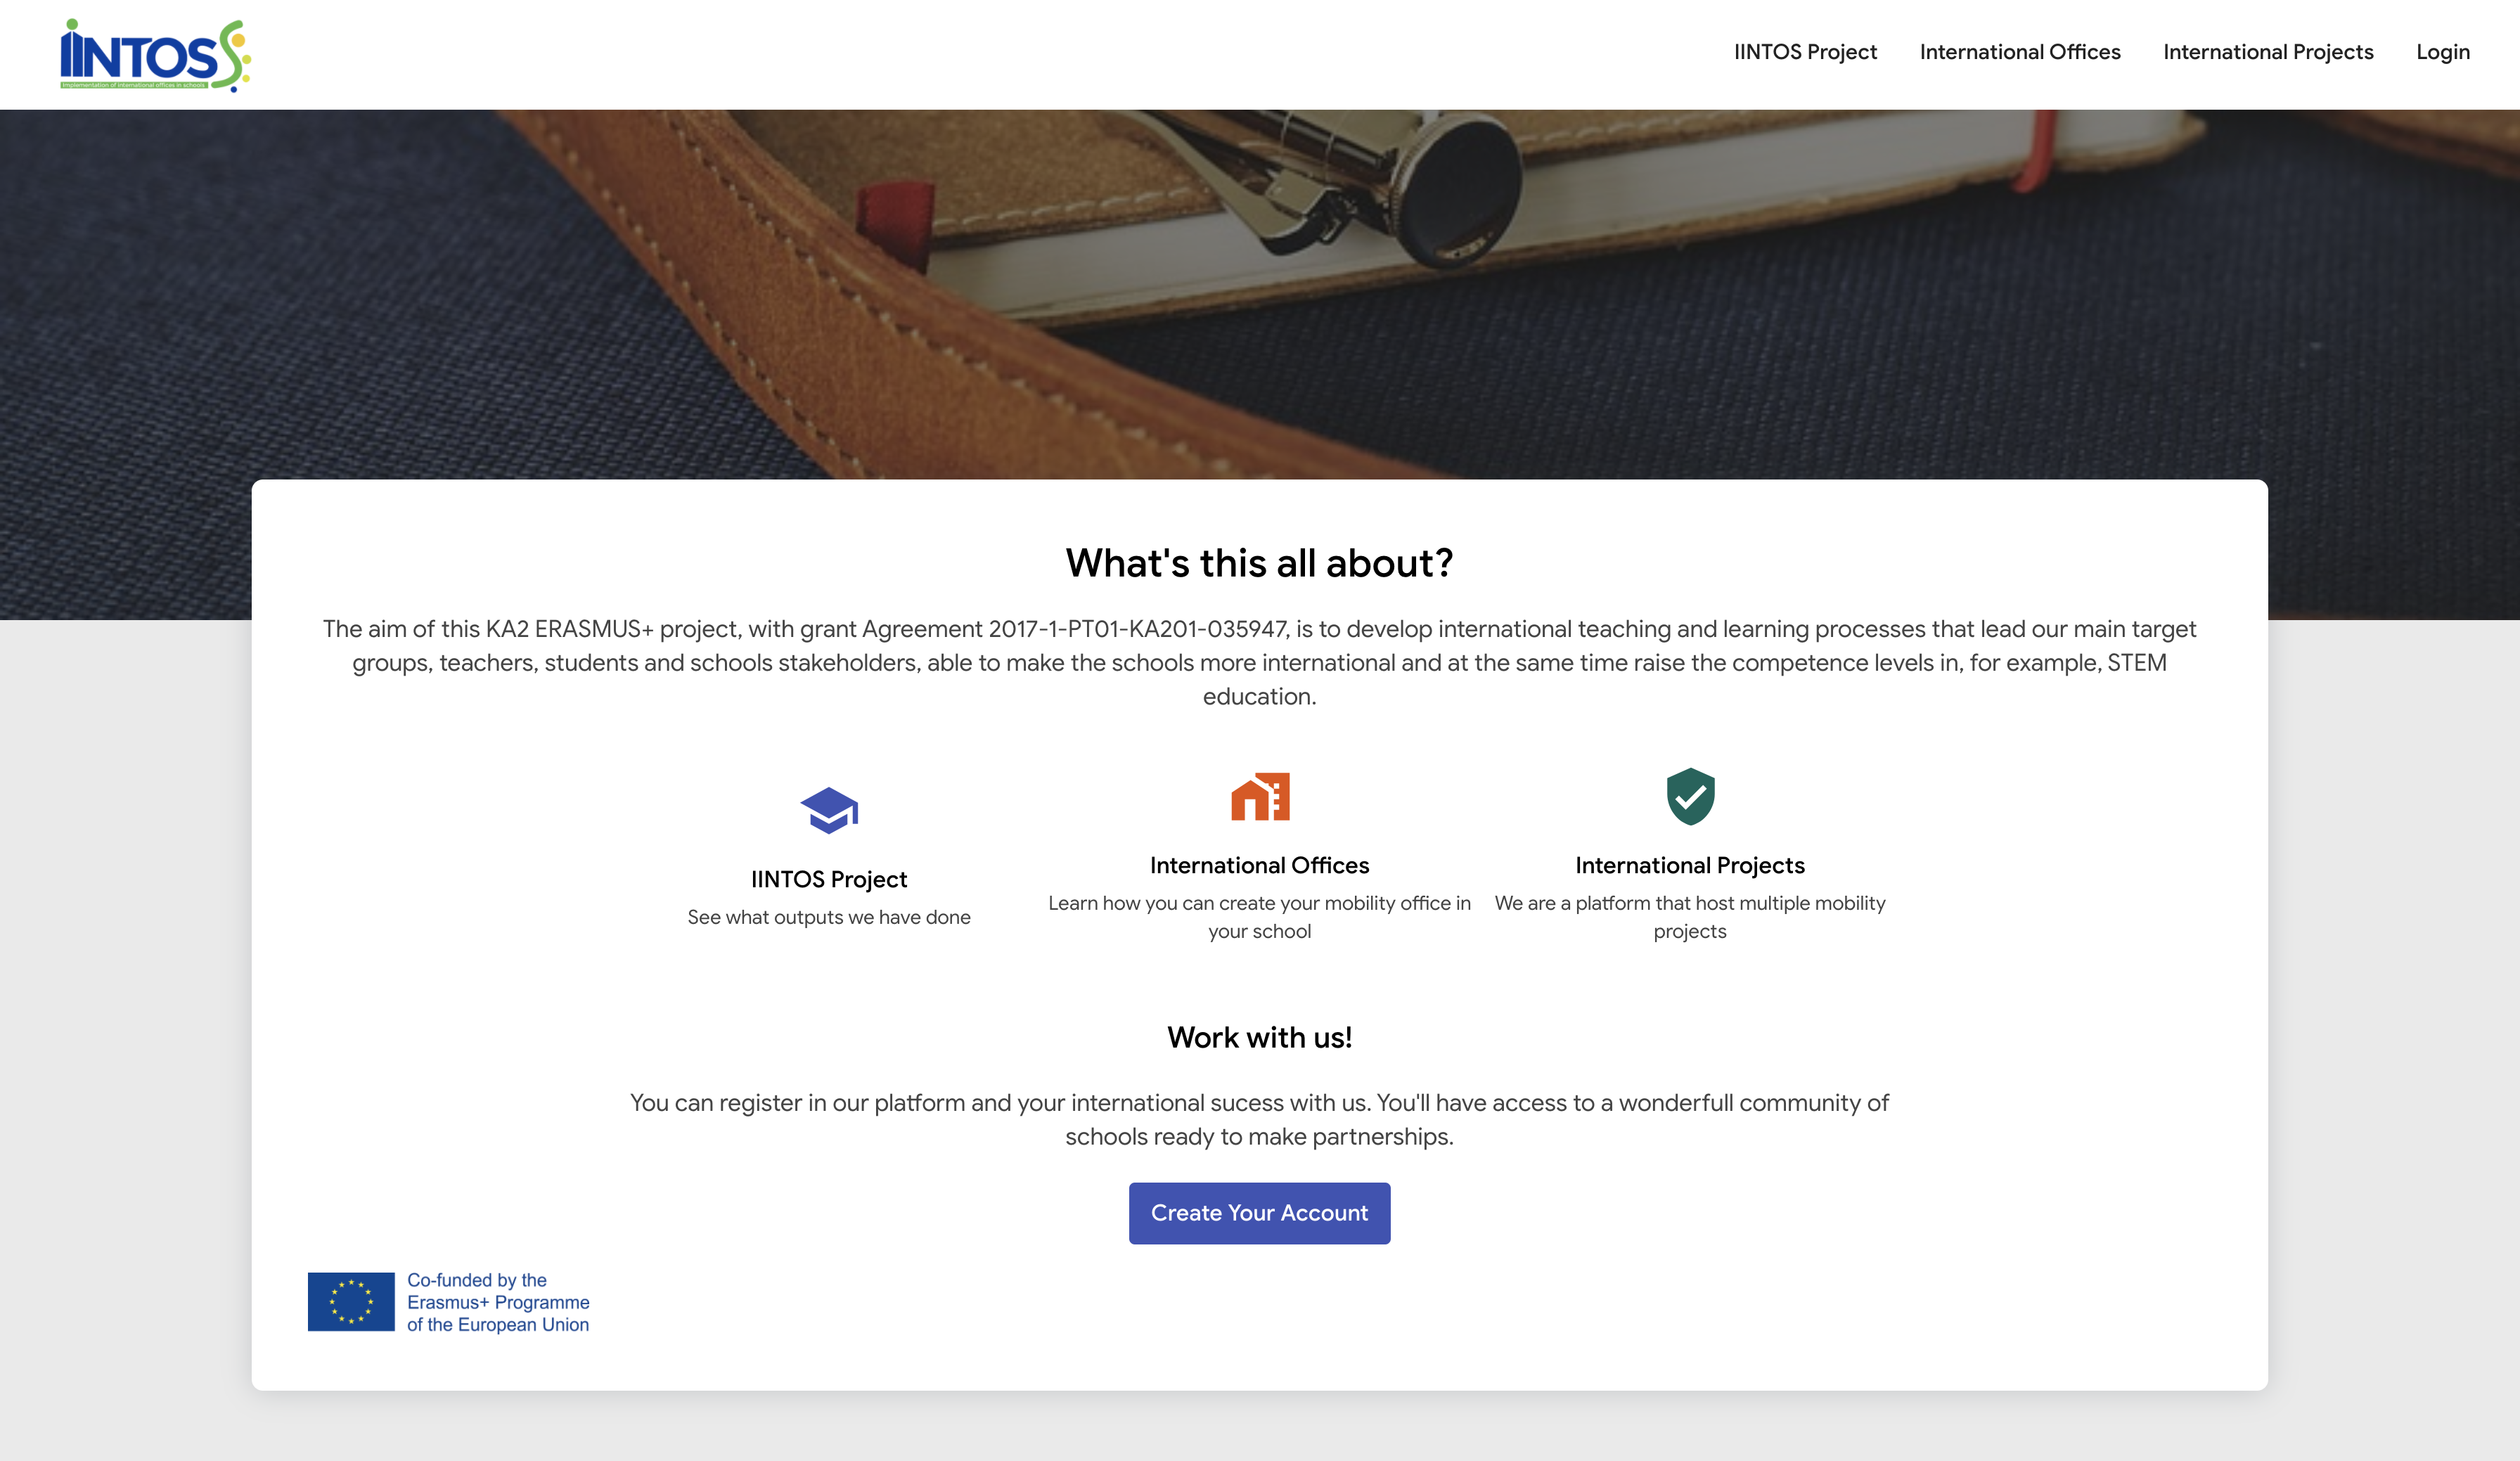
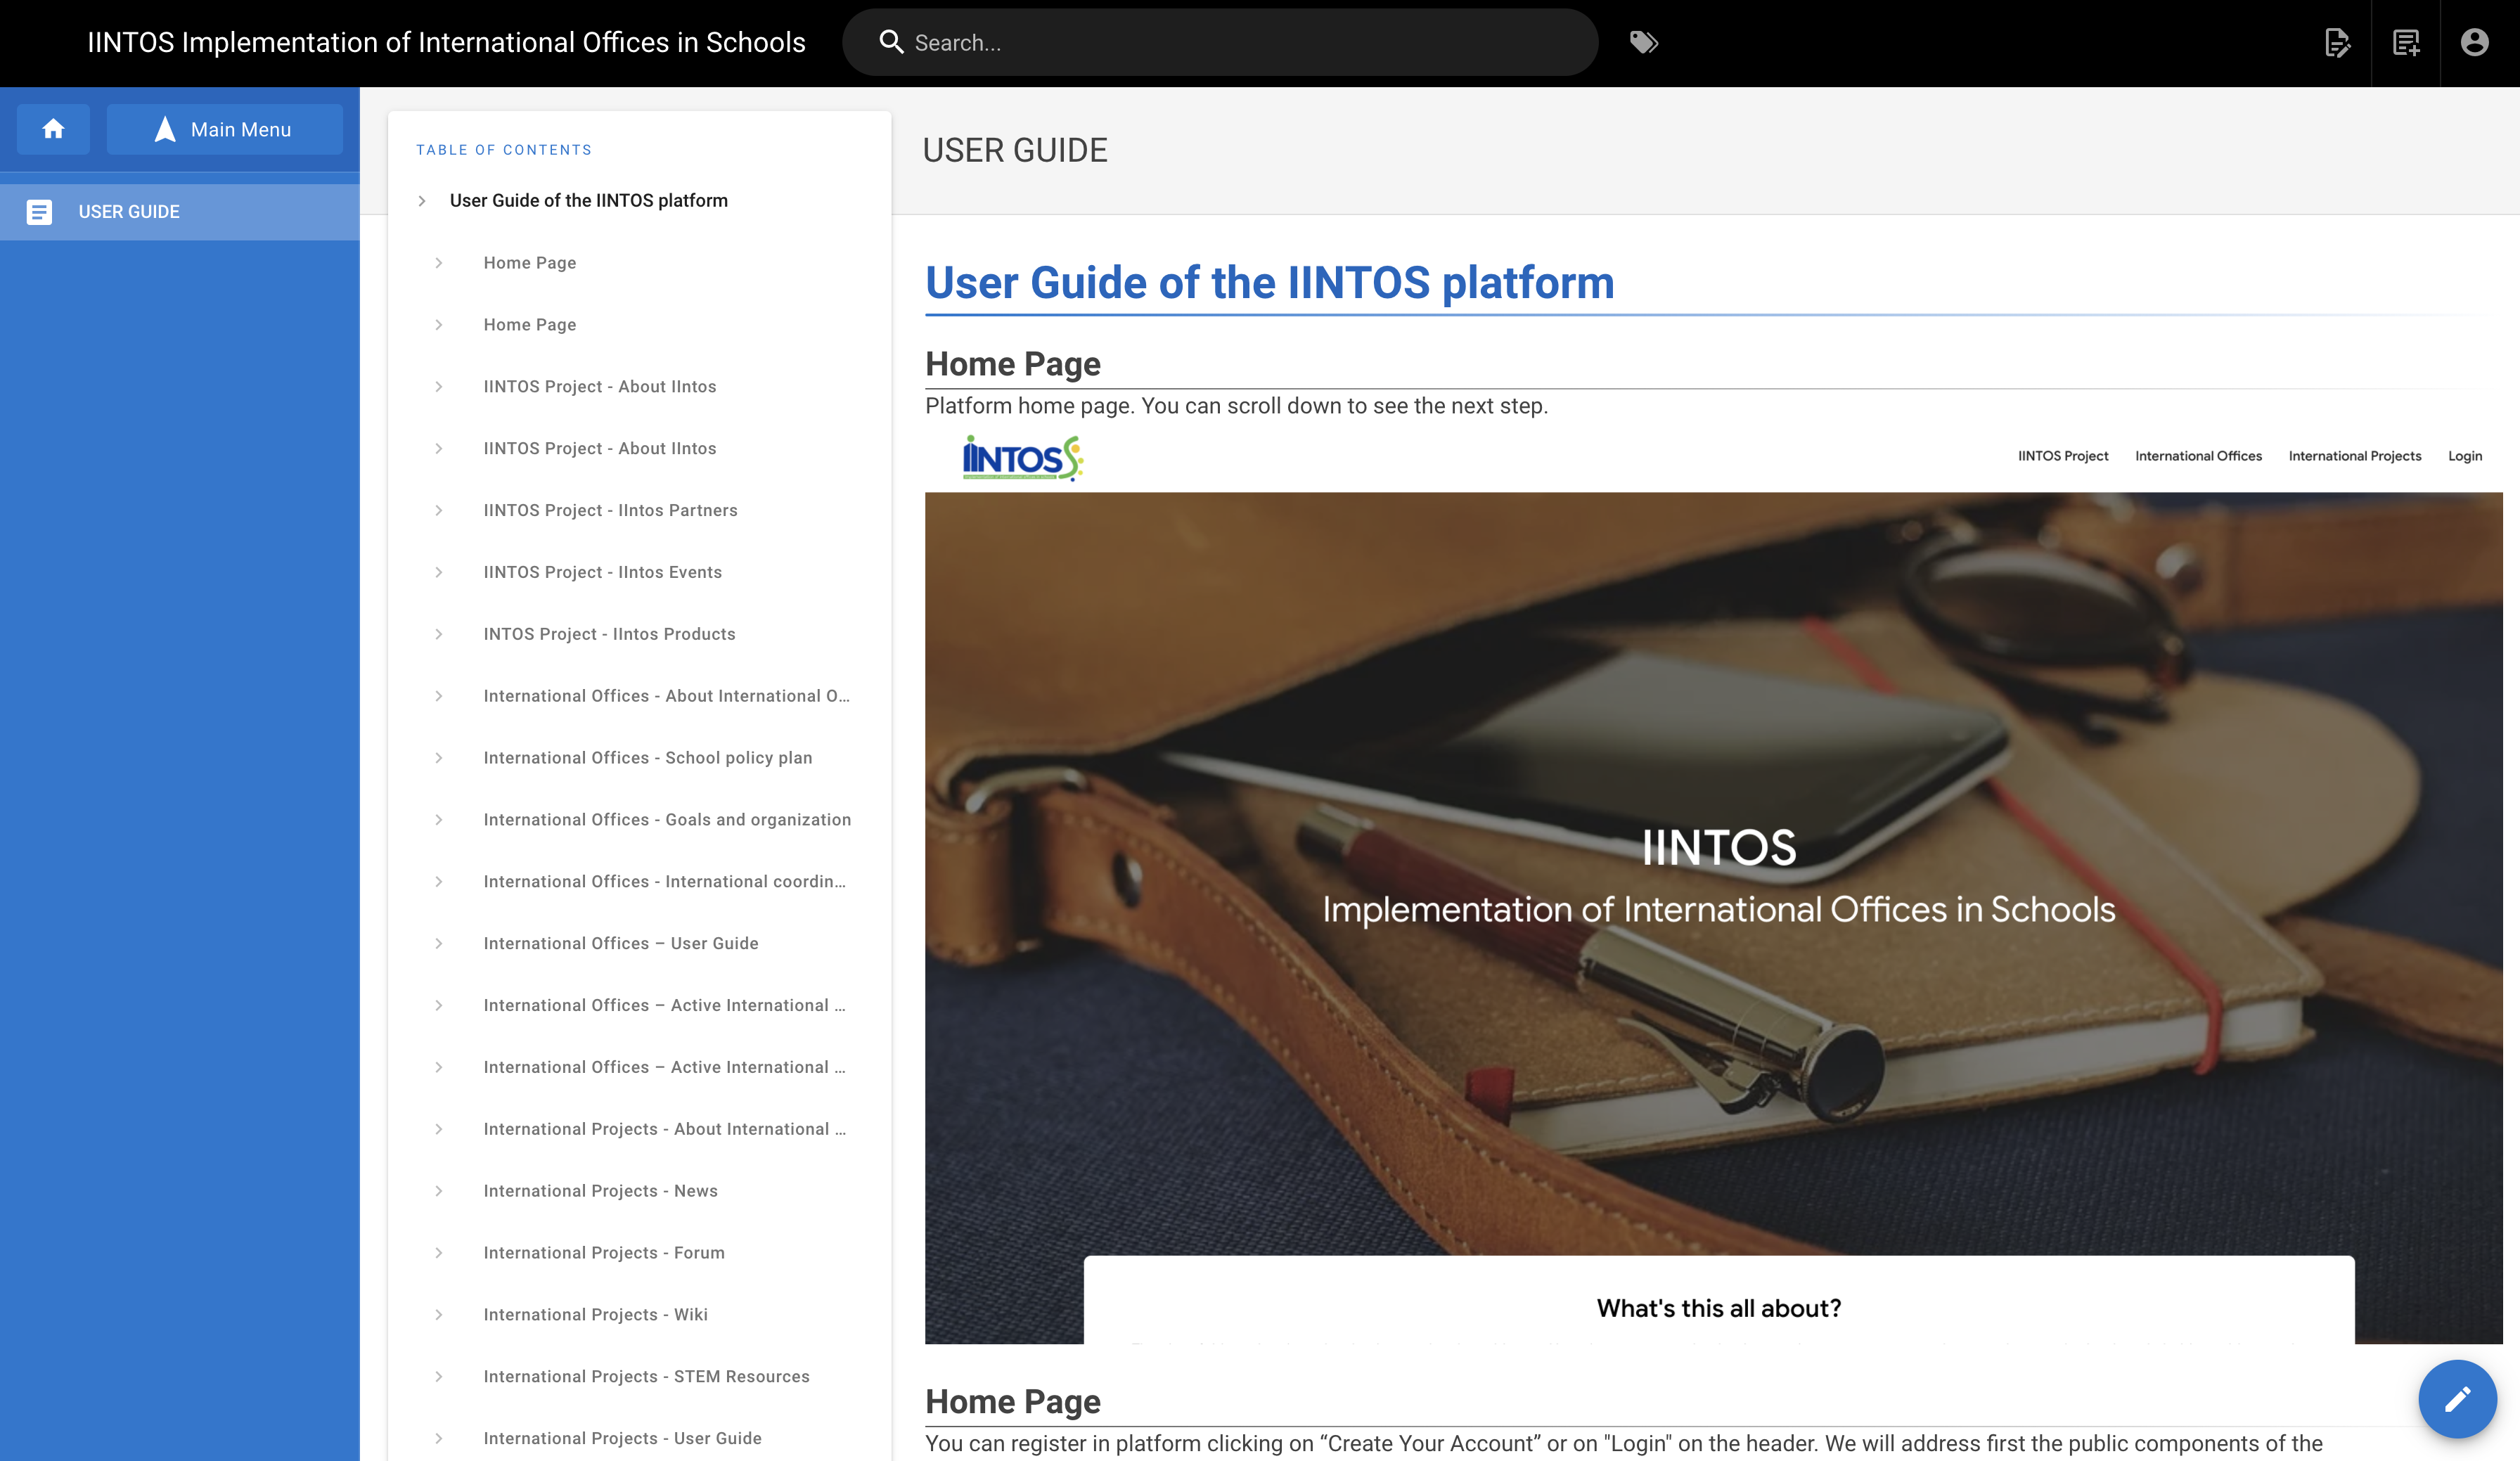
¶ Home Page
Platform home page. You can scroll down to see the next step.
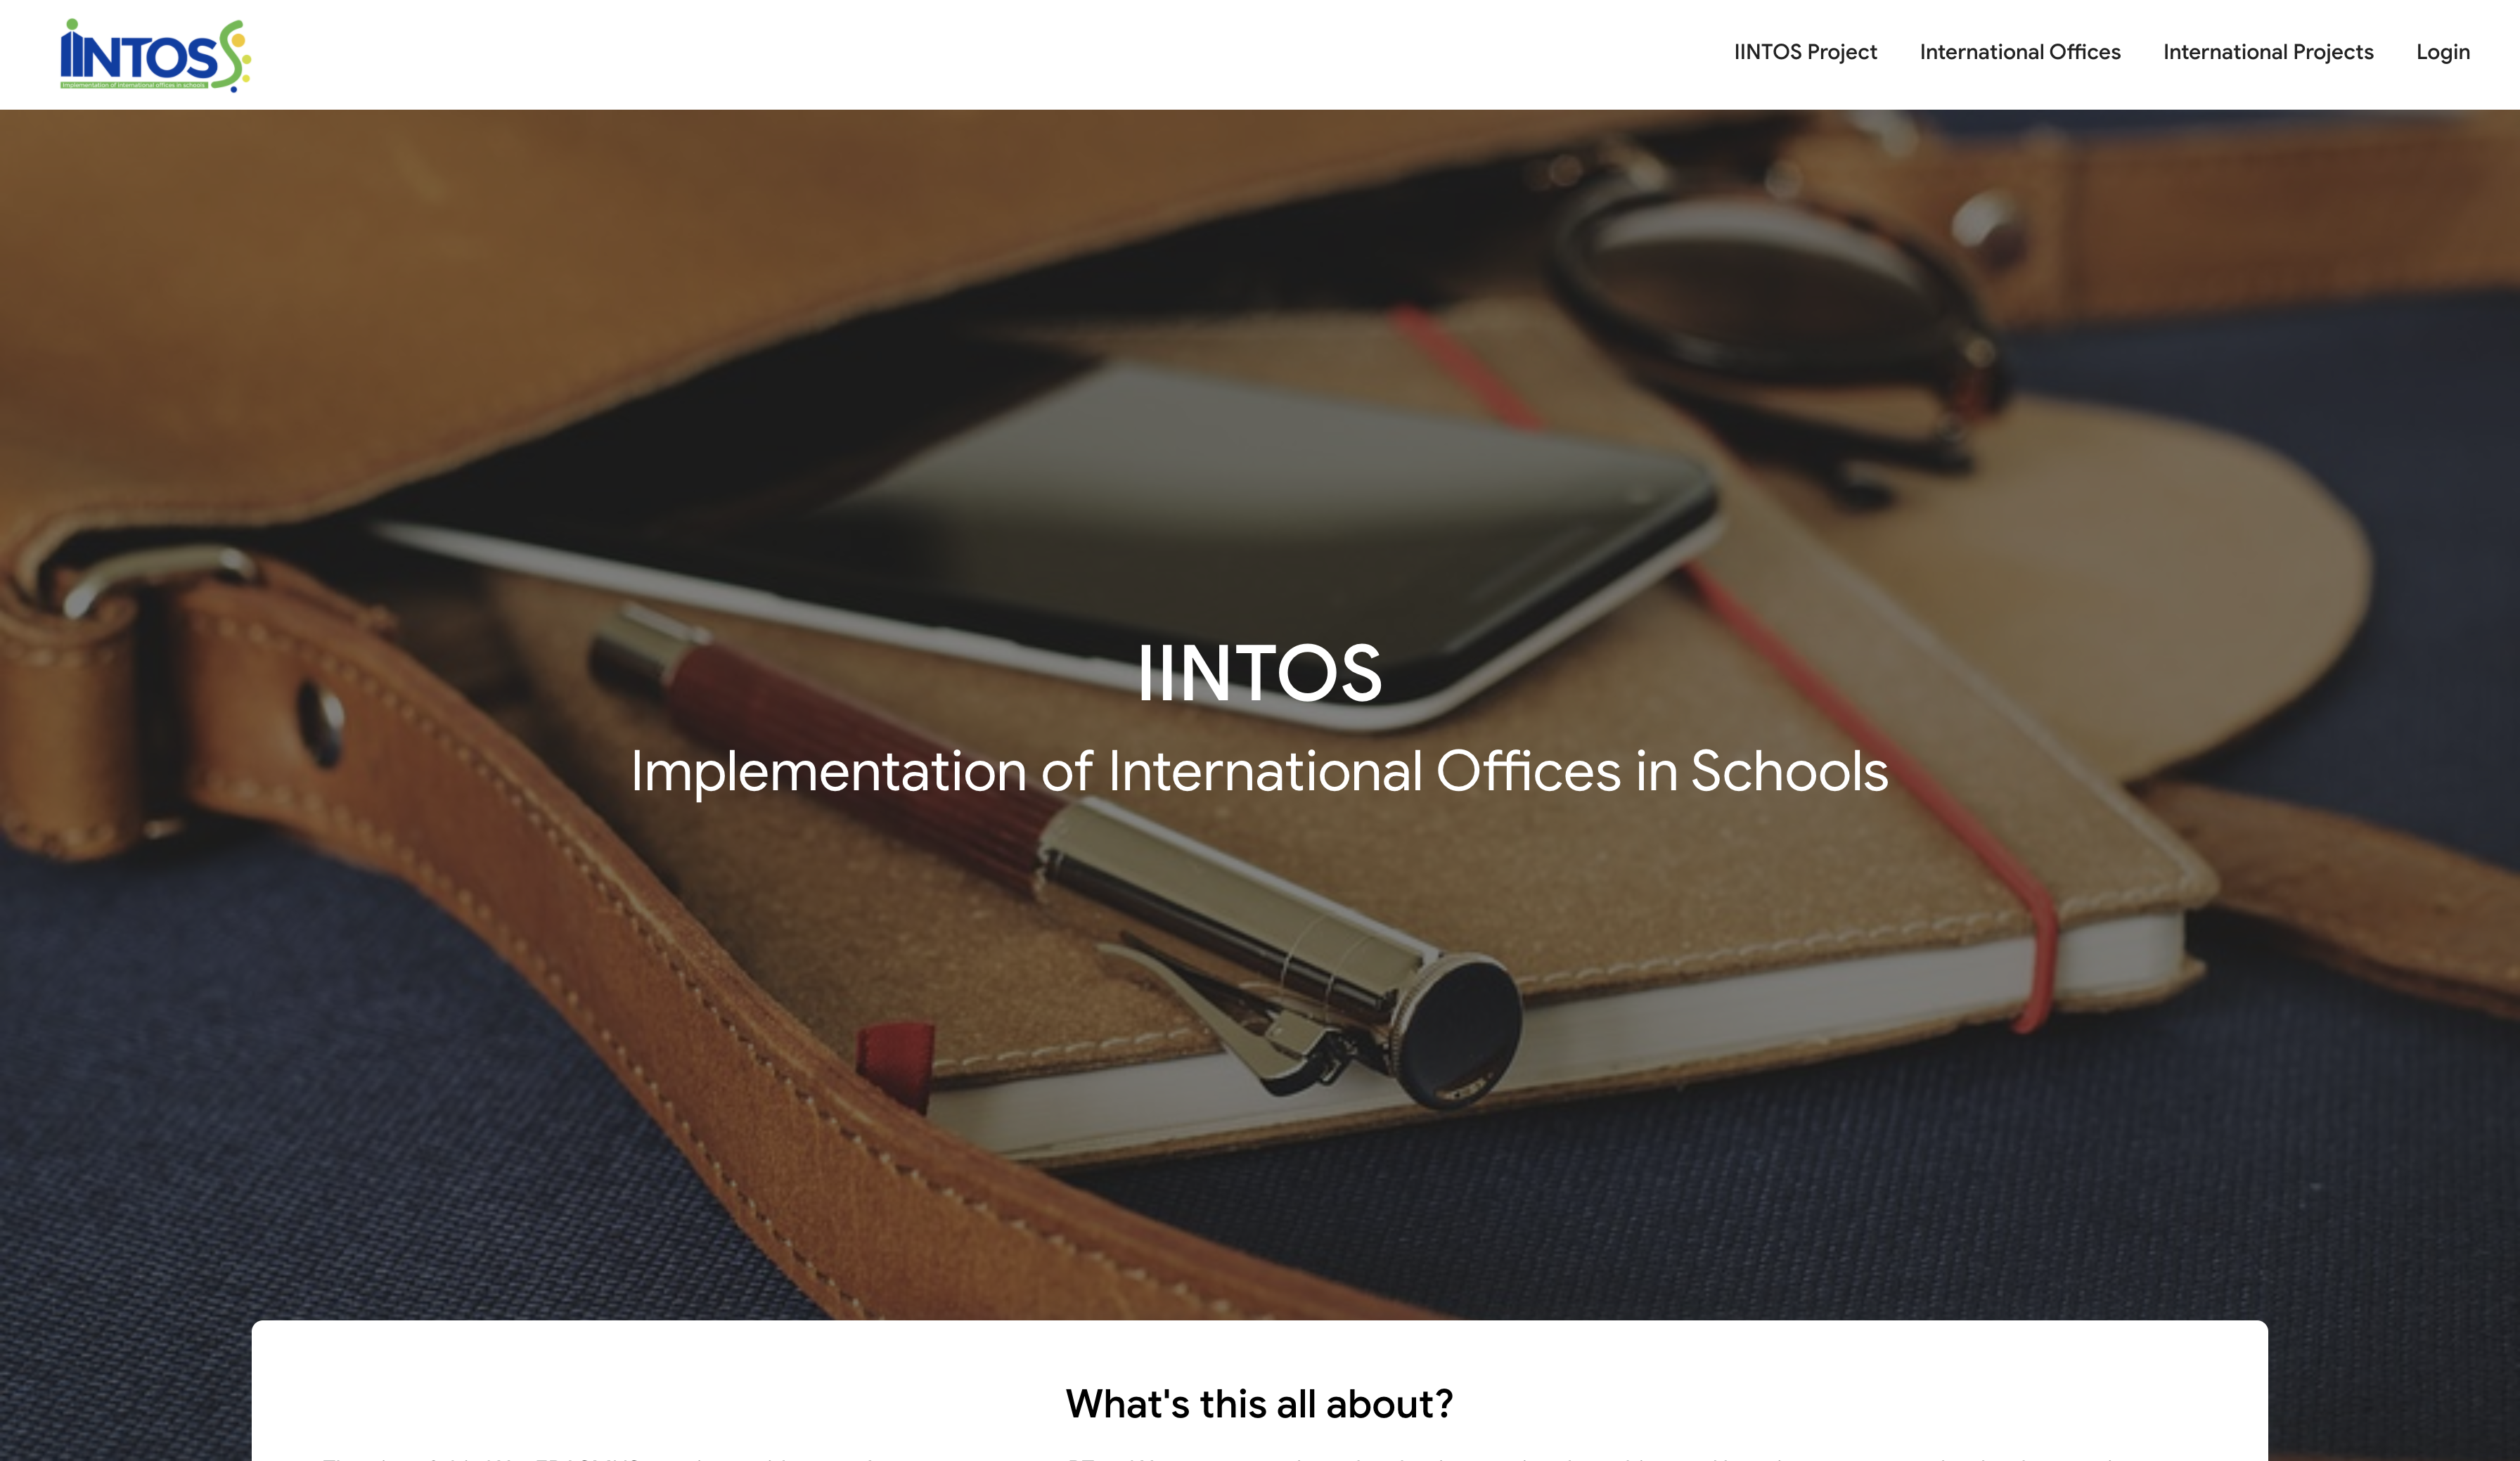
¶ Home Page
You can register in platform clicking on “Create Your Account” or on "Login" on the header. We will address first the public components of the platform and later we will continue with the part that needs a registration to access.
¶ IINTOS Project - About IIntos
When selecting the option “IINTOS Project” in the header, you will see the page with information about the IINTOS project.
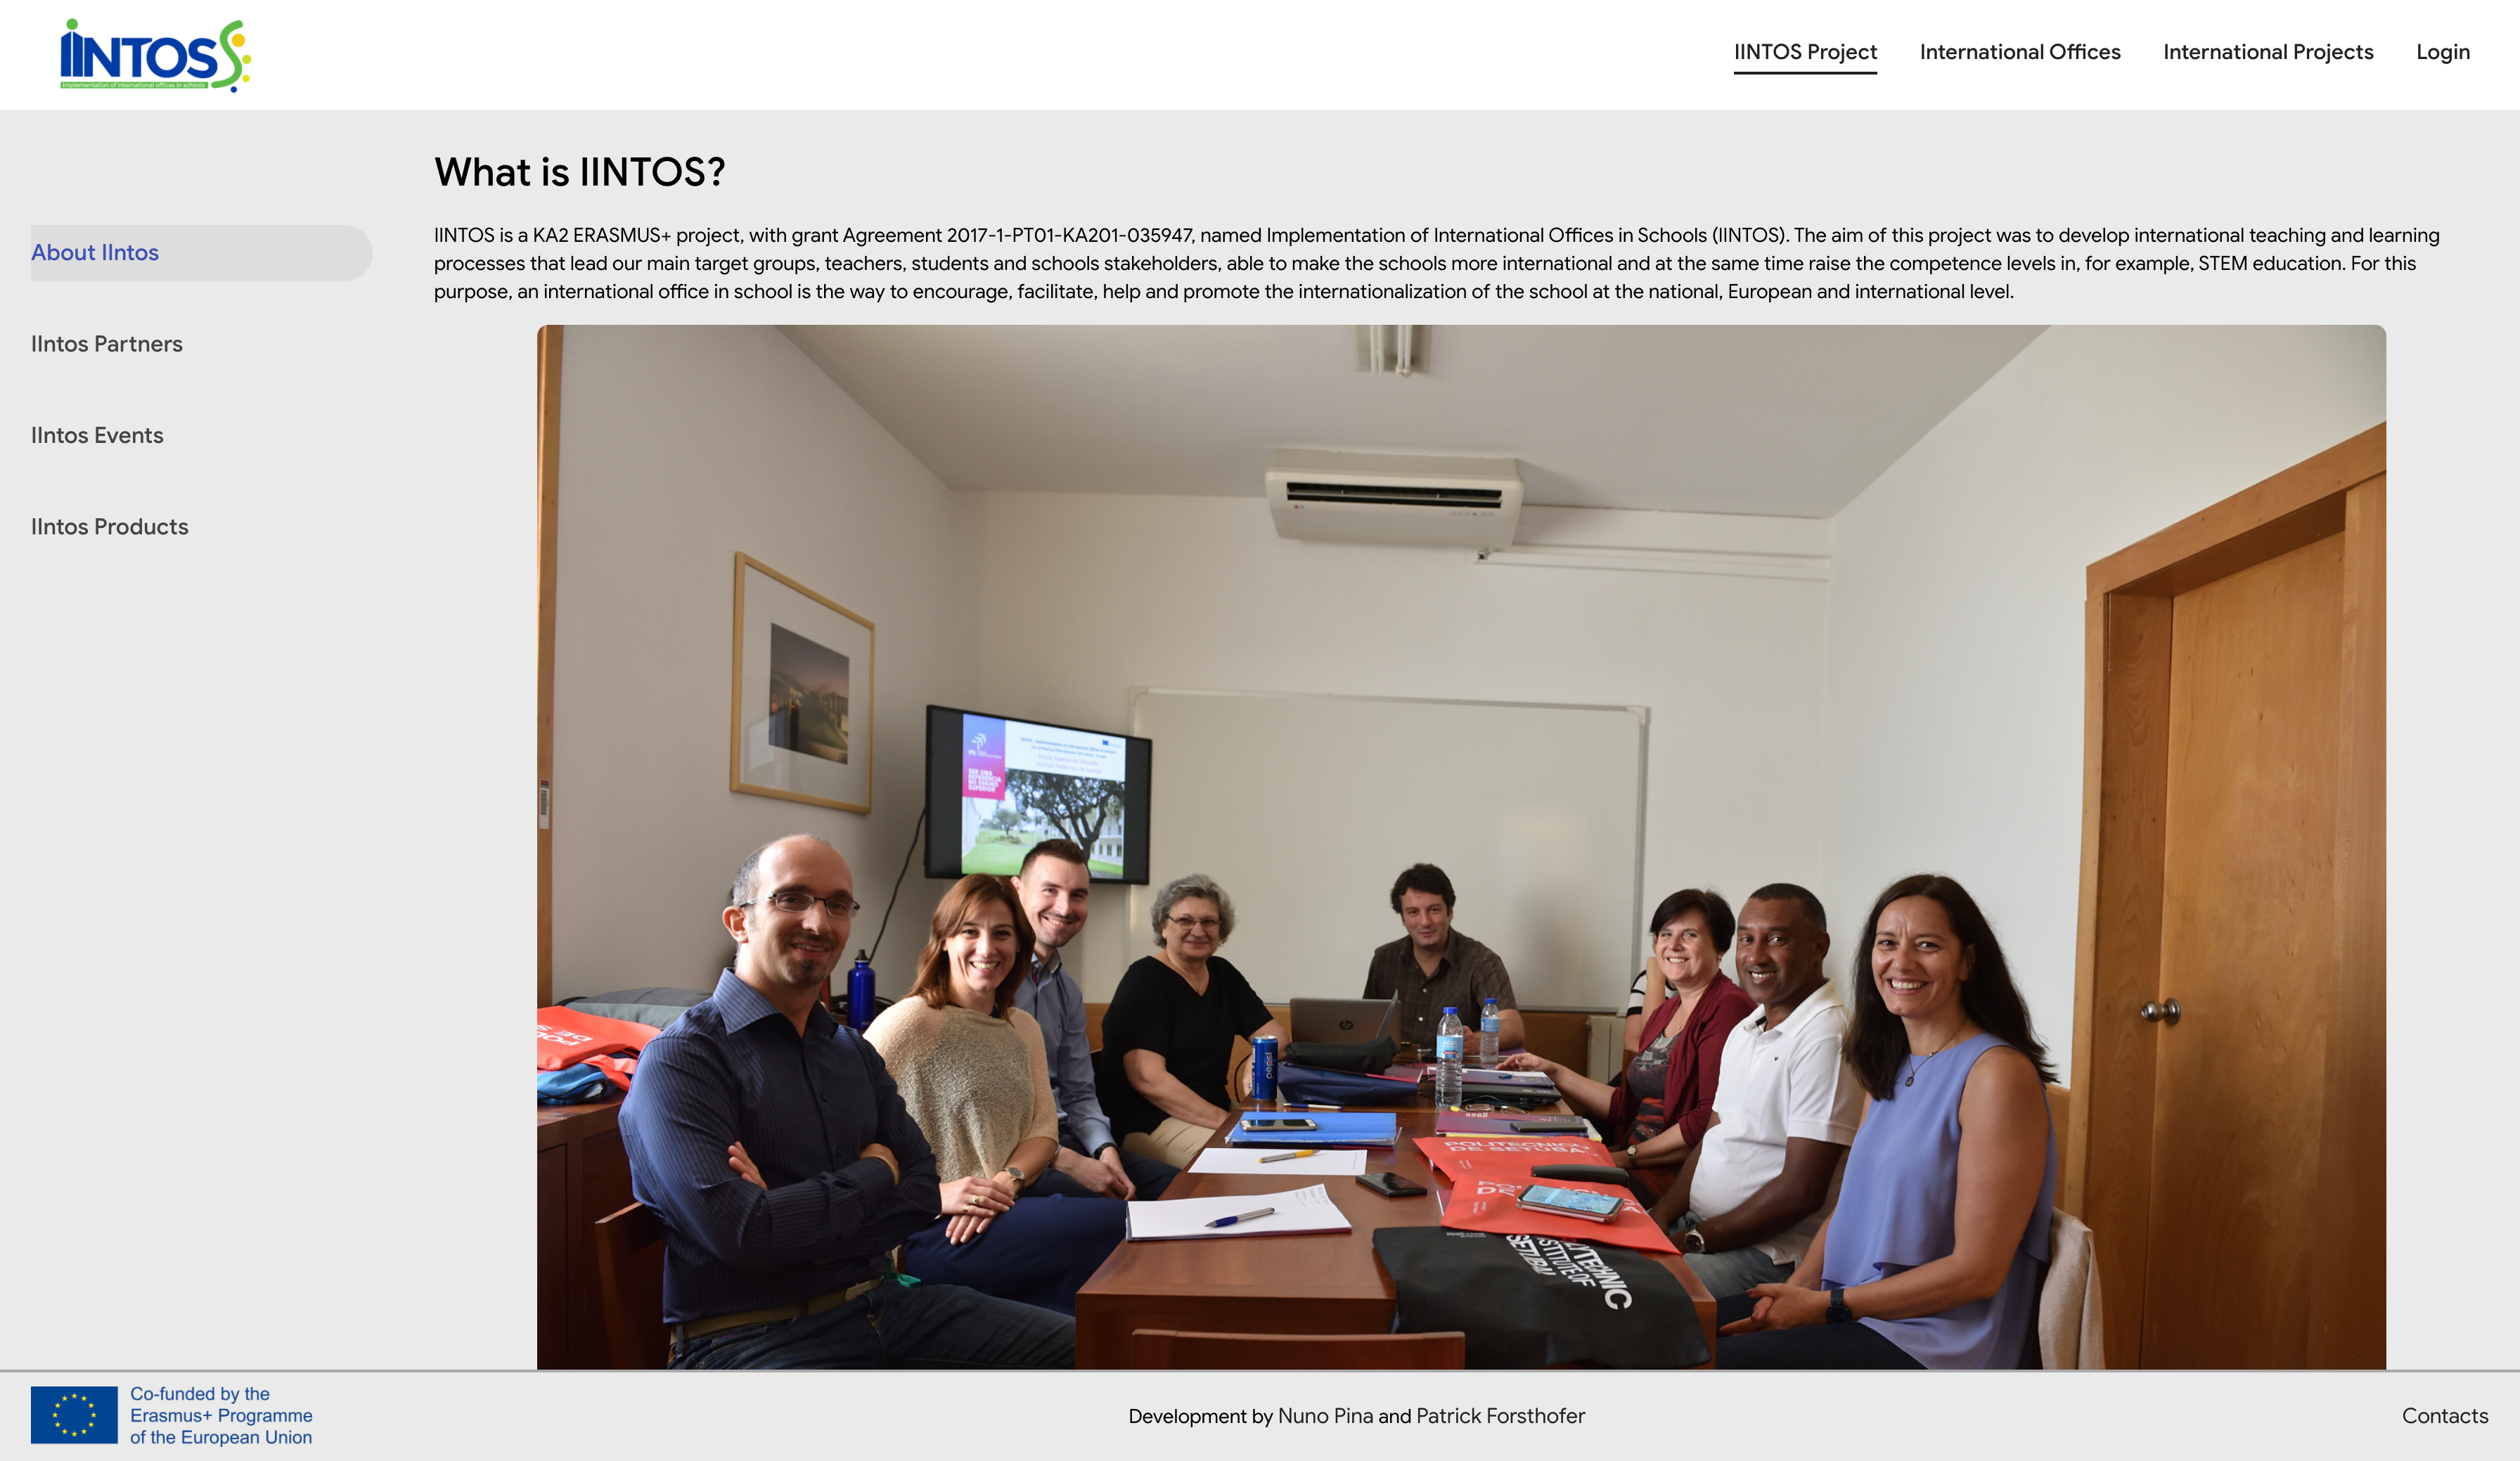
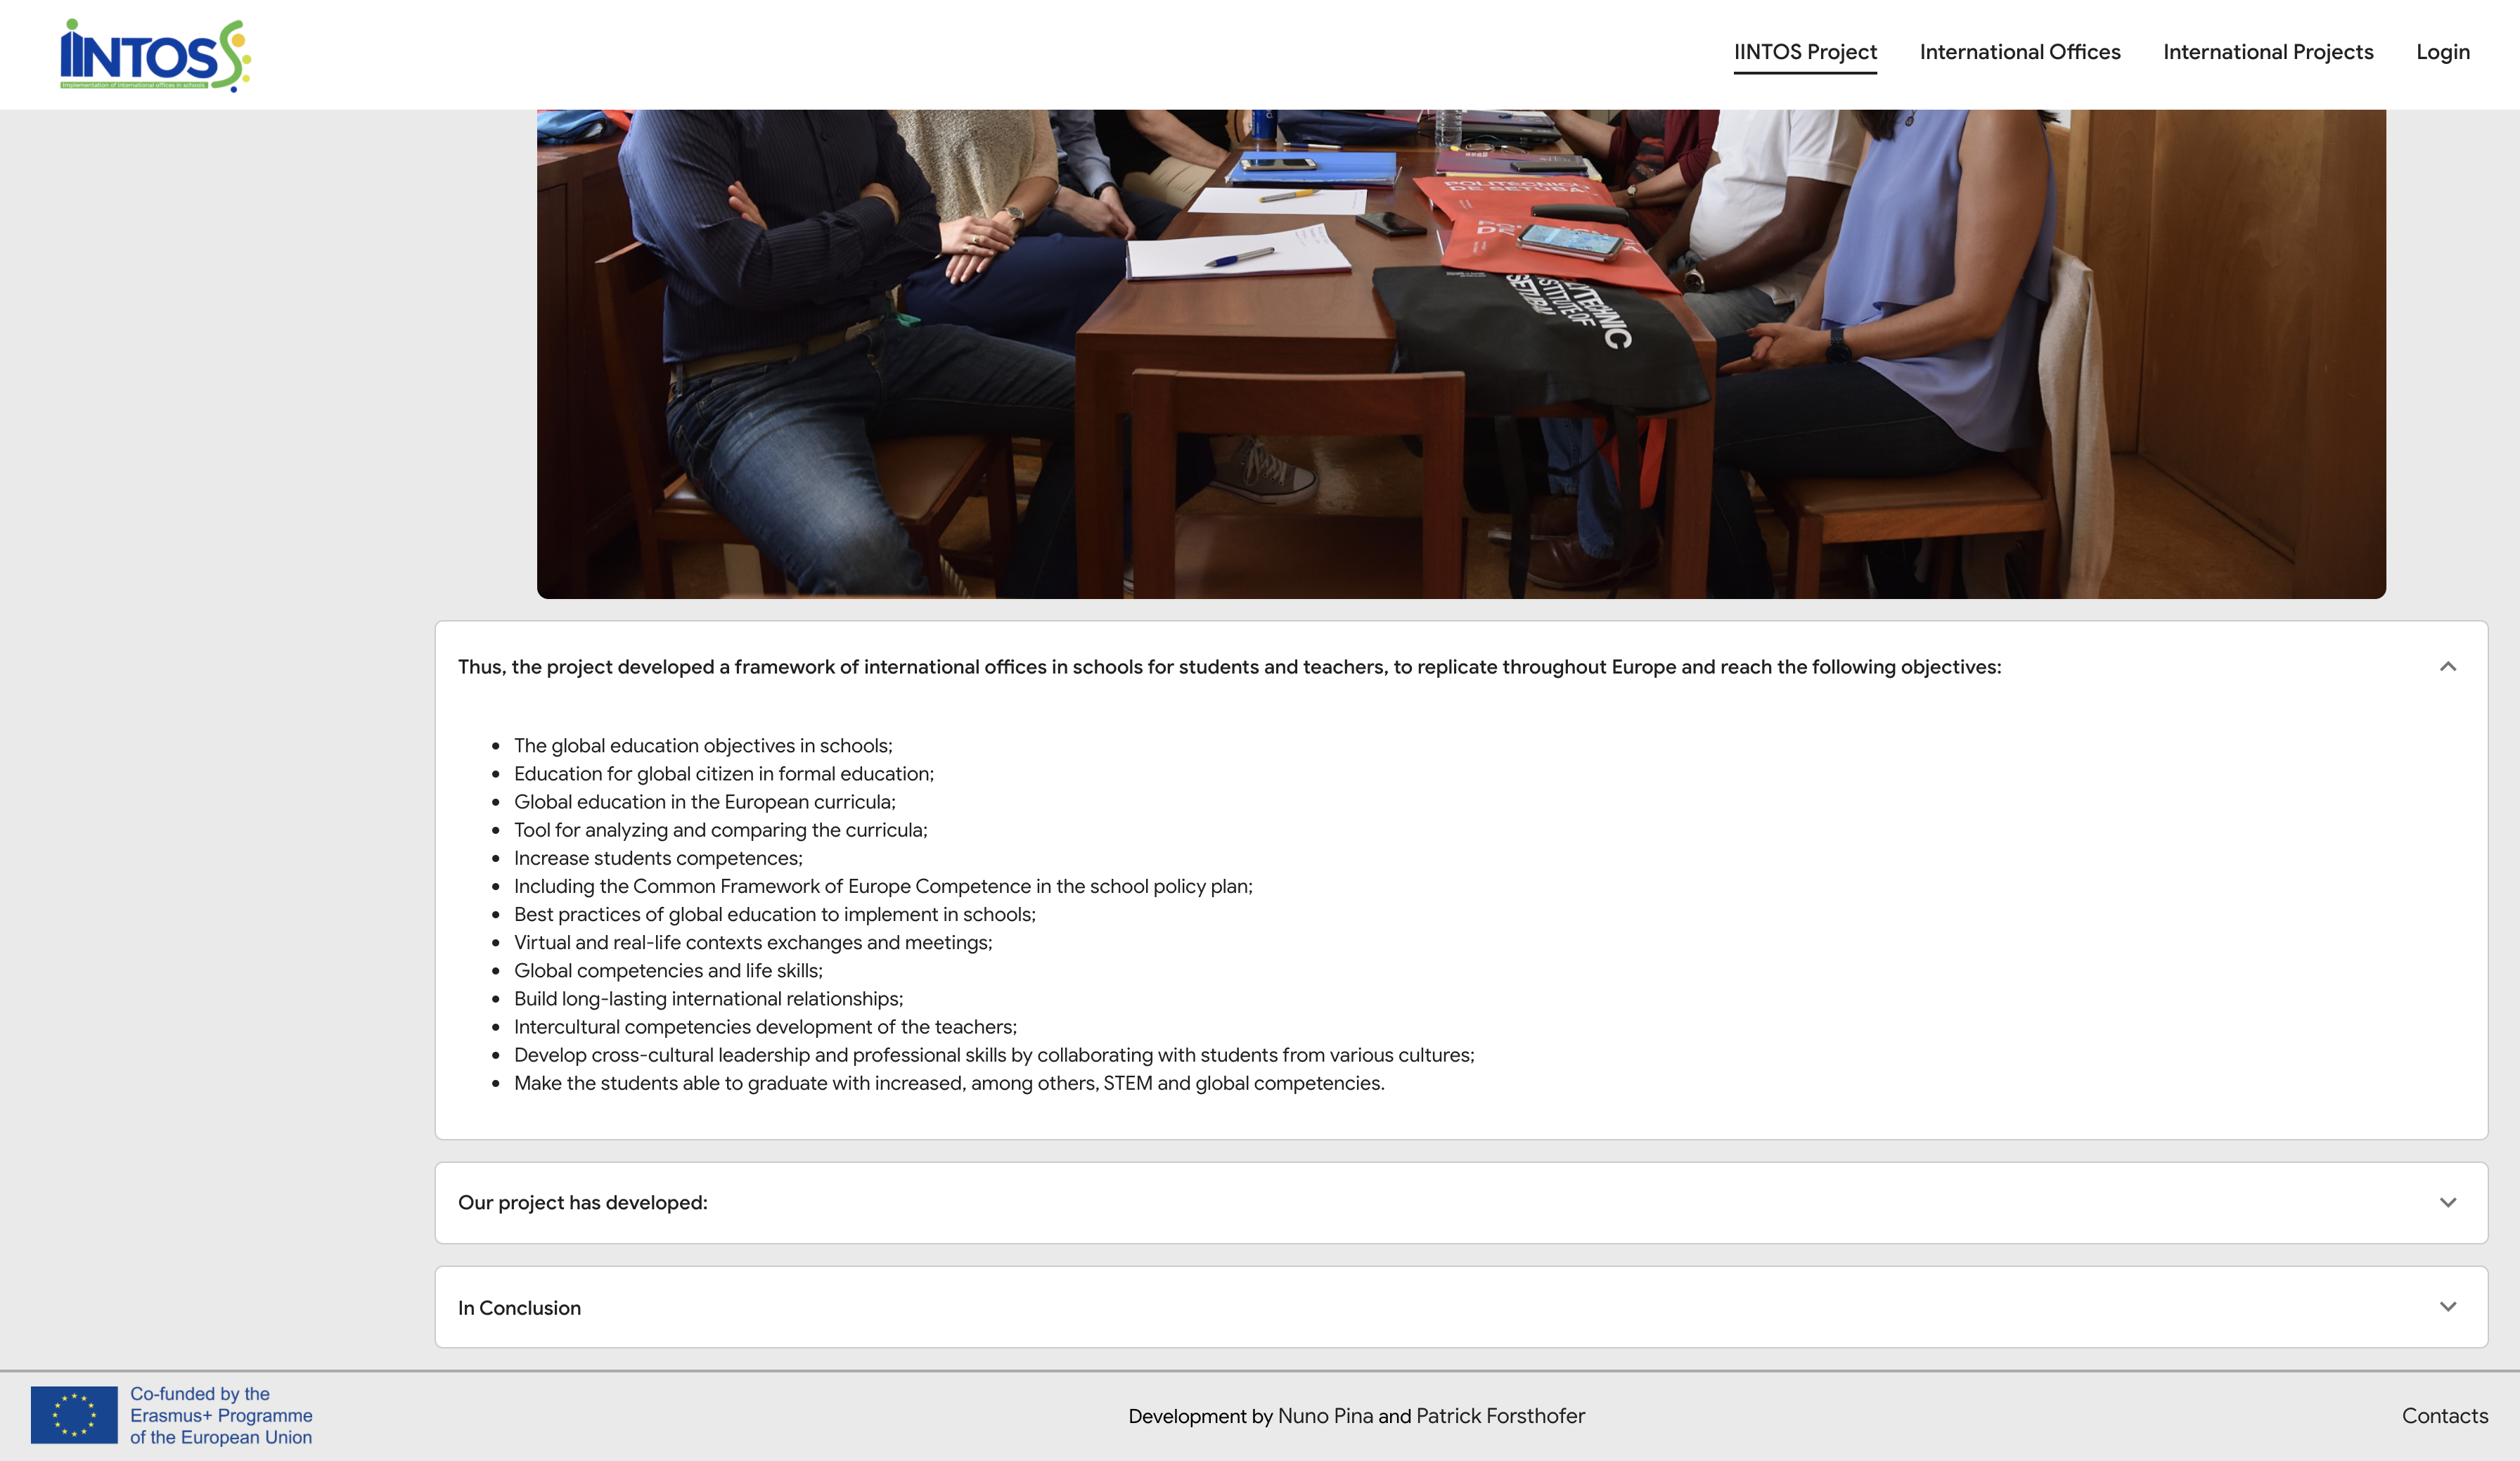
¶ IINTOS Project - About IIntos
You can click on the white boxes to show more information and click again to hide information.
¶ IINTOS Project - IIntos Partners
On option “IIntos Partners”, you will see information about the 4 project partners. You can click on the logo to access the partner website and click on "SHOW MORE" to have more information about the partner.

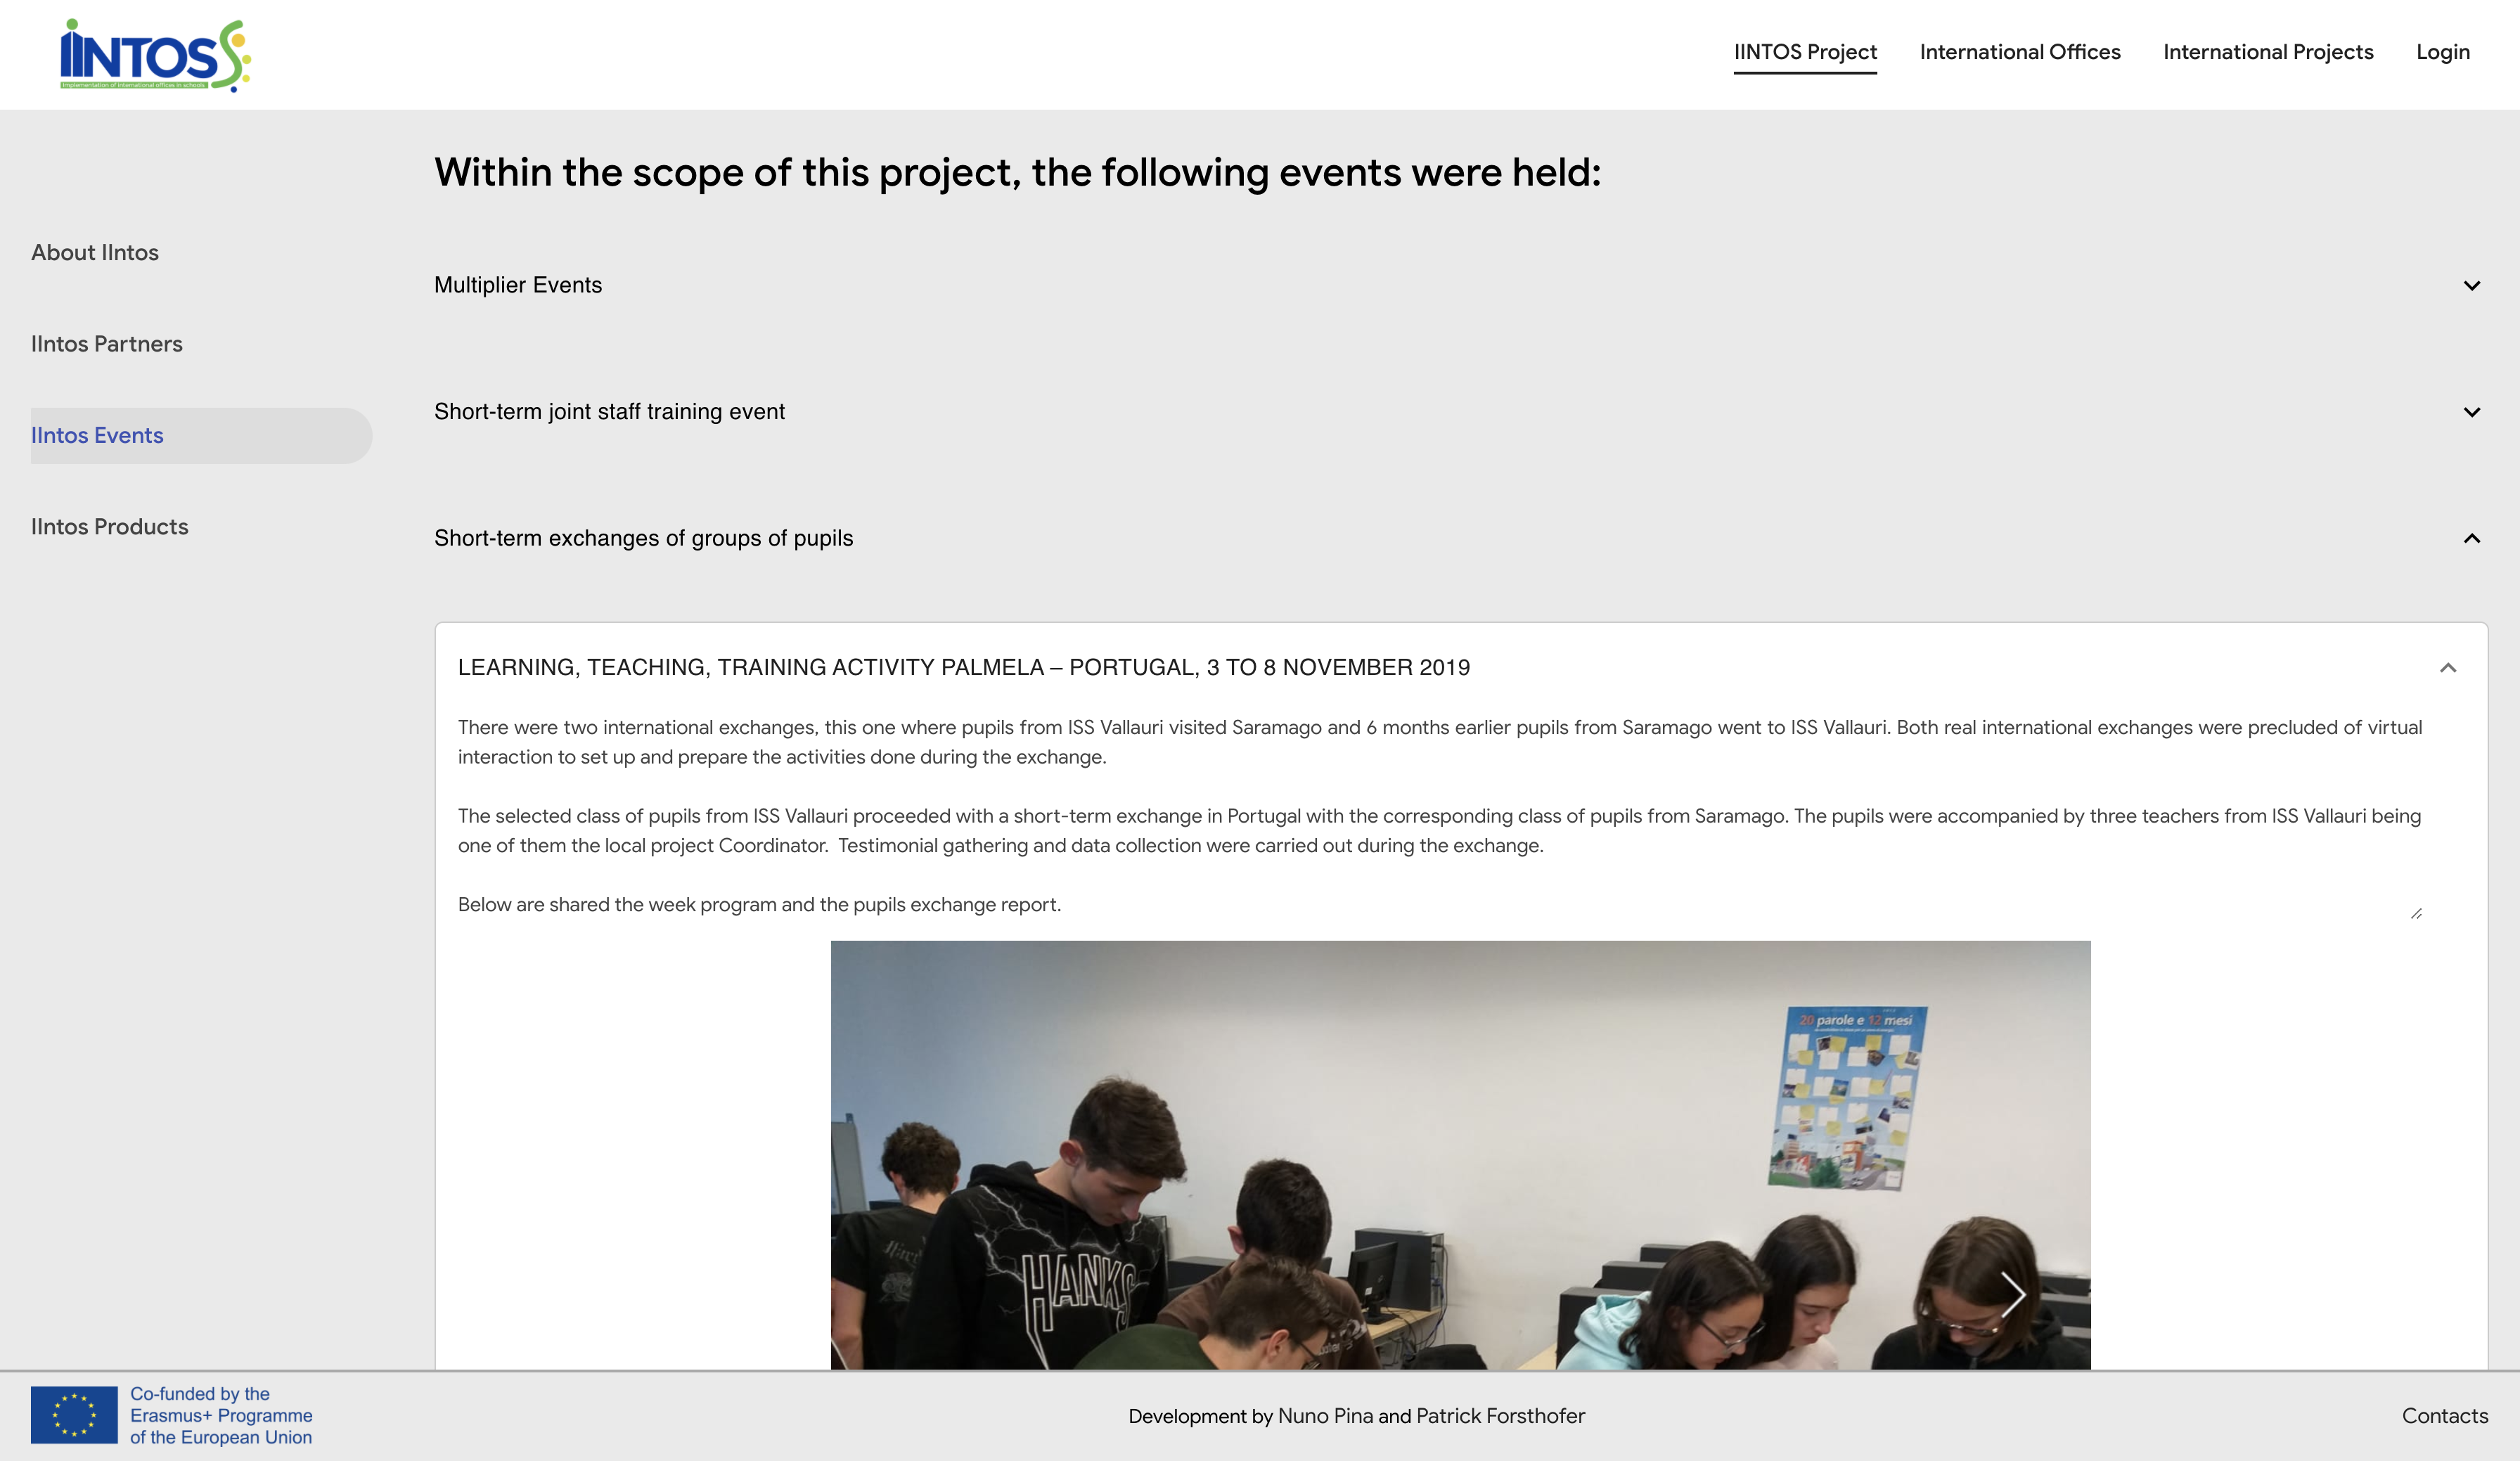
¶ IINTOS Project - IIntos Events
On "IIntos Events”, you will see the events that were held during the project. Here you can see images, documentation, news, programs, presentations or videos of each event. The events were divided into 3 categories, you can click on the category title (Multiplier Events, Short- term joint staff training event or Short-term exchanges of groups of pupils) to expand the events and click on the white event box to show more information about the event.
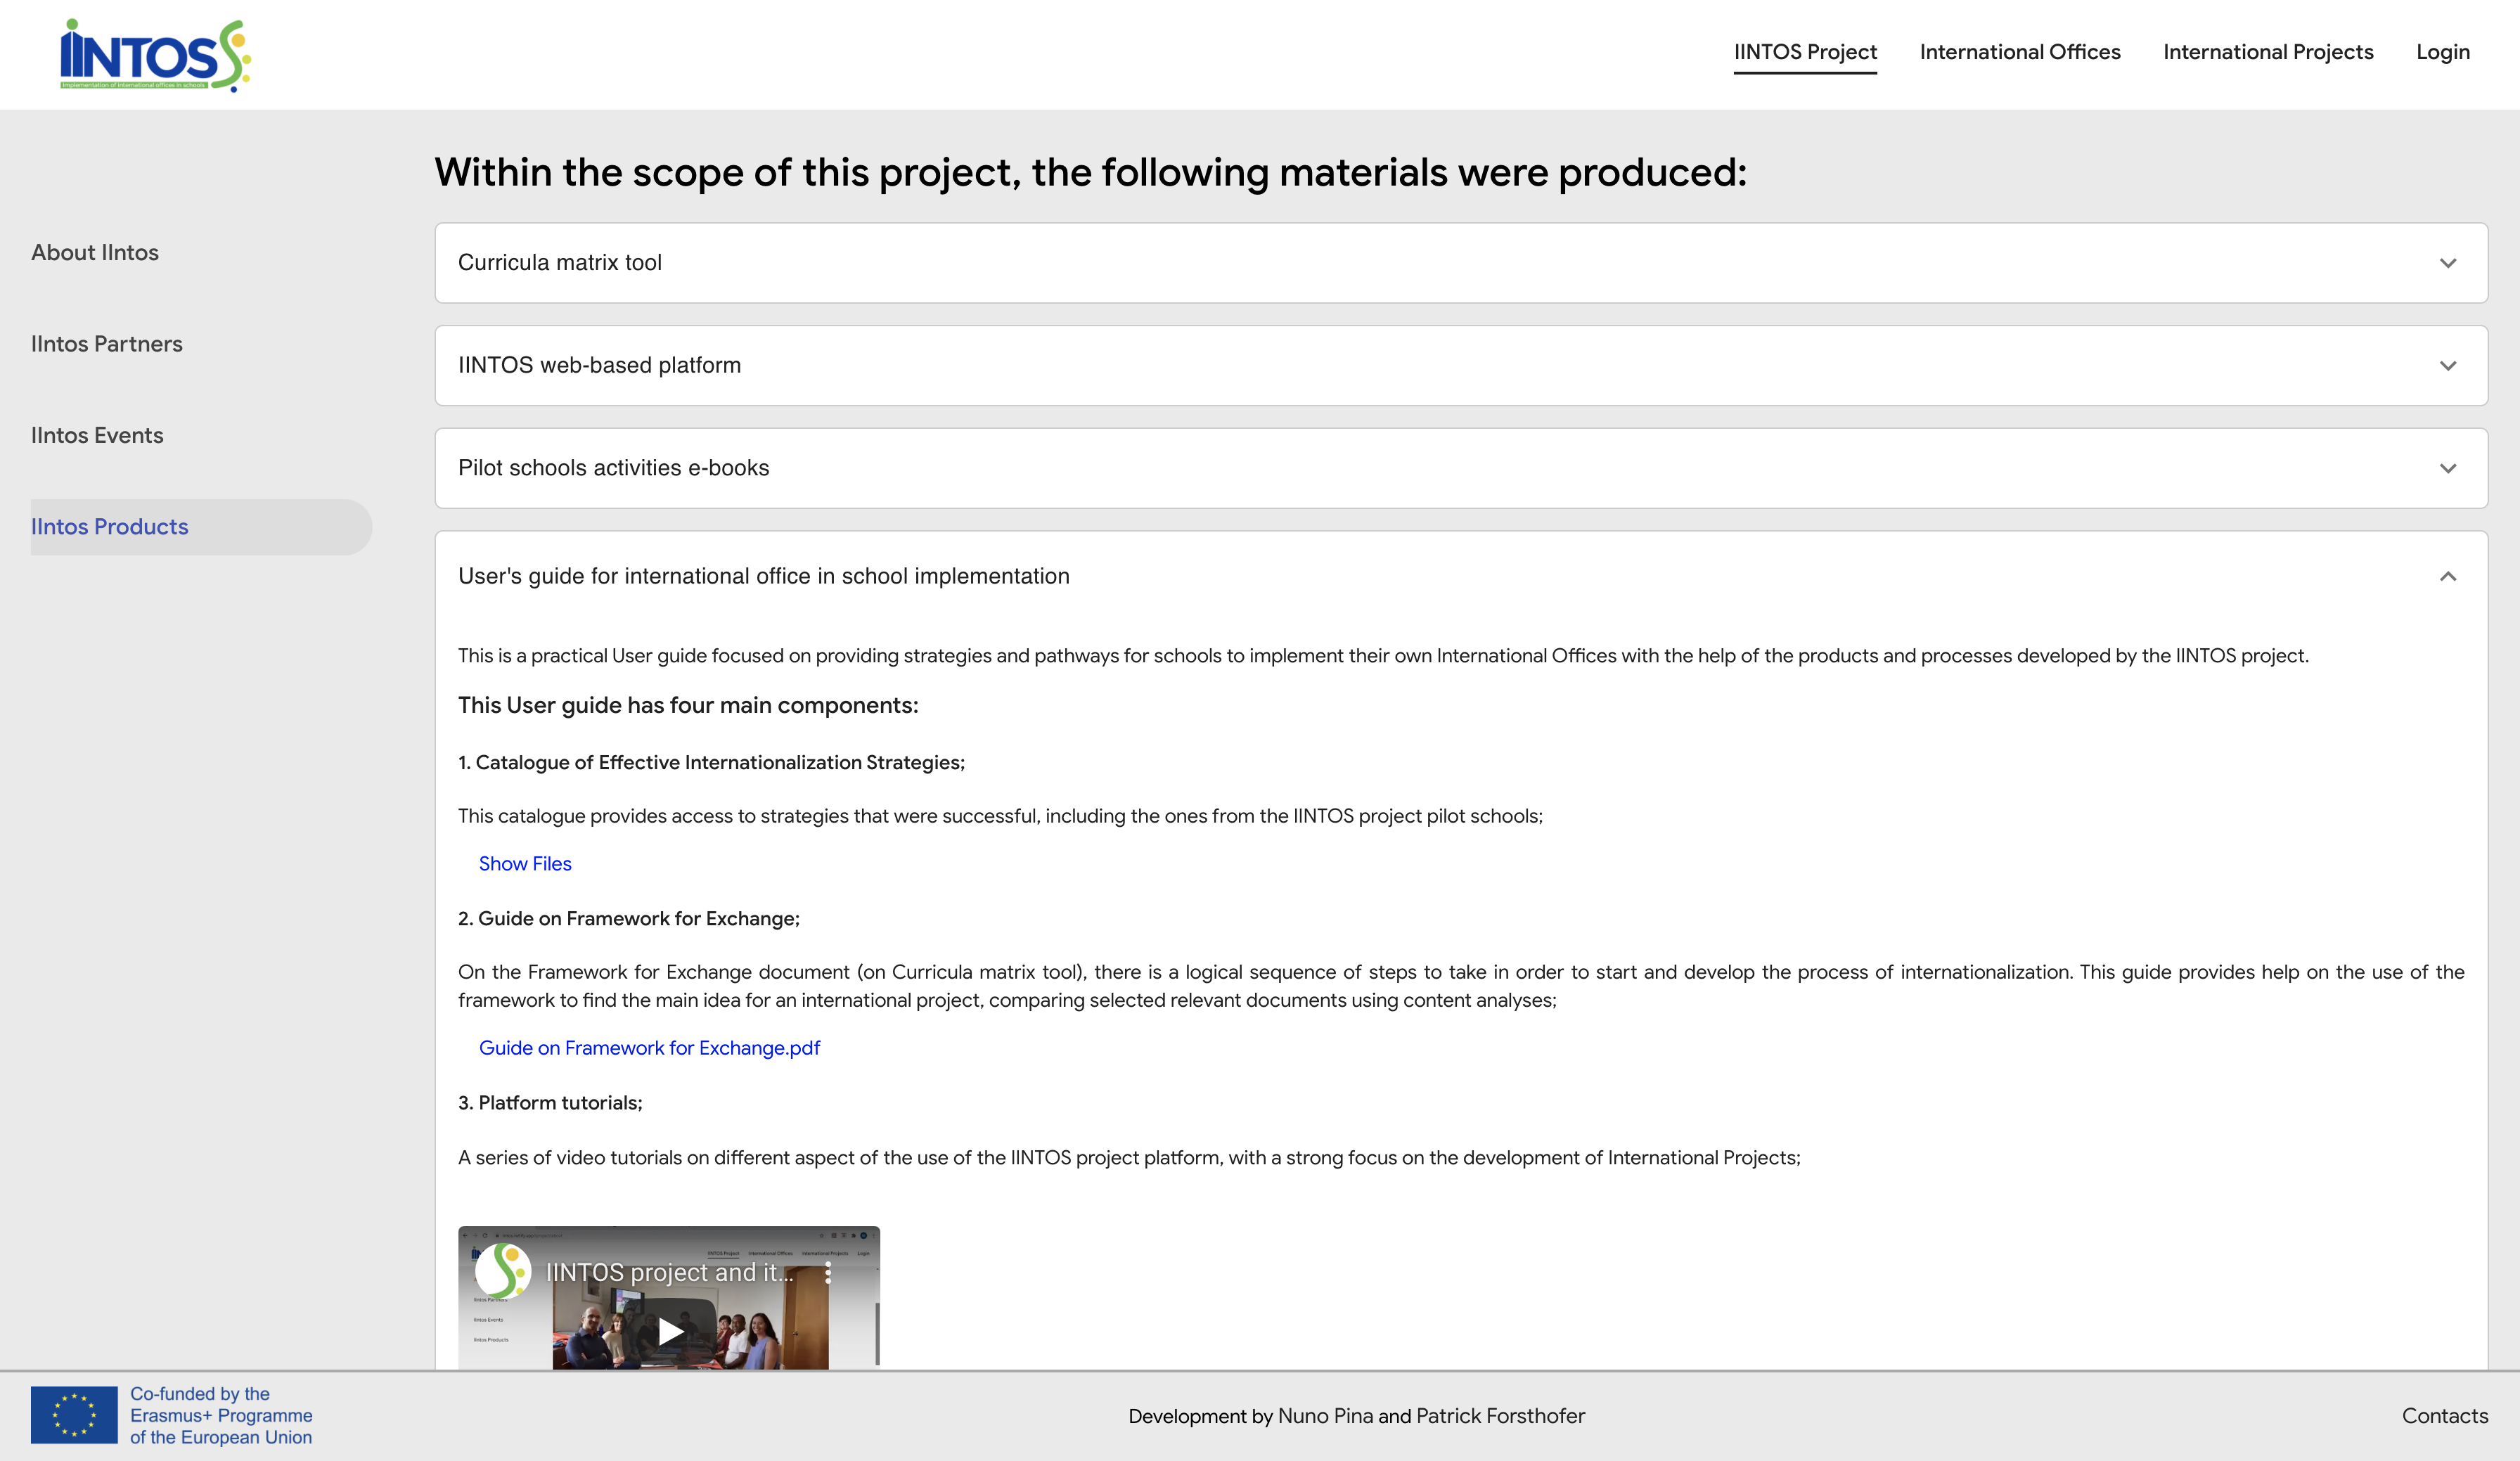
¶ INTOS Project - IIntos Products
On "IIntos Products”, you will see the materials that were produced during the project. You can download files for some products by clicking on the file name or Show files and then on the file name.
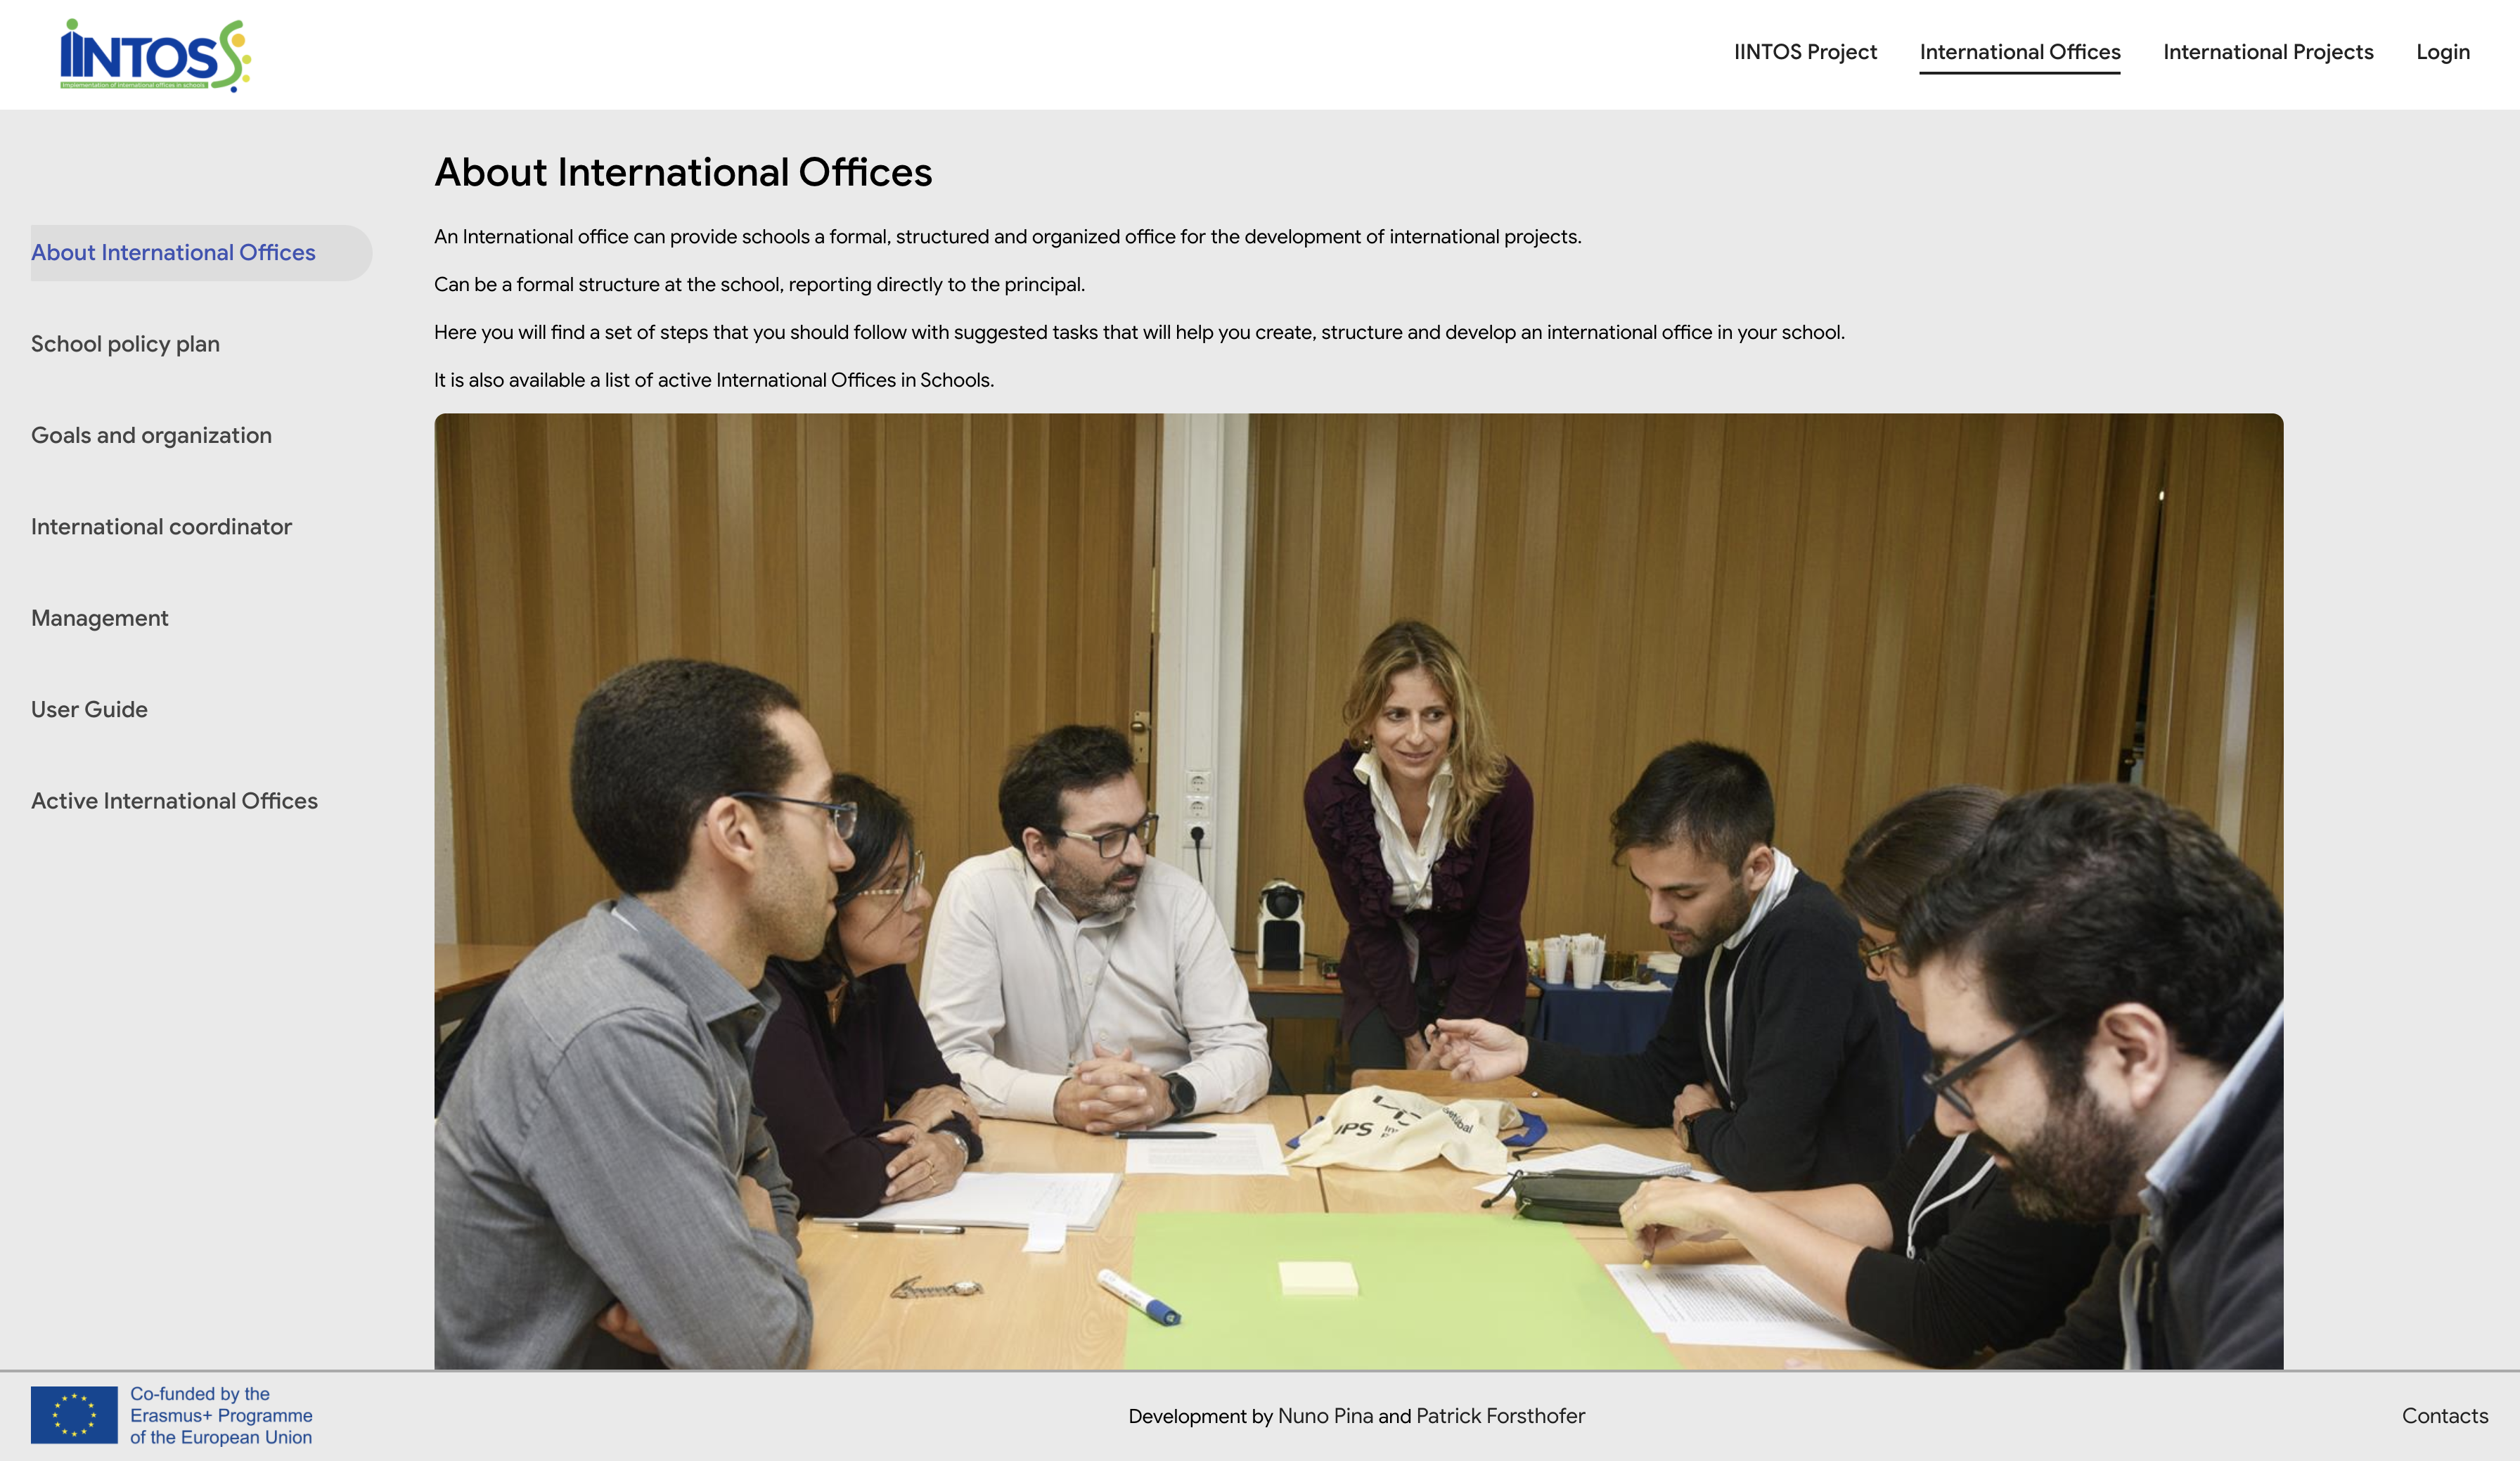
¶ International Offices - About International Offices
When selecting the option “International Offices” in the header, you will see the description about the section.
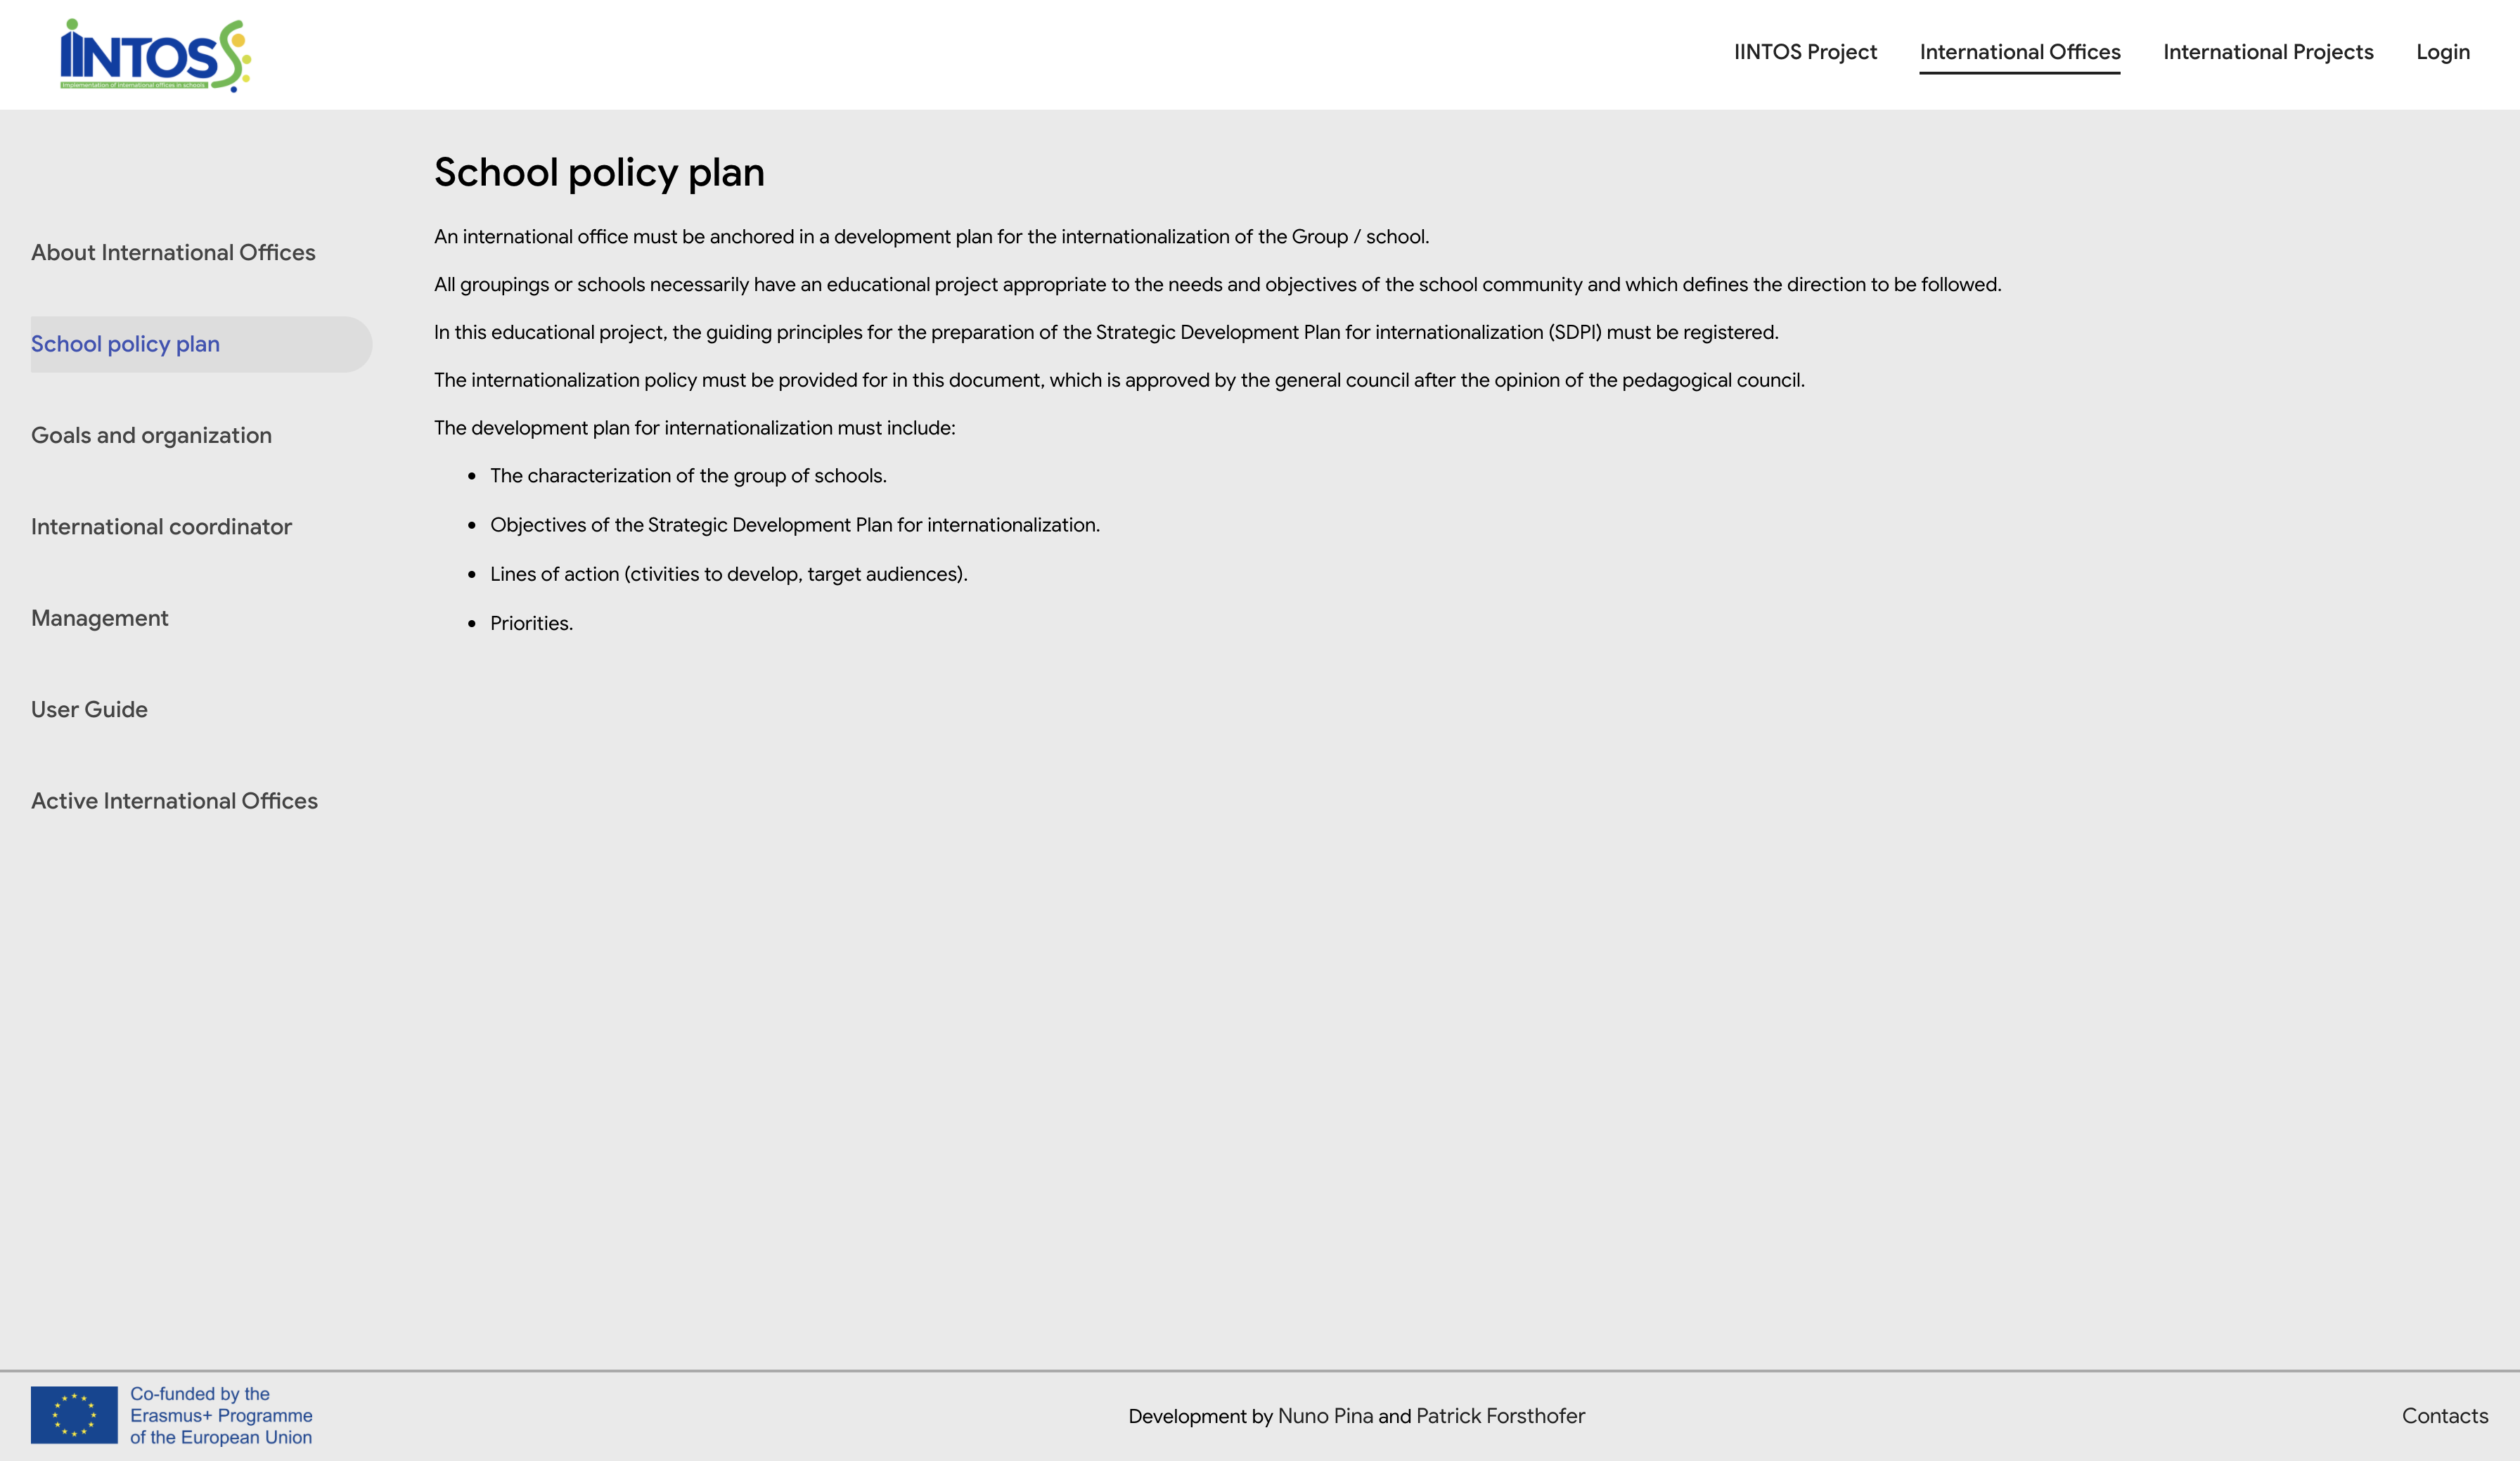
¶ International Offices - School policy plan
On “School policy plan”, you will see the page with information about the School policy plan.
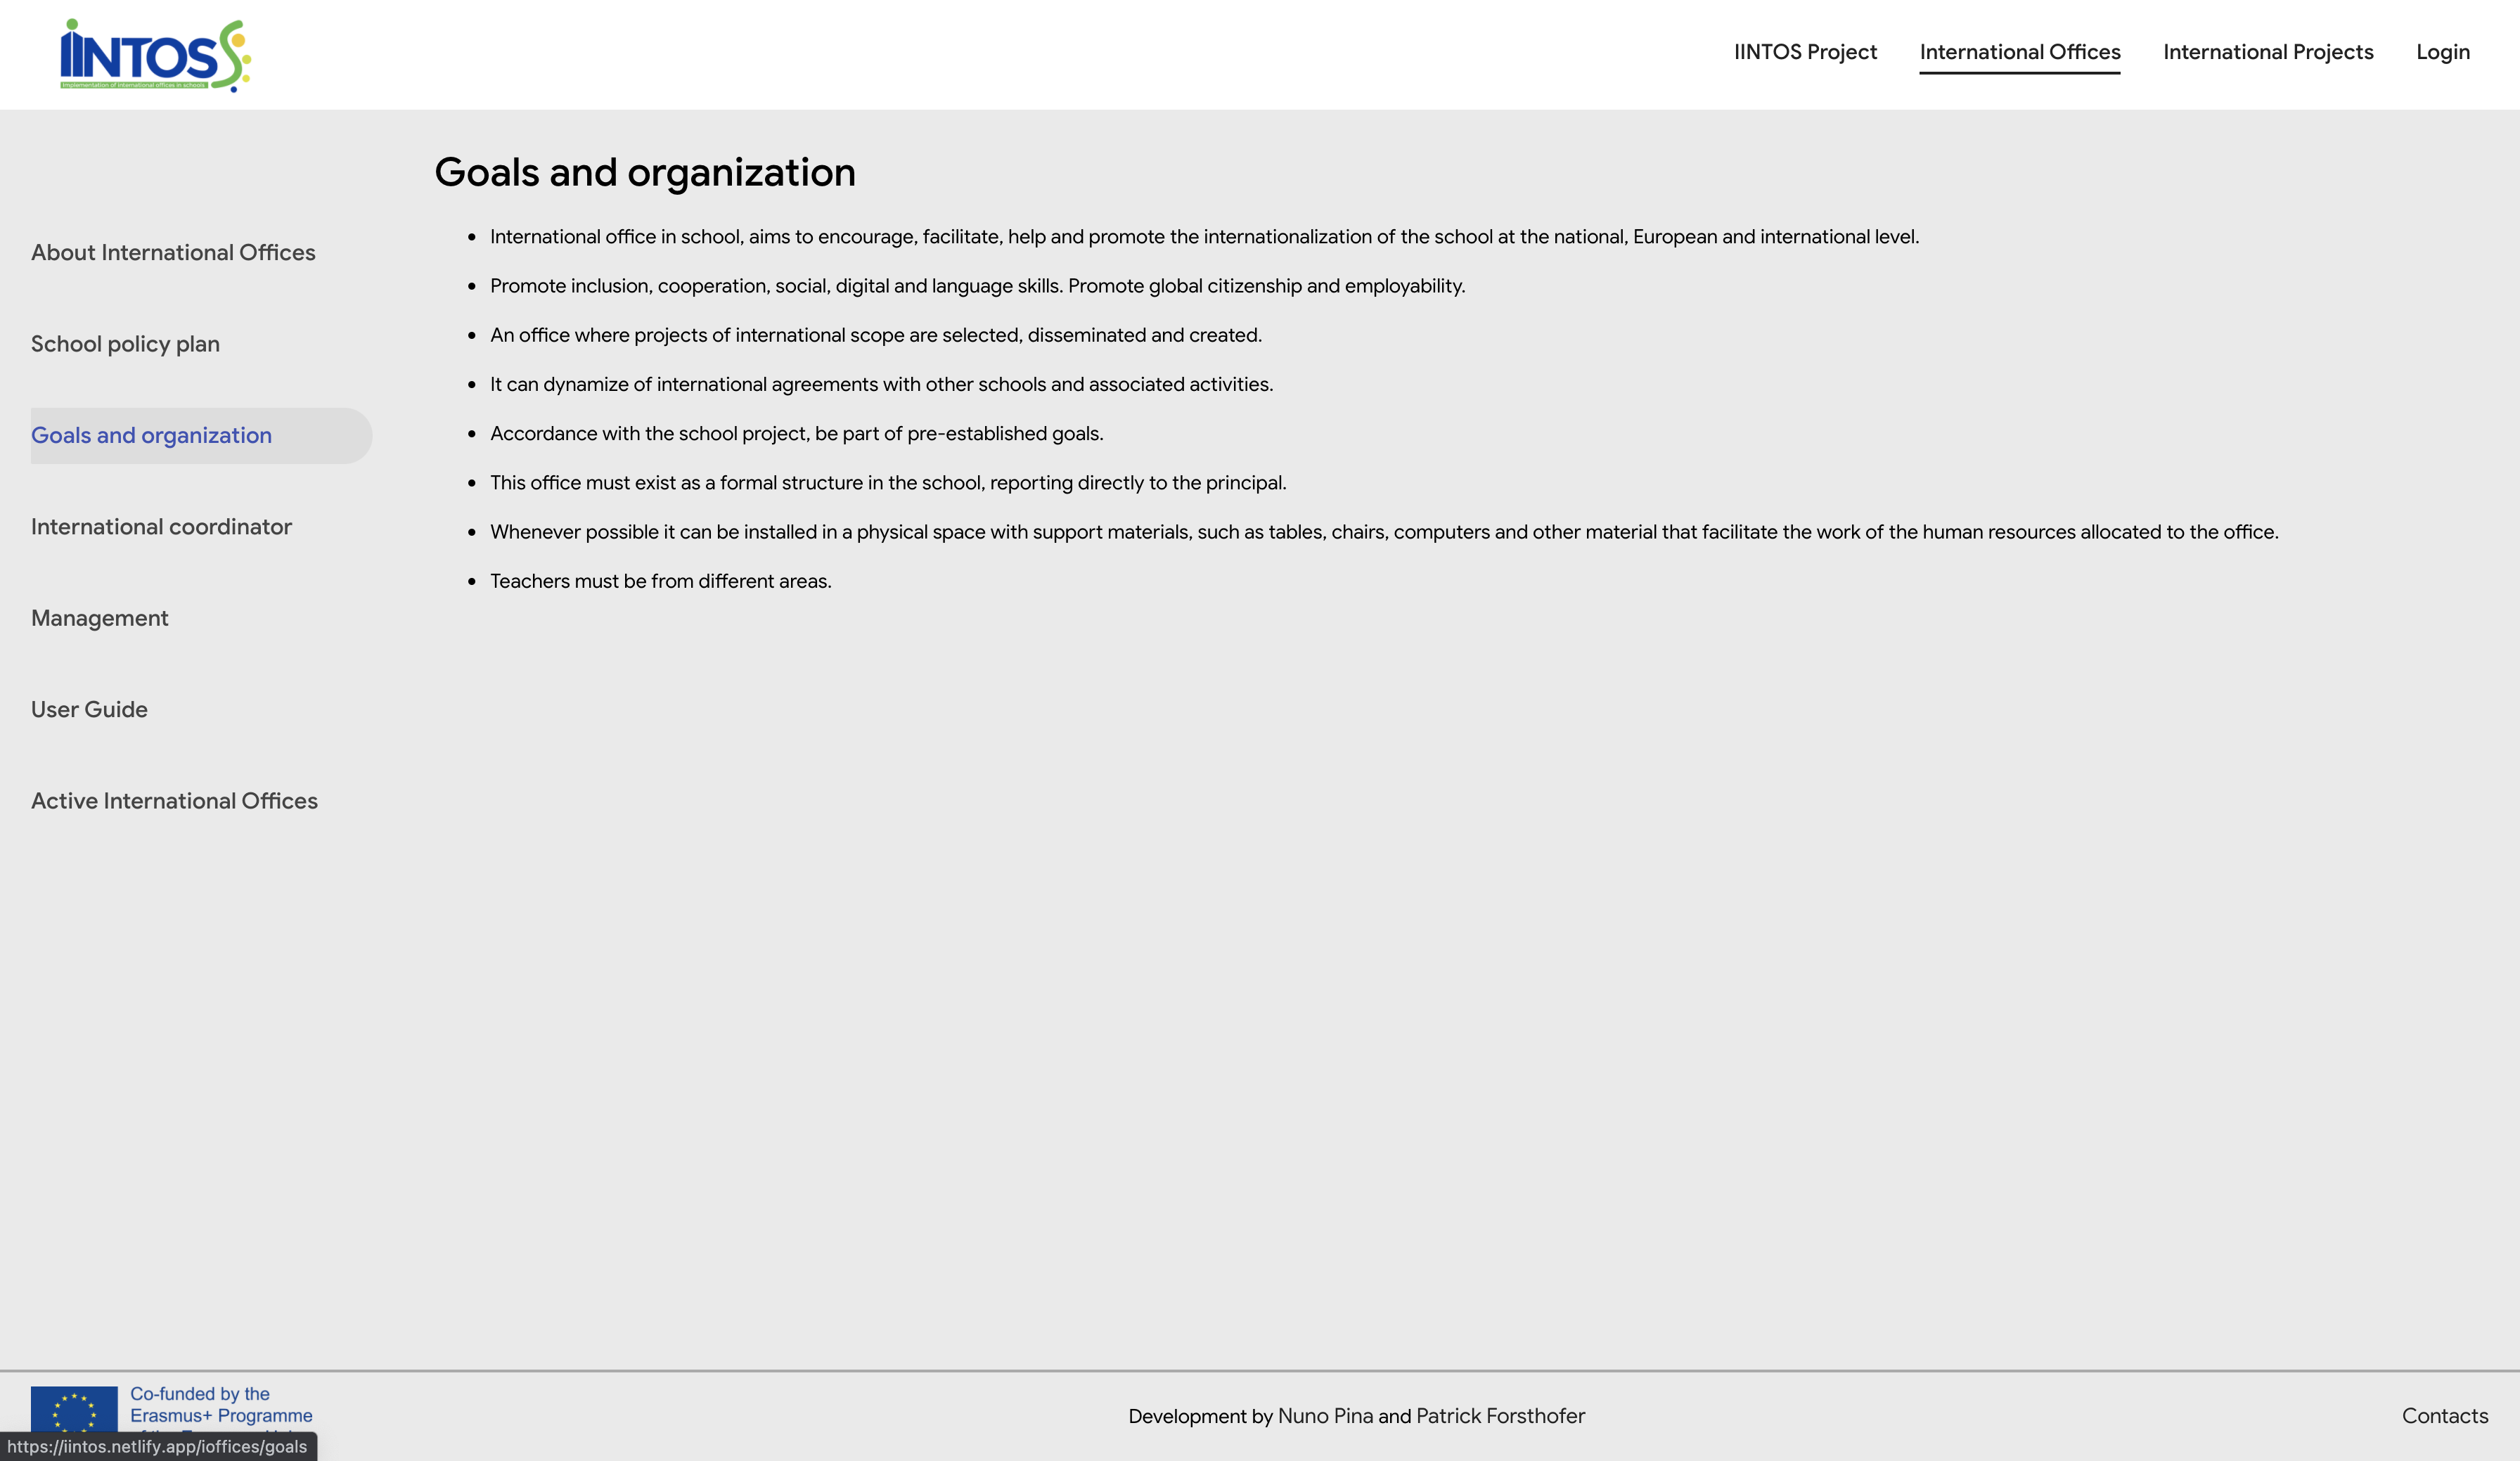
¶ International Offices - Goals and organization
On “Goals and organization”, you will see the page with information about the international offices goals and organization.
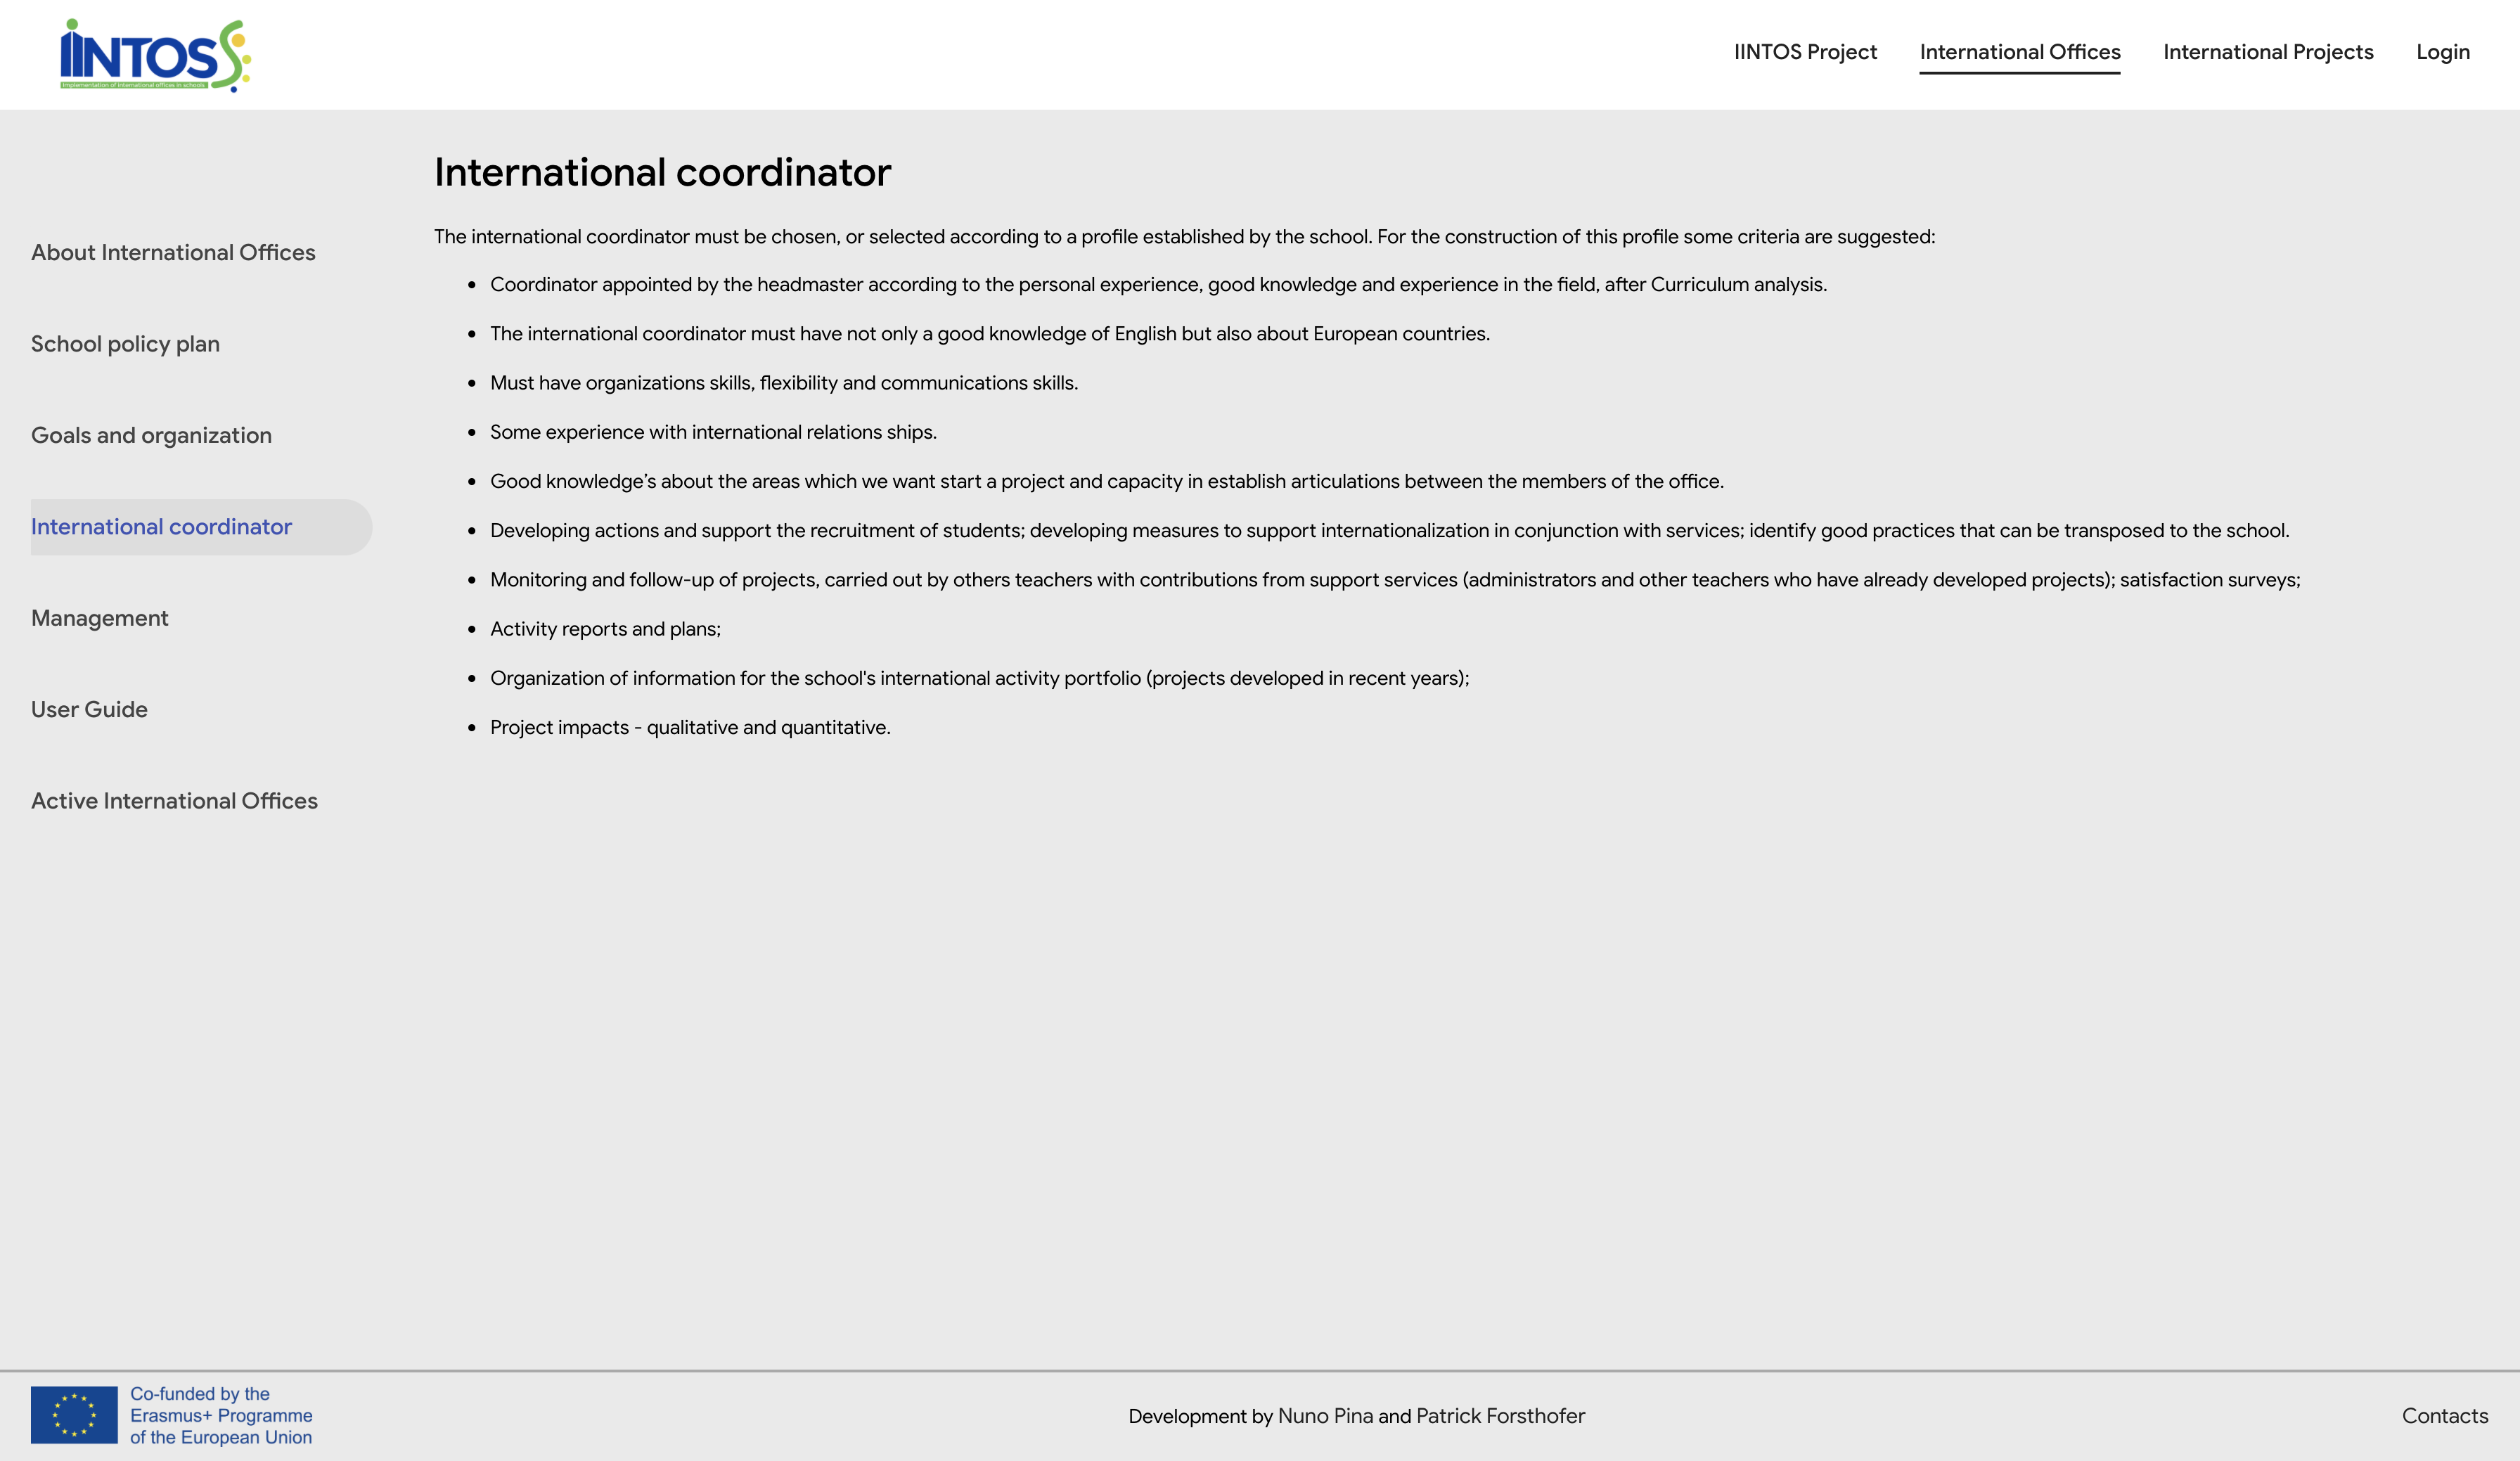
¶ International Offices - International coordinator
On “International coordinator”, you will see the page with information about the international offices coordinator.
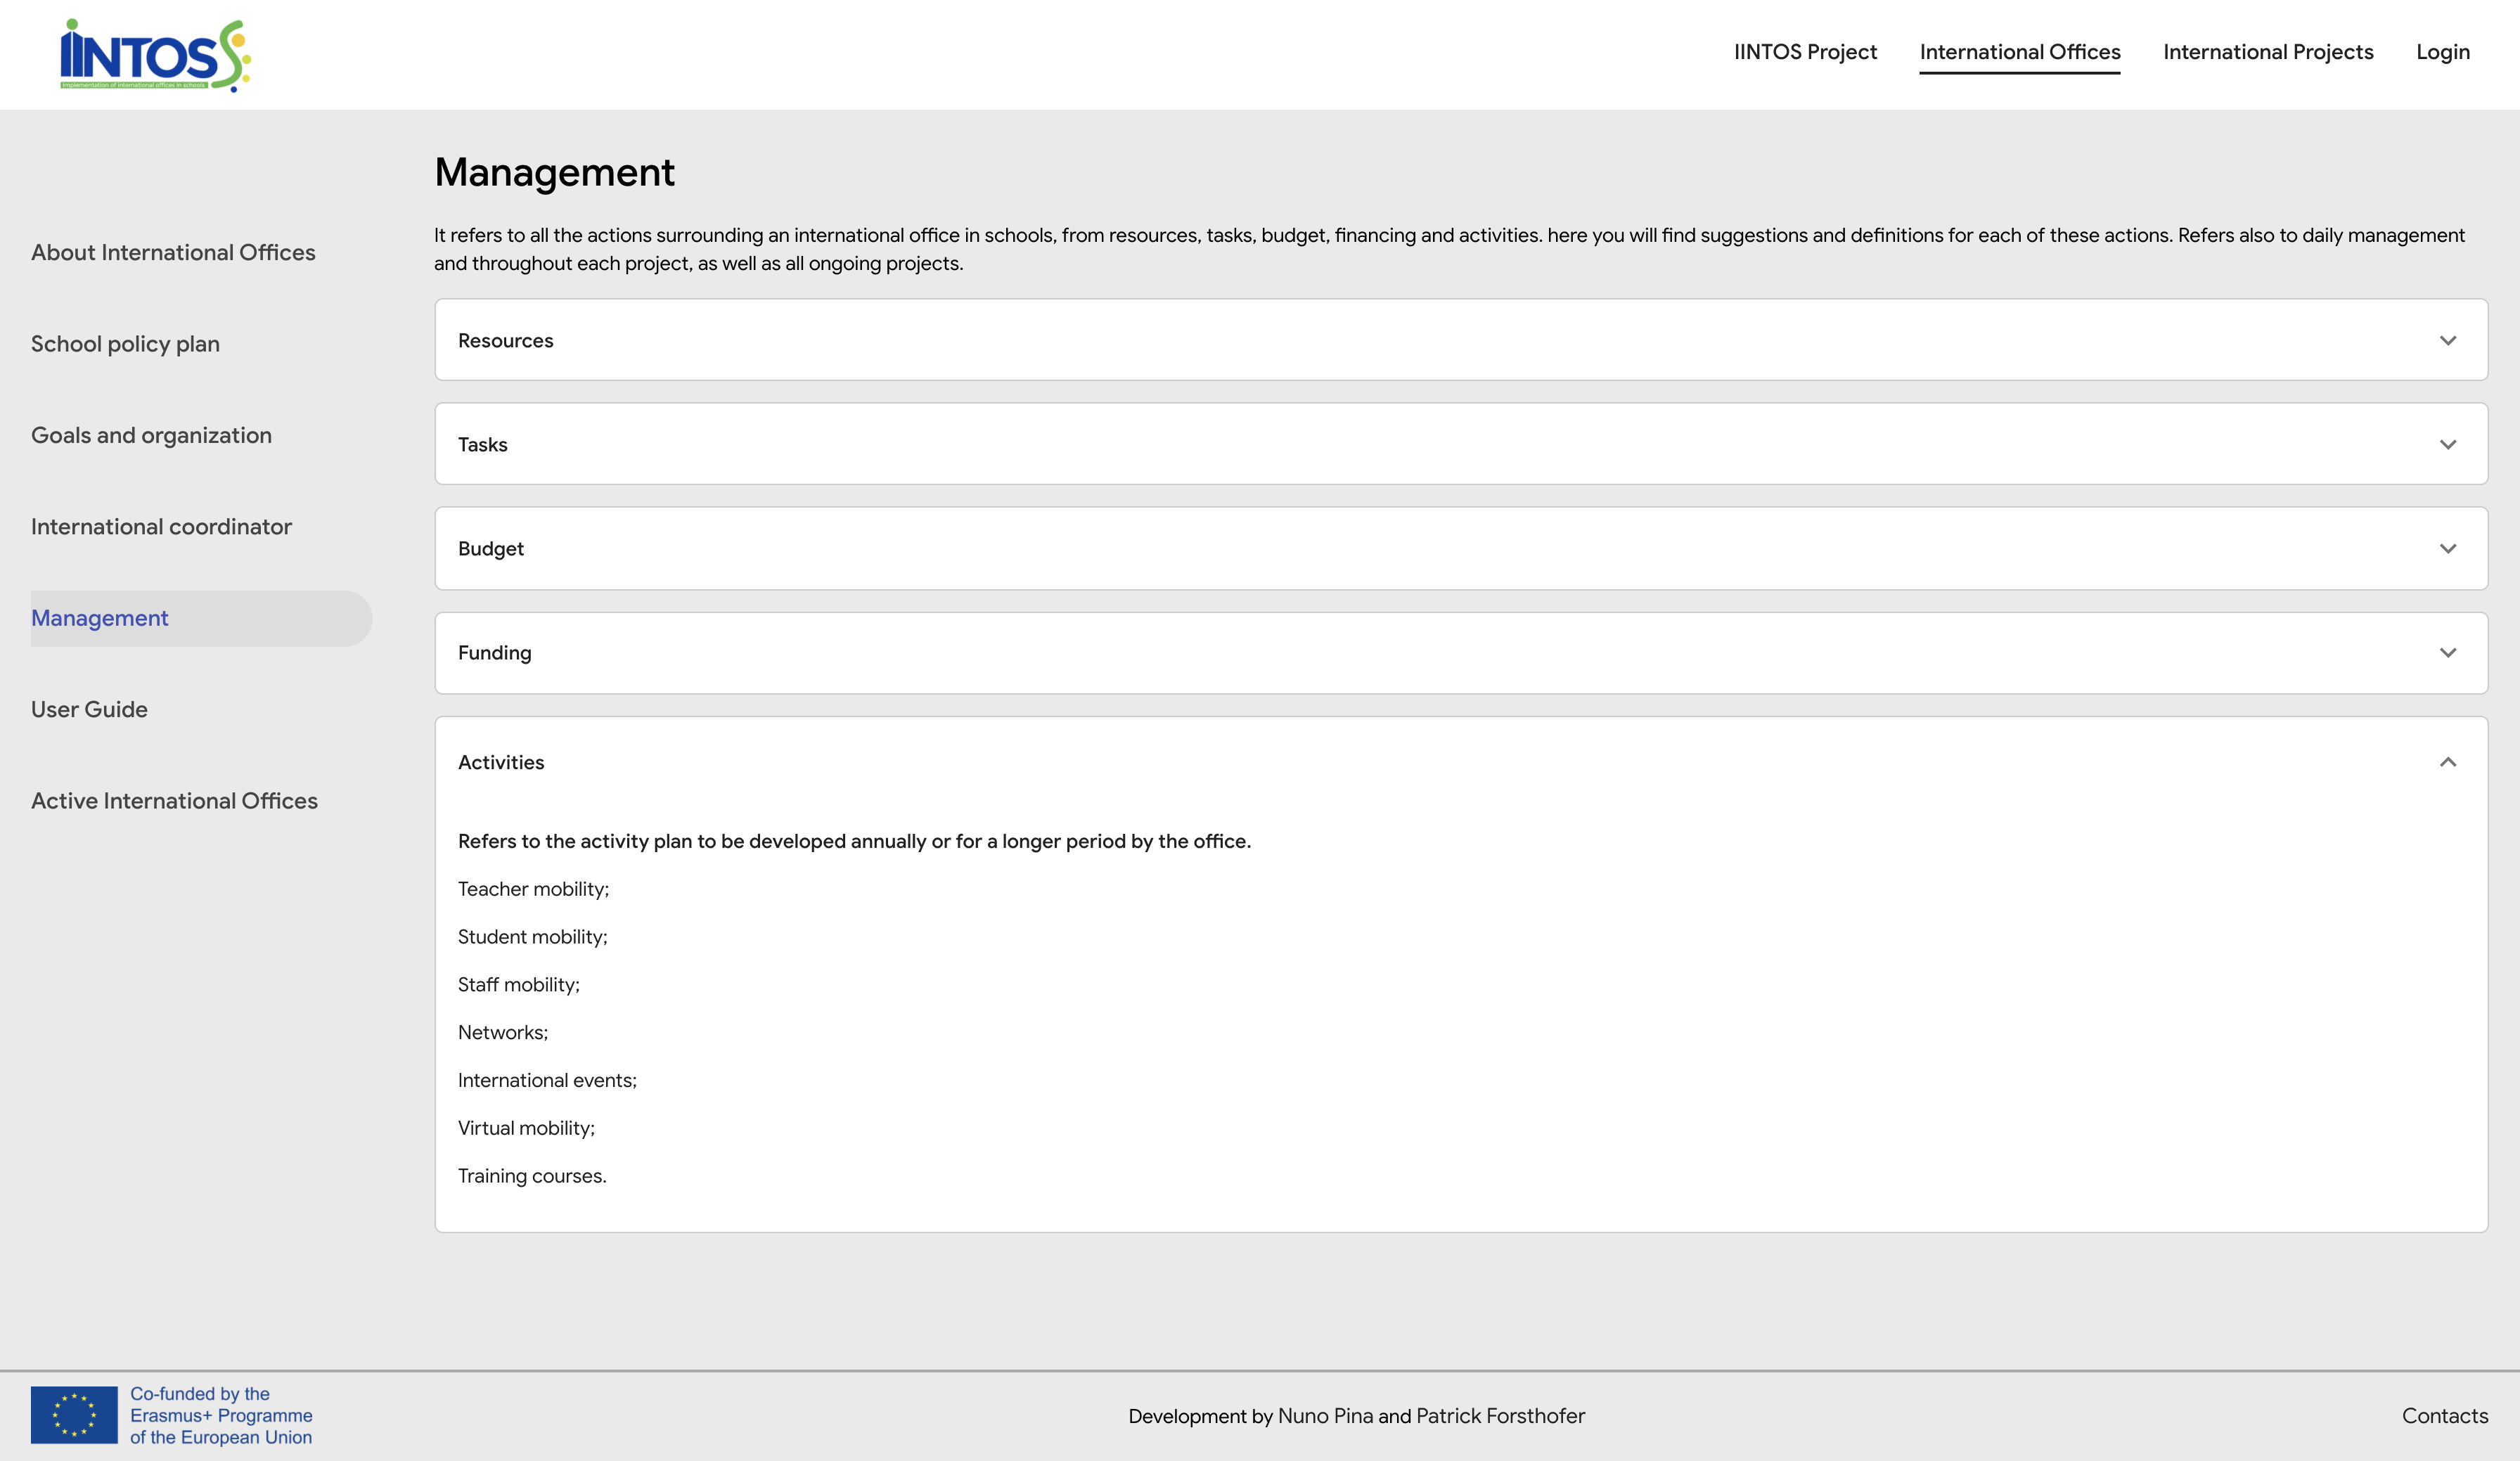
¶ International Offices - International coordinator
On “Management", you will find suggestions and definitions for each action around an international school office. You can click on the white box to expand the action information.
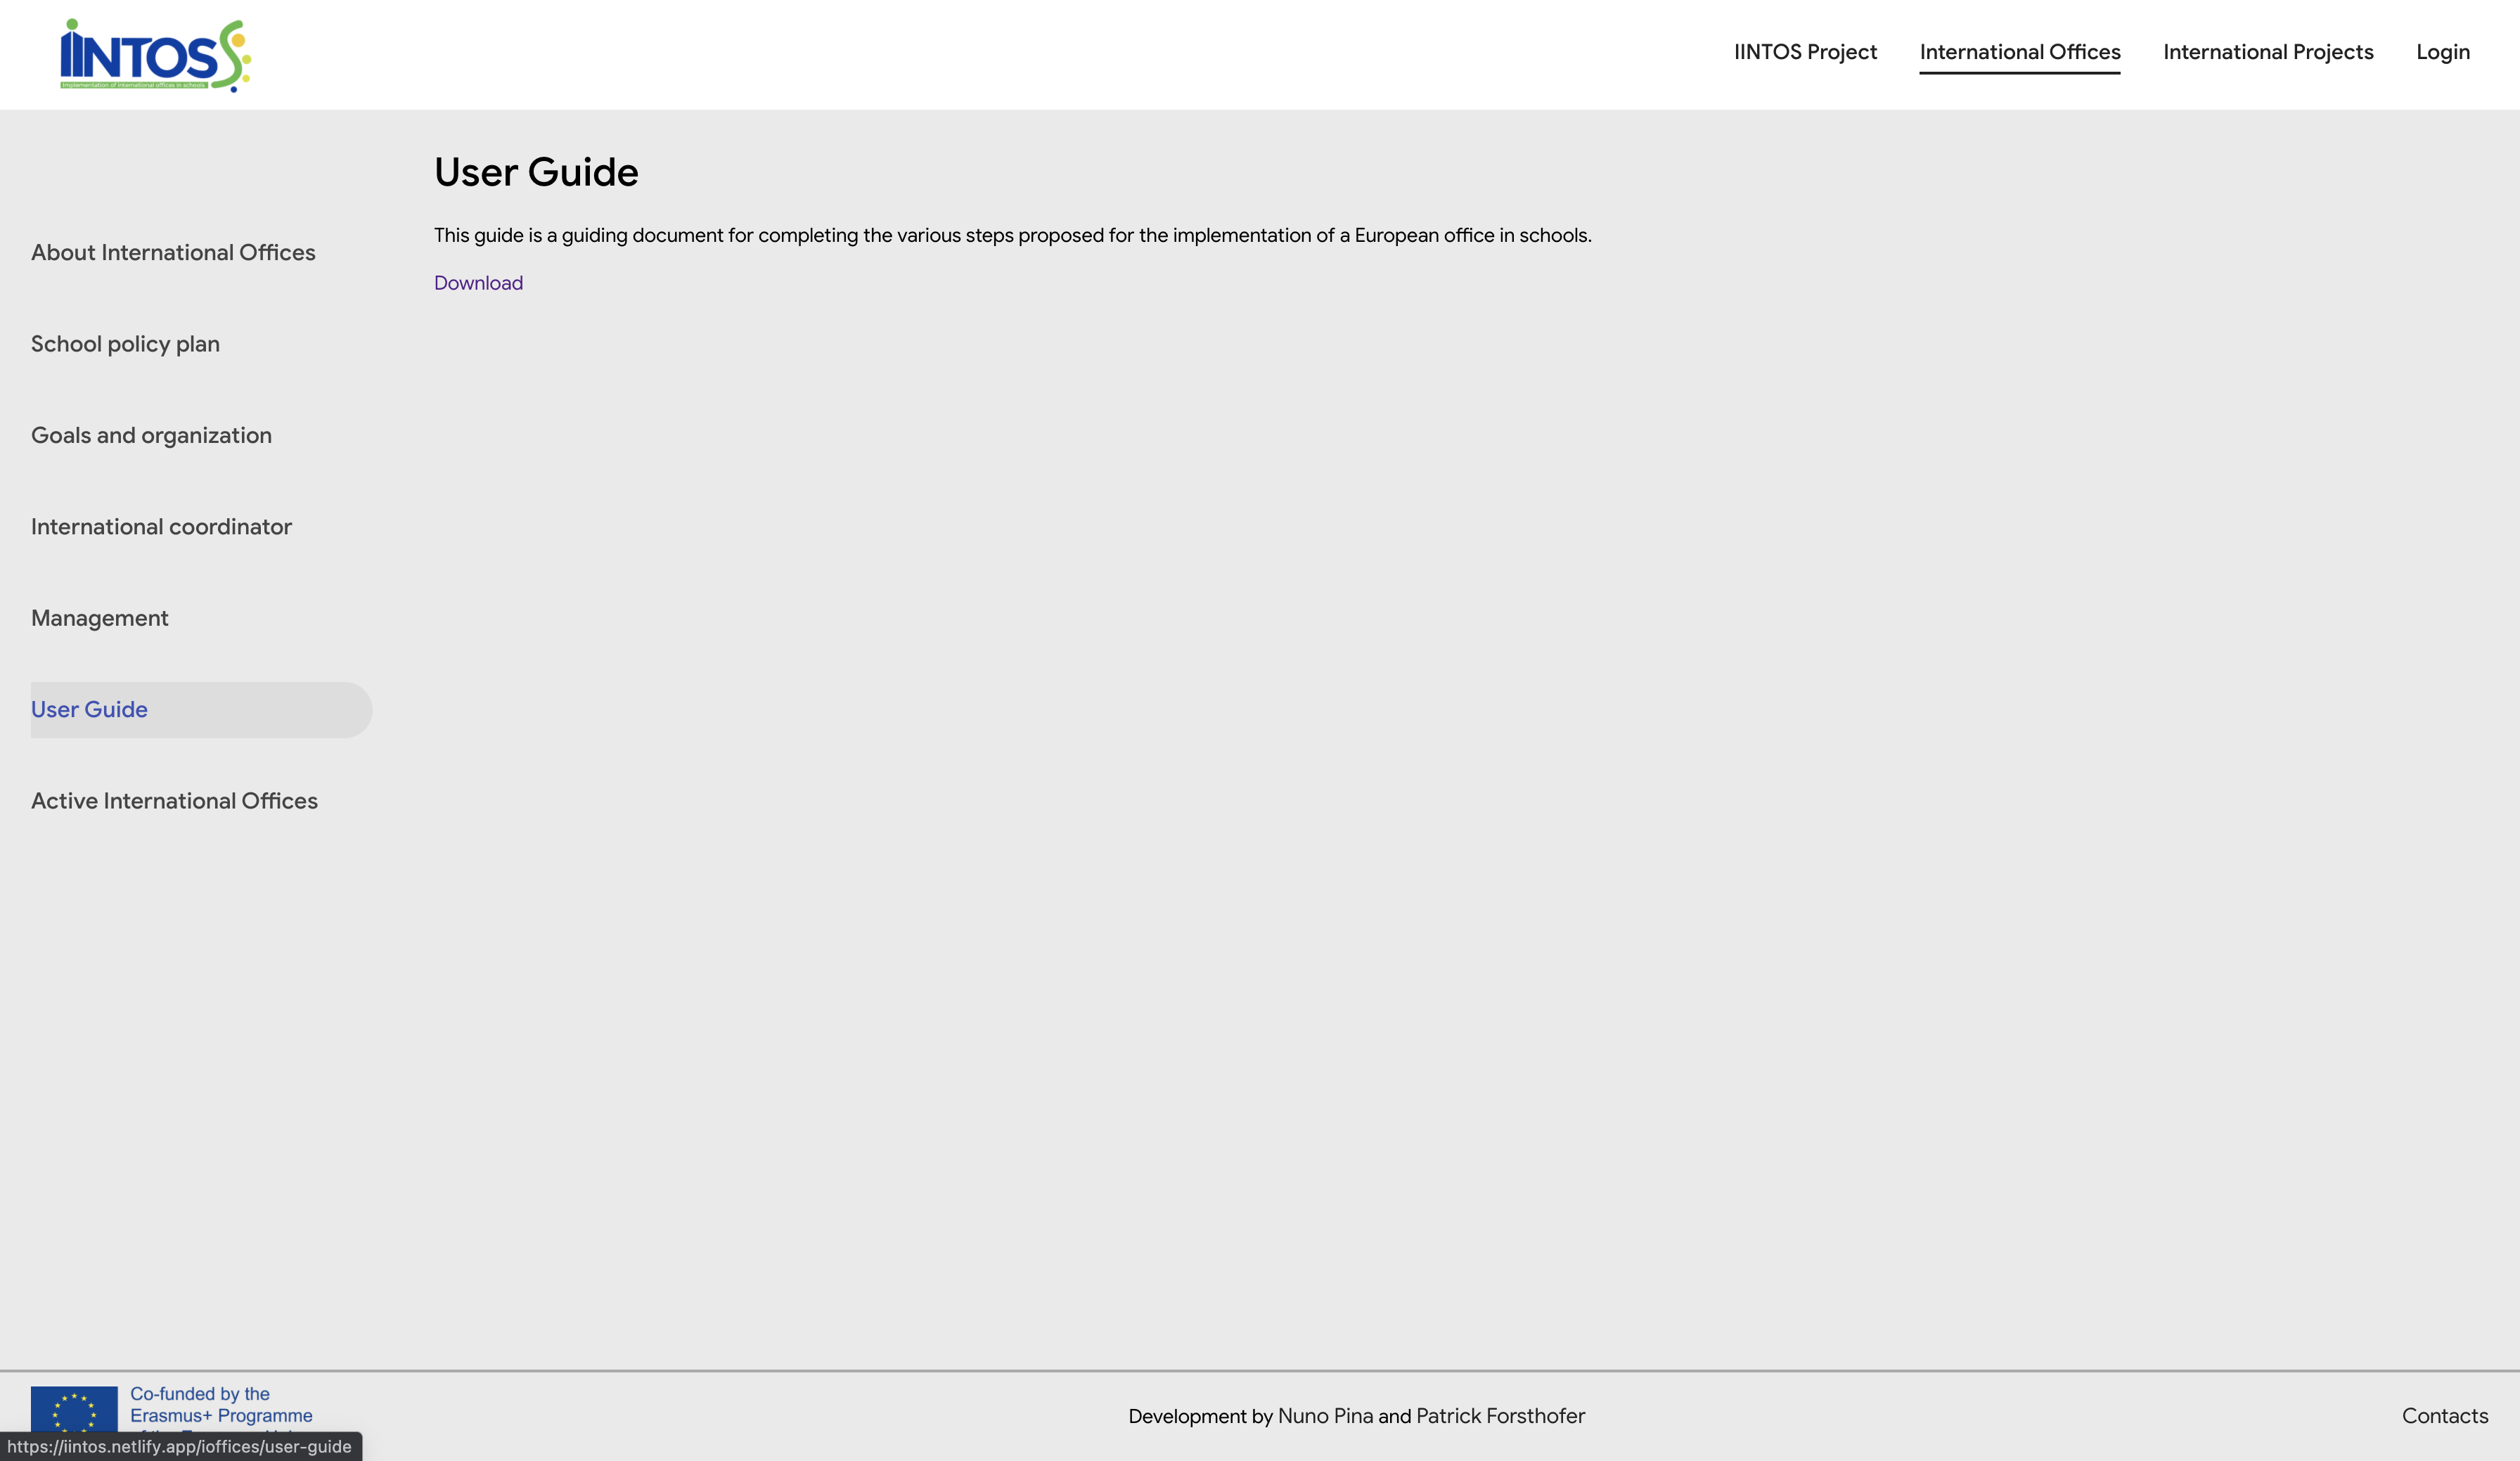
¶ International Offices – User Guide
You can download the user guide for international offices by clicking on “Download”.
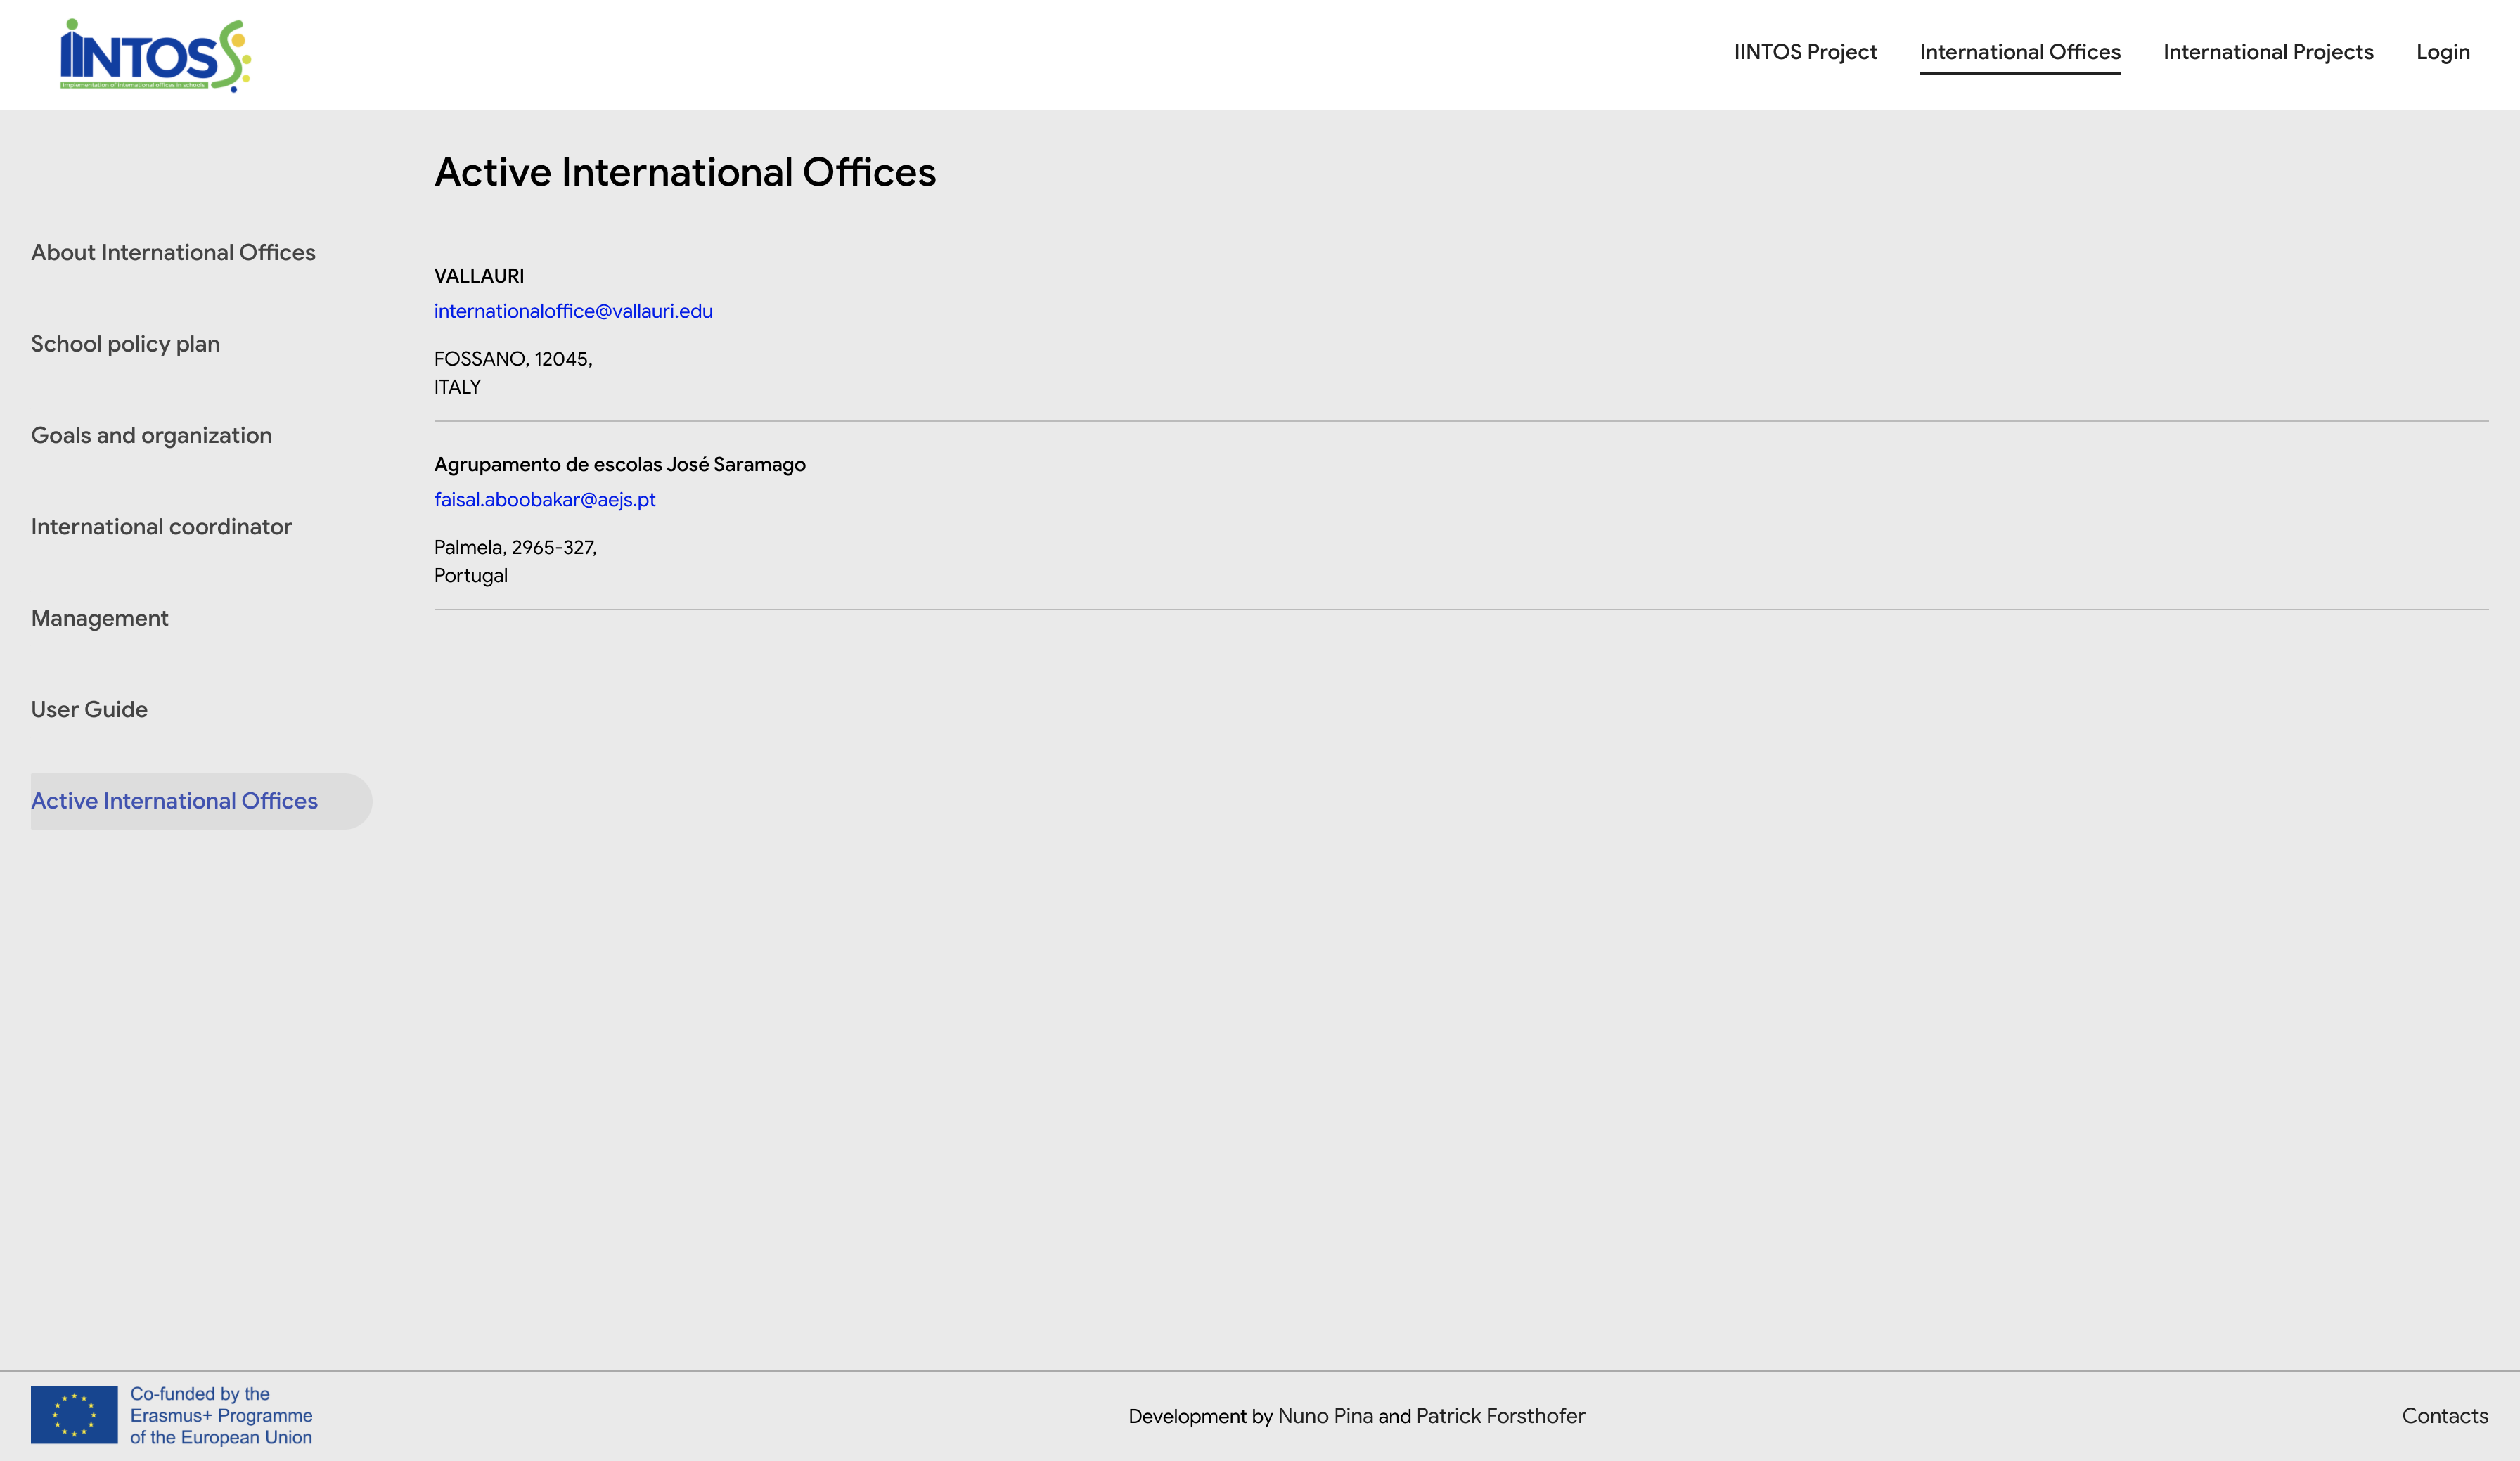
¶ International Offices – Active International Offices
On “Active International Offices”, you can see the international offices.
¶ International Projects - About International Projects
When selecting the option “International Projects” in the header, you will see the description about this section.
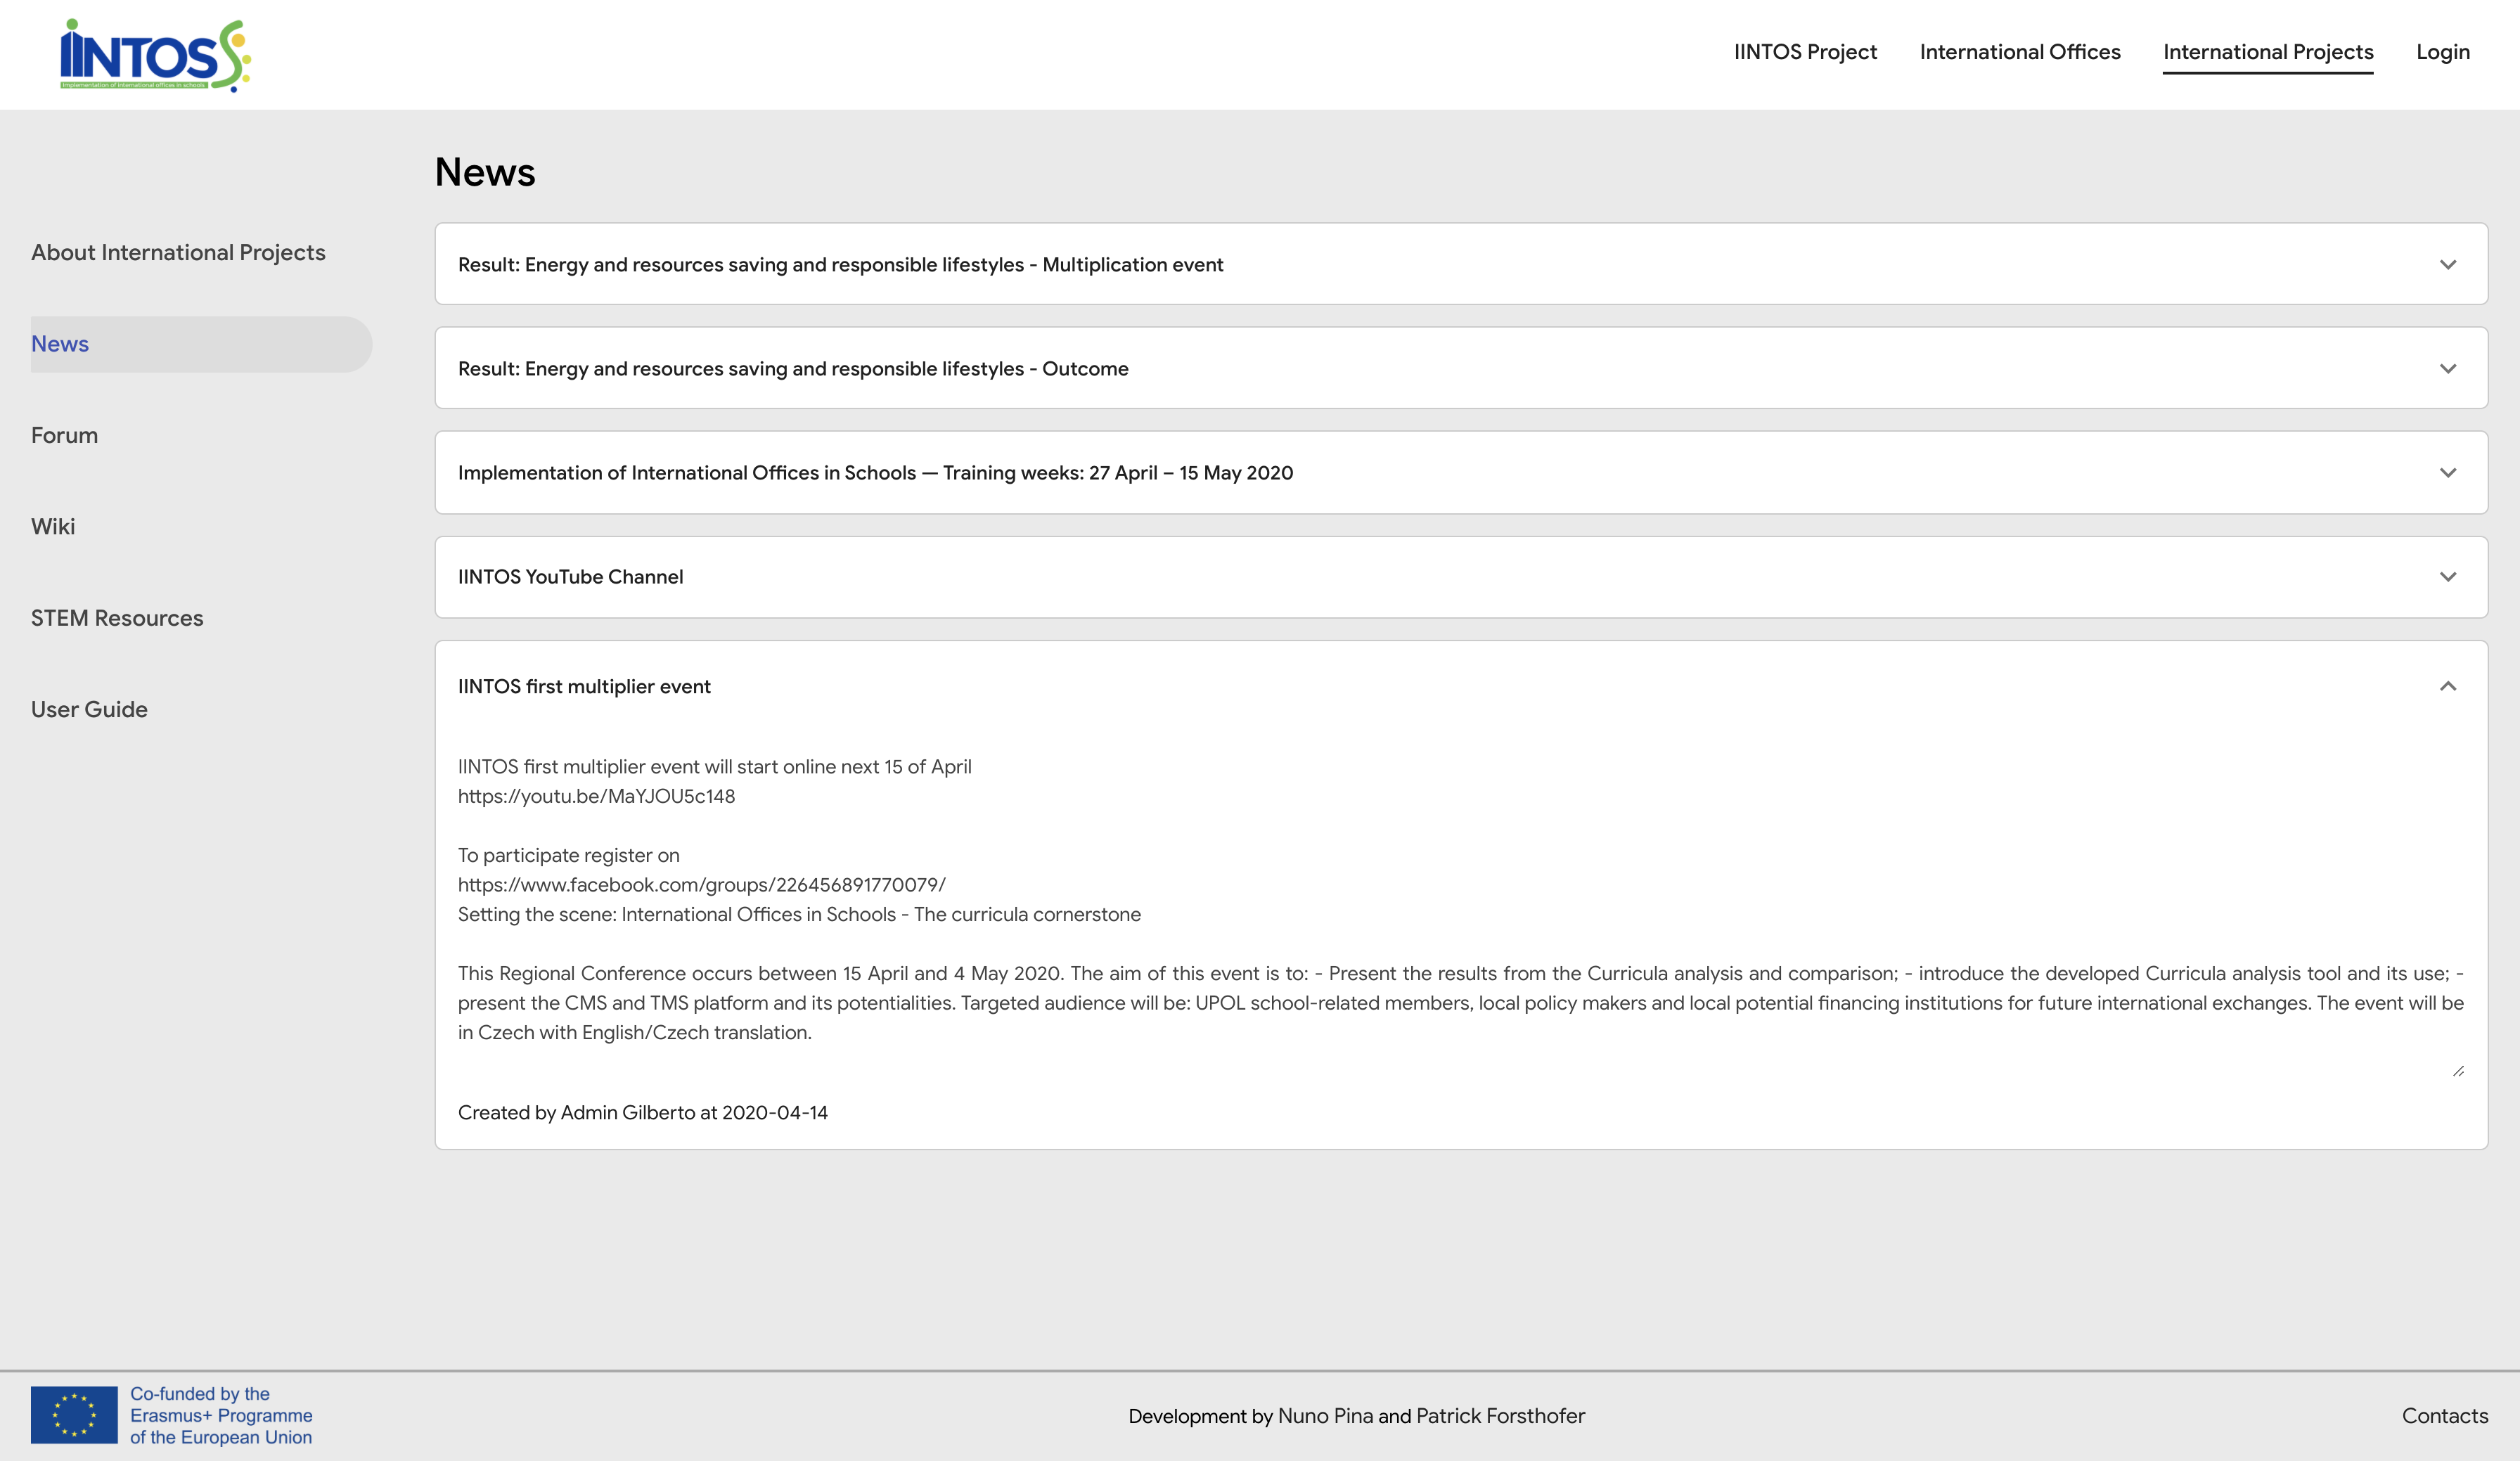
¶ International Projects - News
When selecting the option “News”, you will see the news about on going and finished projects.
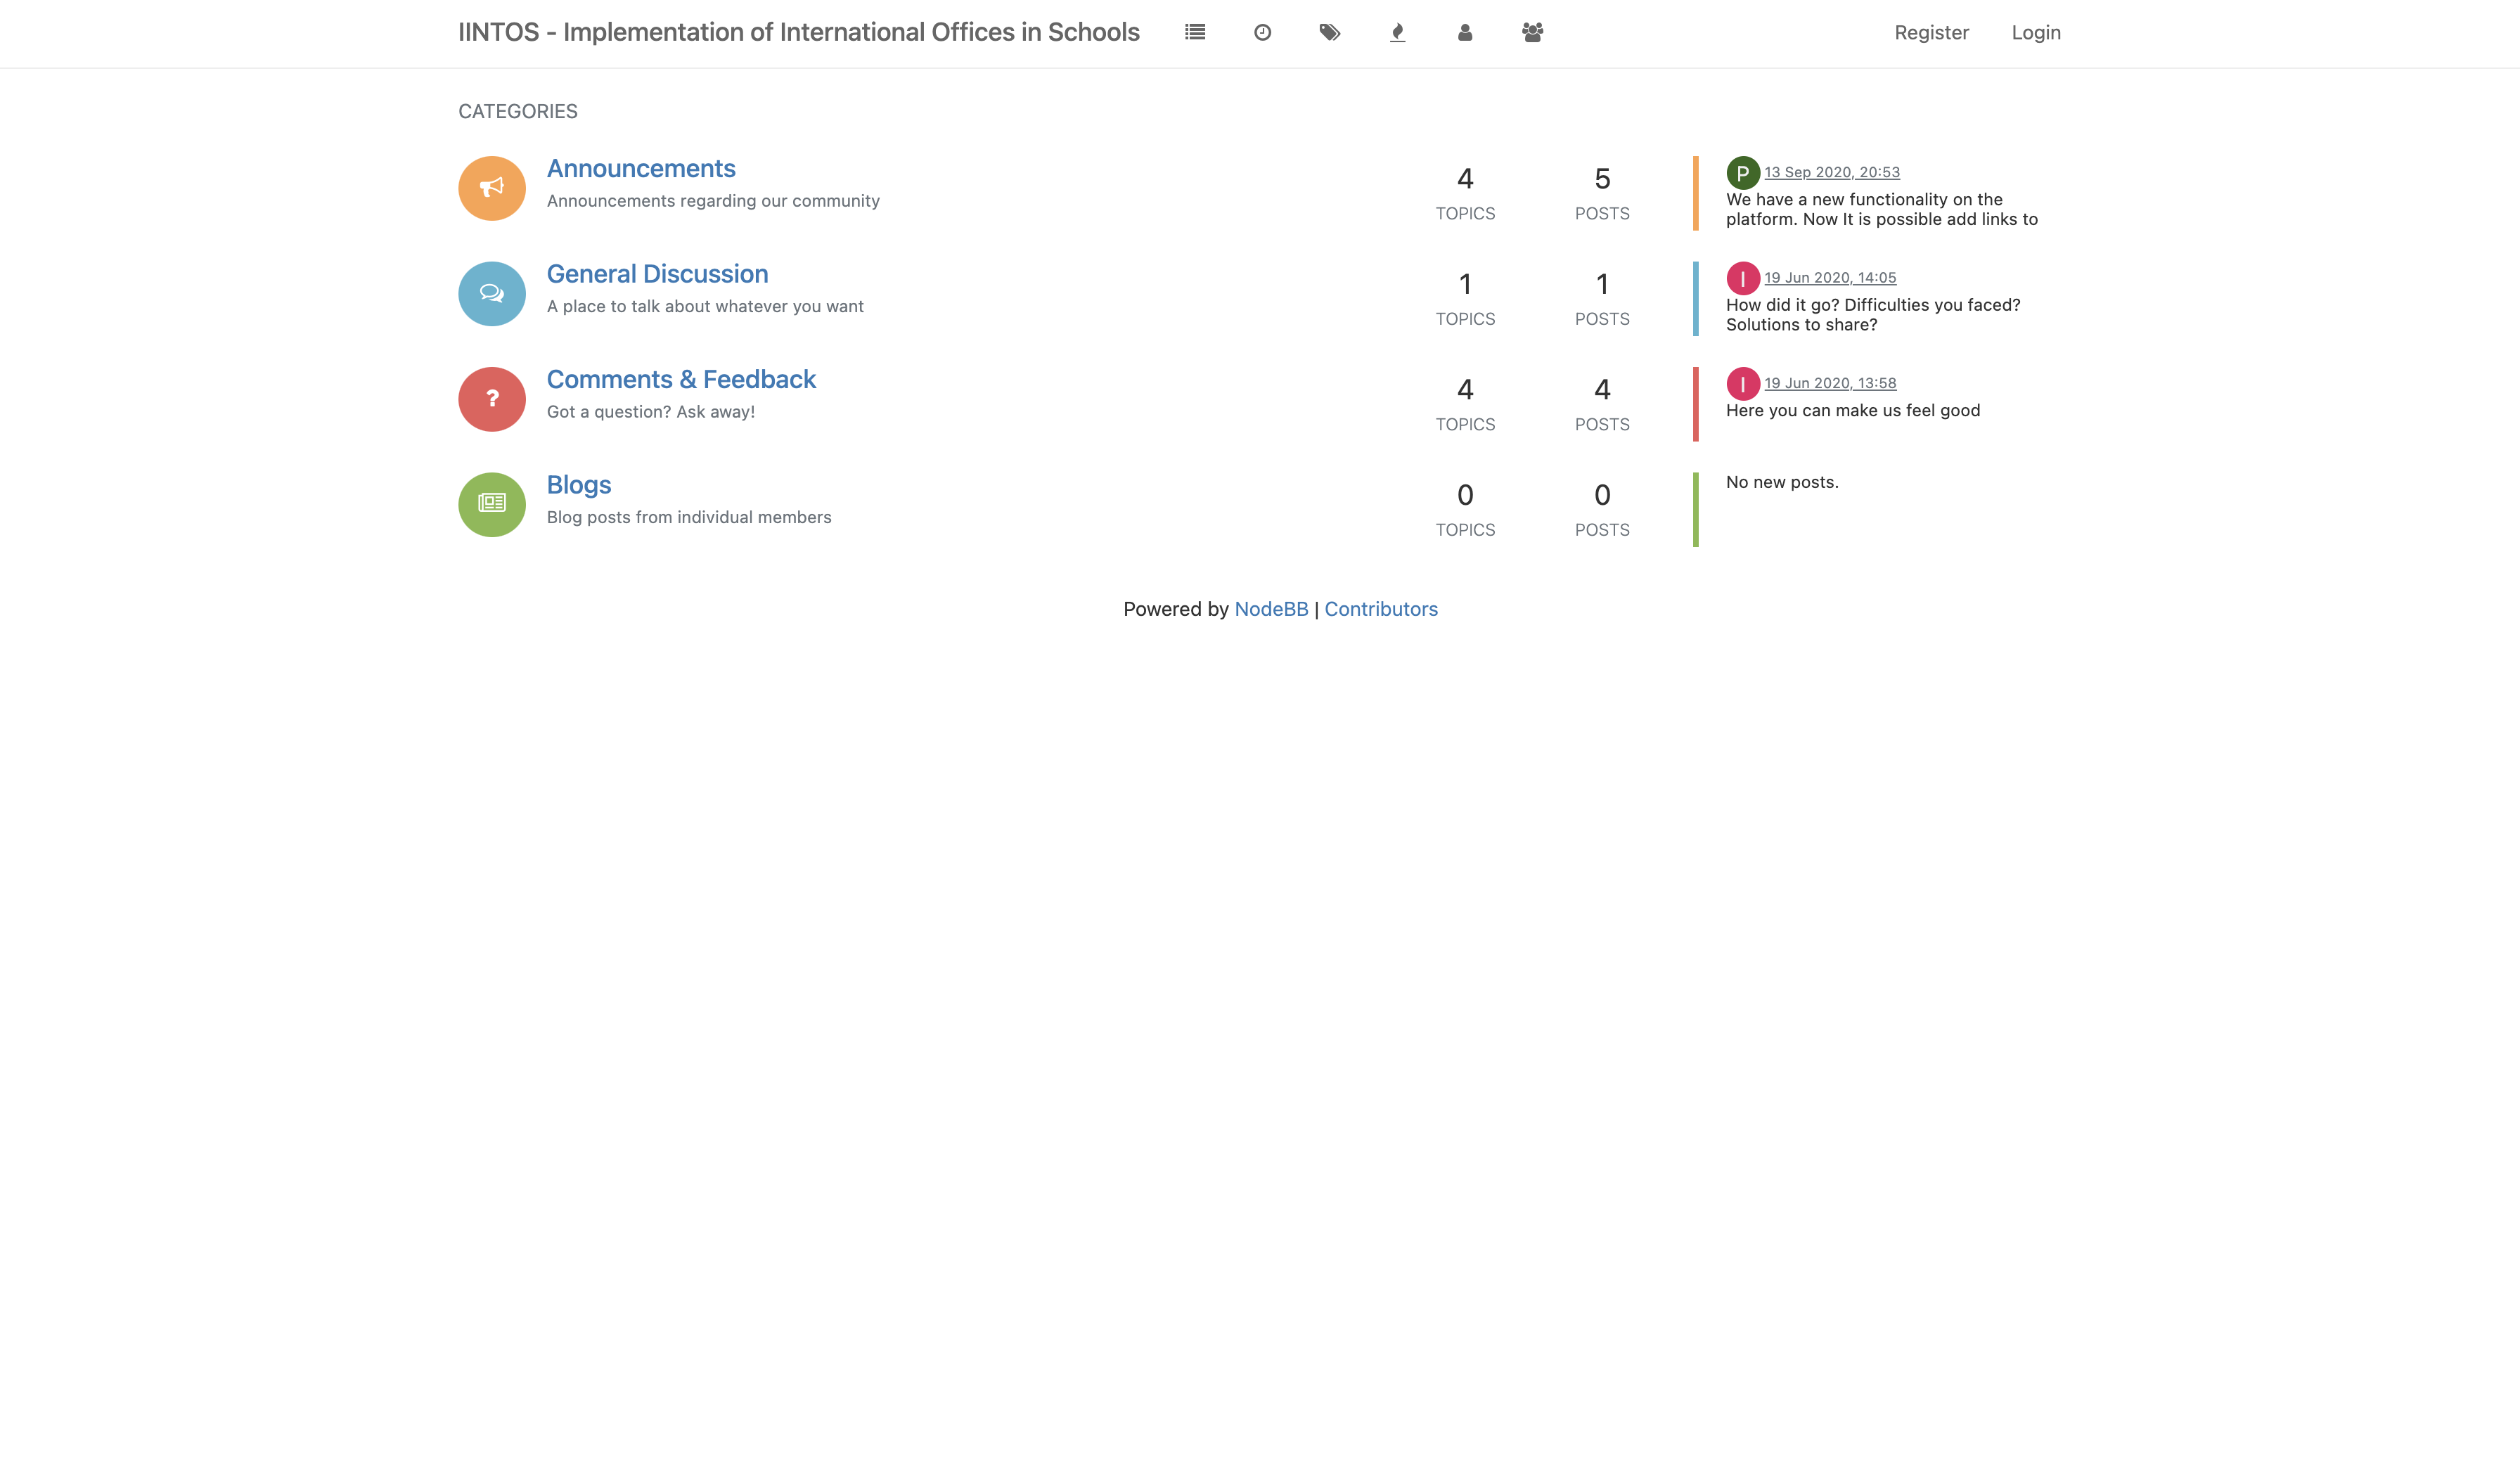
¶ International Projects - Forum
Clicking on “Forum” on the side menu, you will be redirected to the forum platform. Here you can create your account by filling out the form in "Register". When registered, you can interact with other participants on the forum topics.
¶ International Projects - Wiki
Clicking on “Wiki" on the side menu, you will be redirected to the wiki platform. Here you can find all information about the use of the platform.
¶ International Projects - STEM Resources
On “STEM Resources” you can find same information about the STEM.
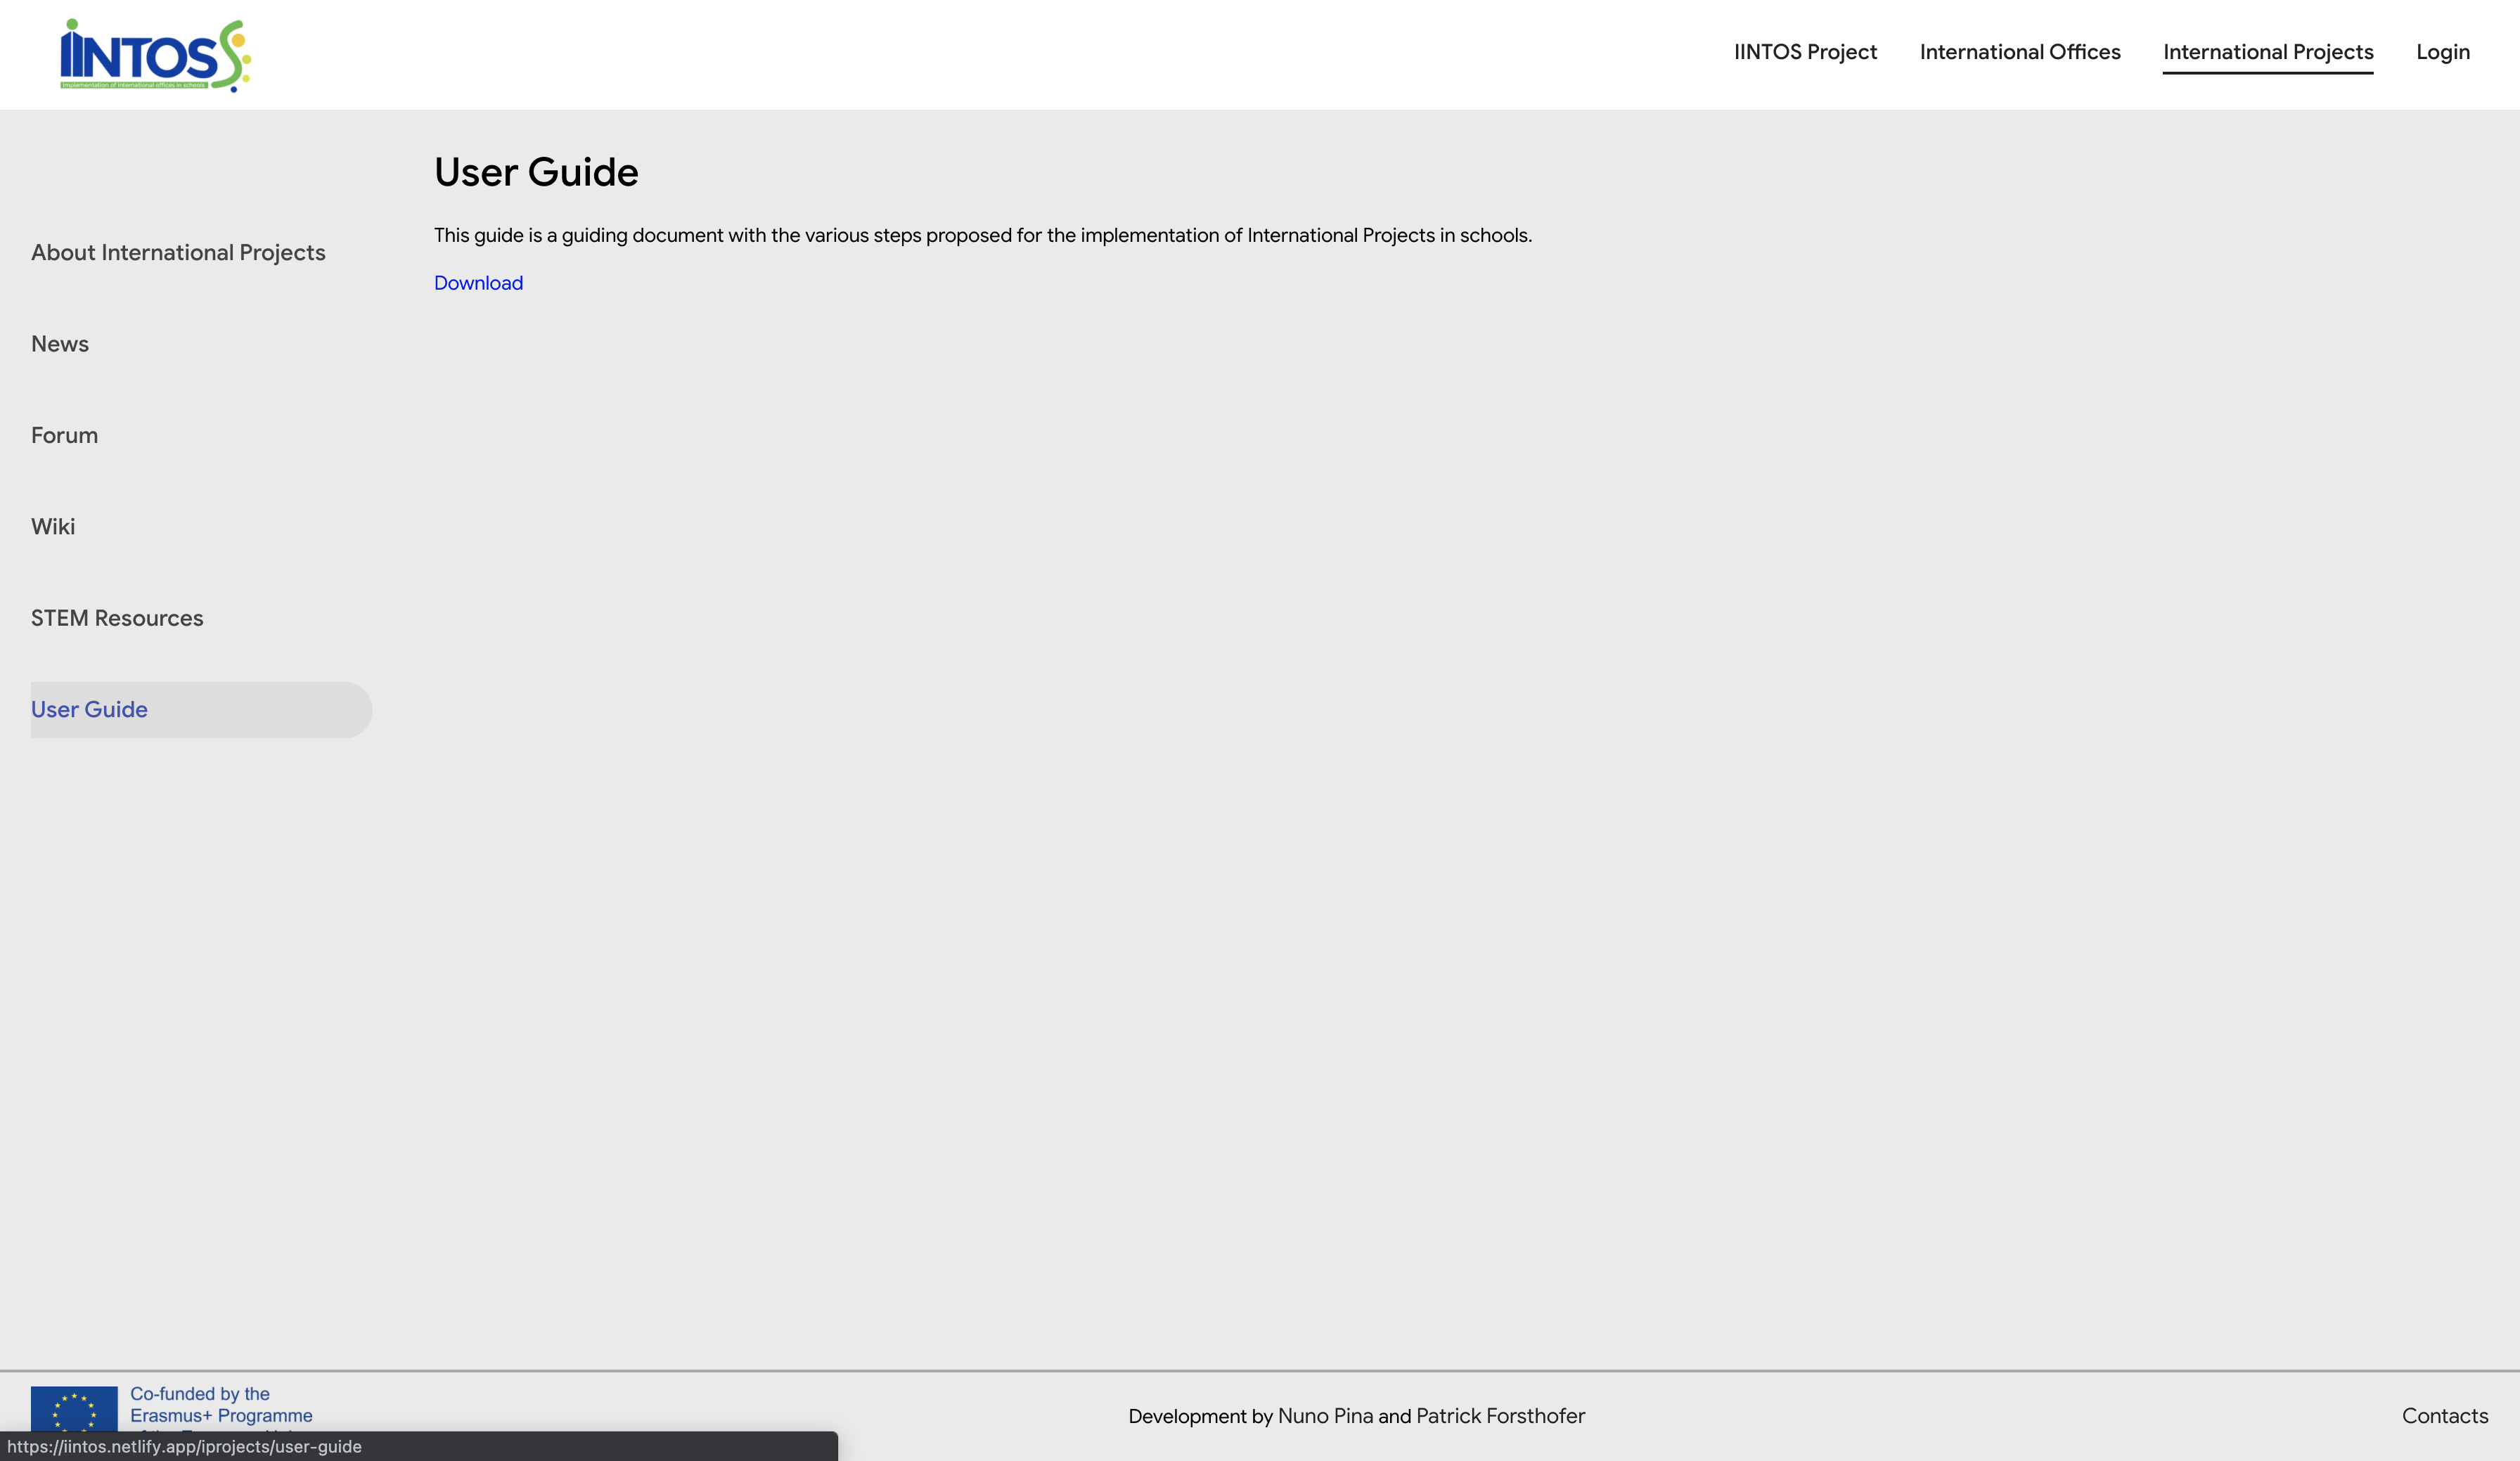
¶ International Projects - User Guide
You can download the user guide for international projects by clicking on “Download”.
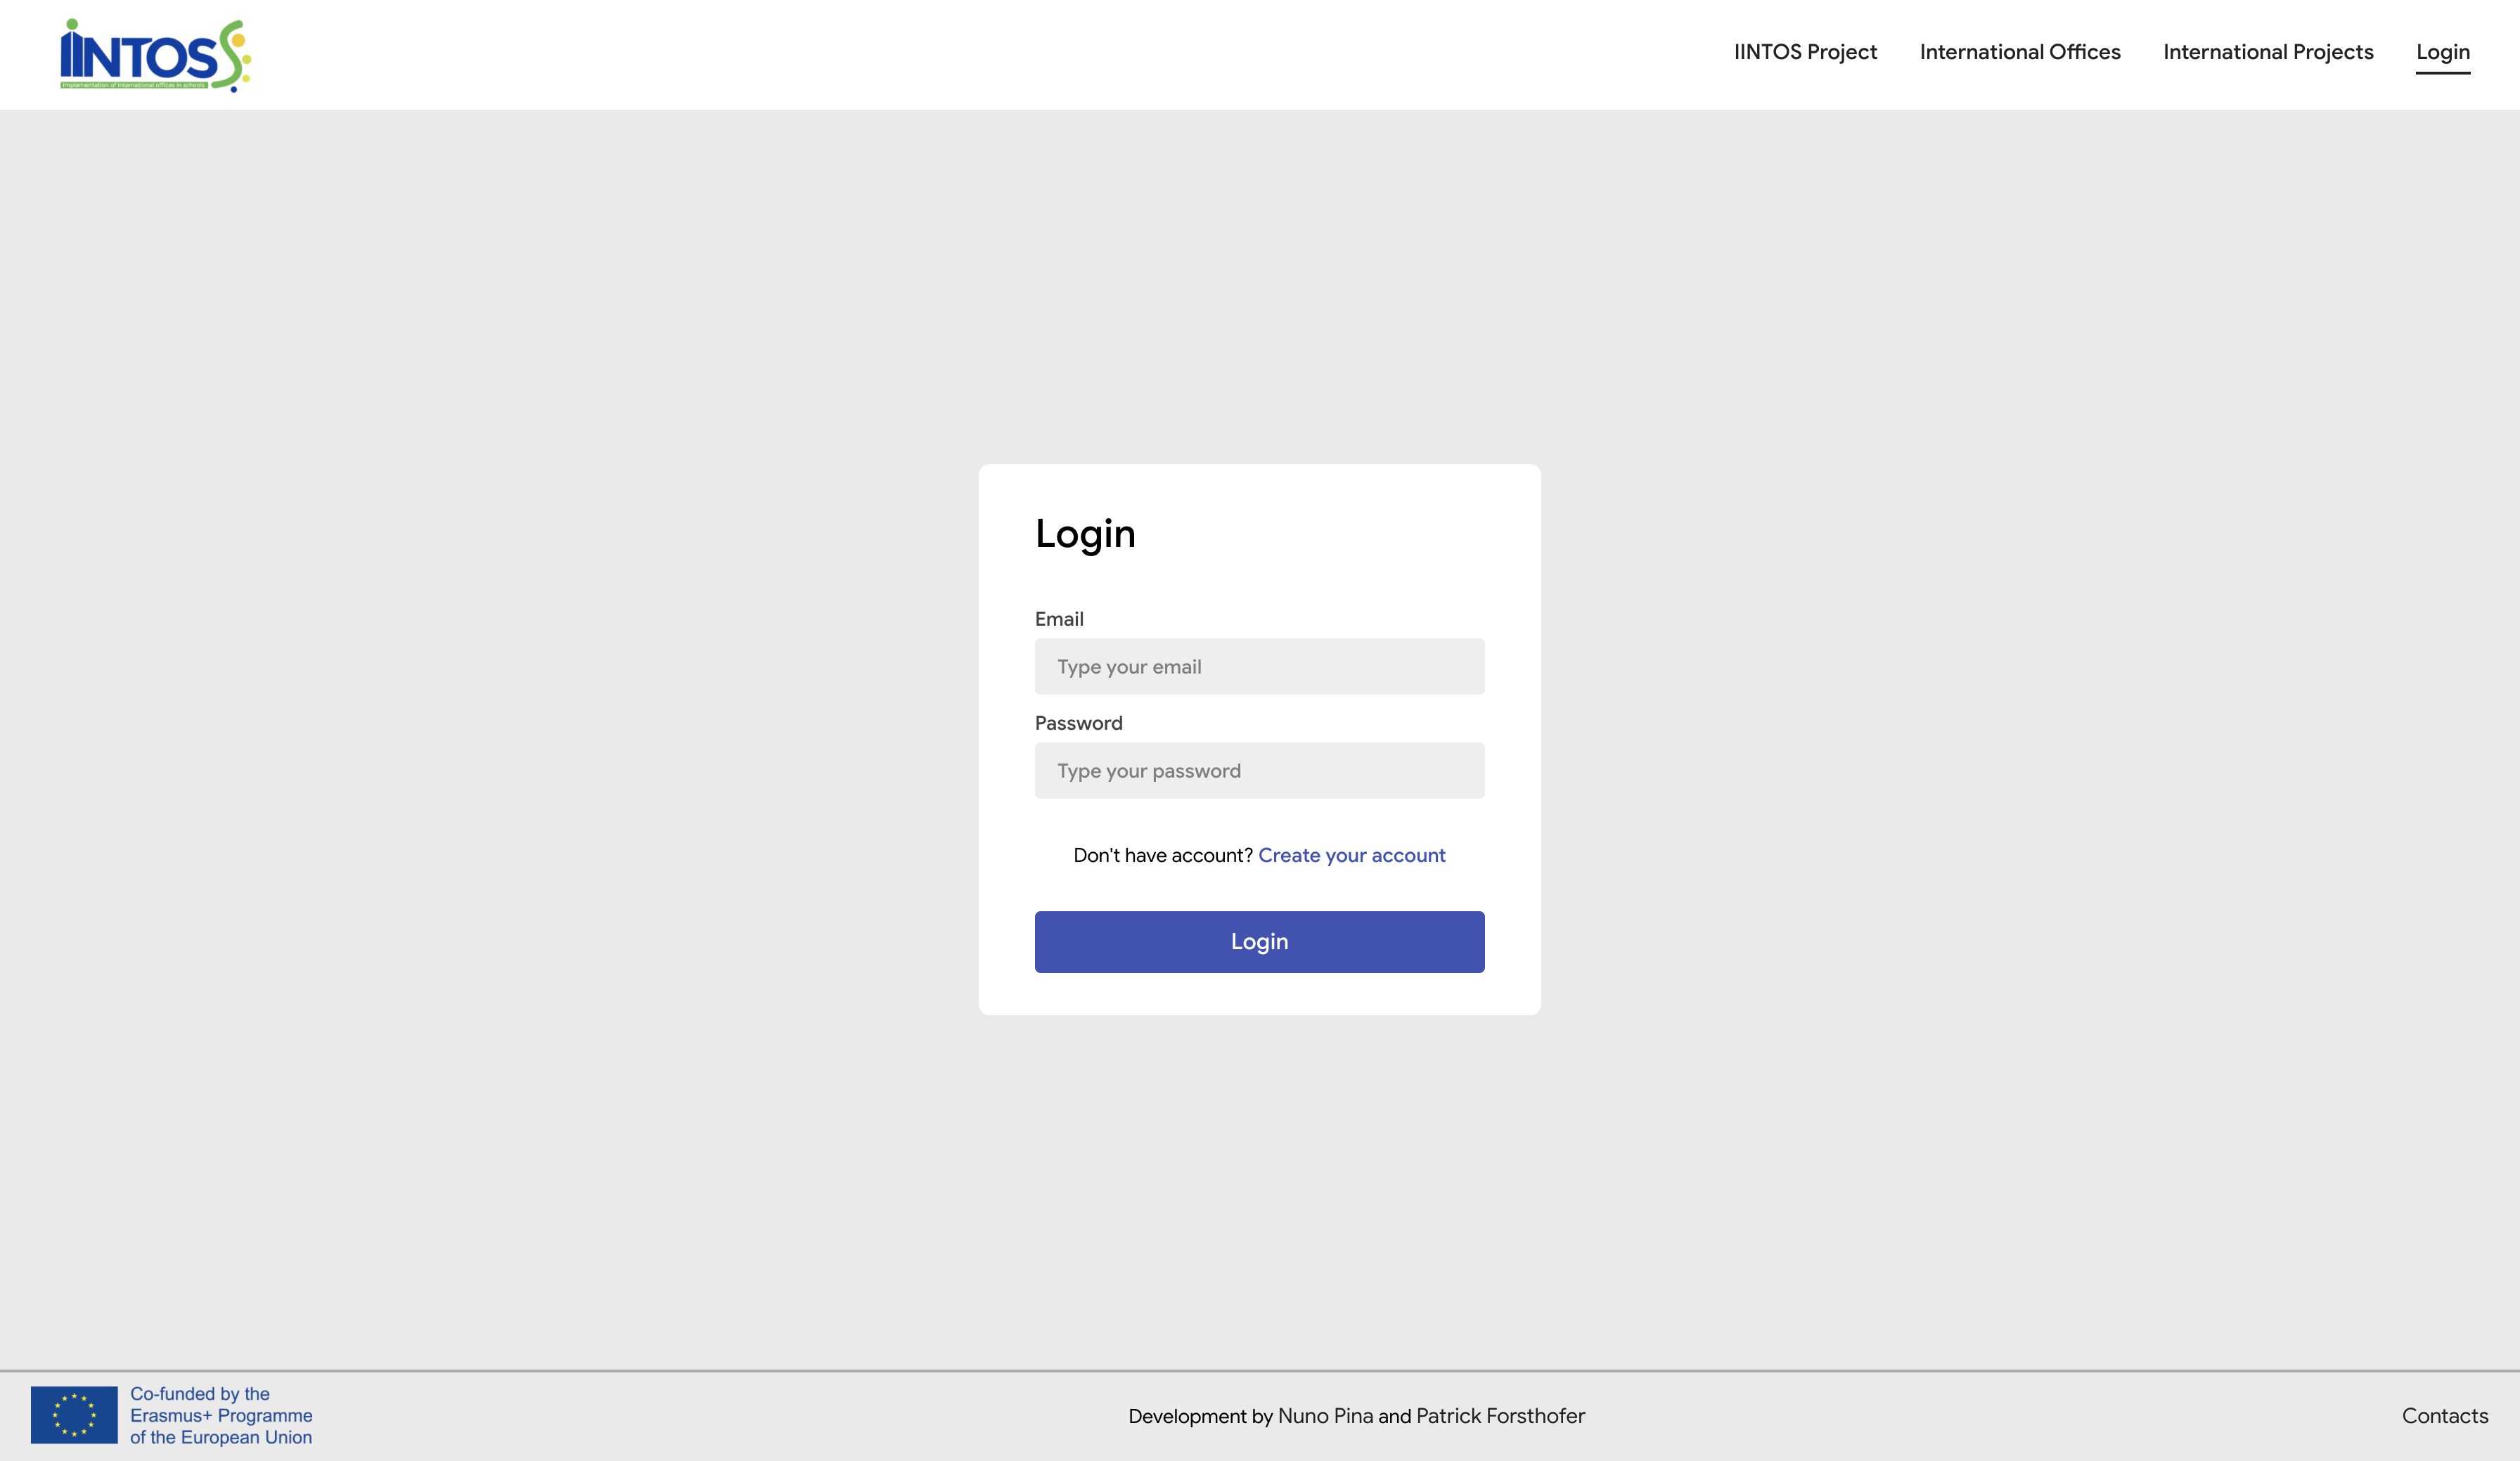
¶ Login
When selecting the option “Login” on the header, you will see the login form. Here you can filling the login form with your email and password, or, if you do not have account yet, you can register on “Create your account”.
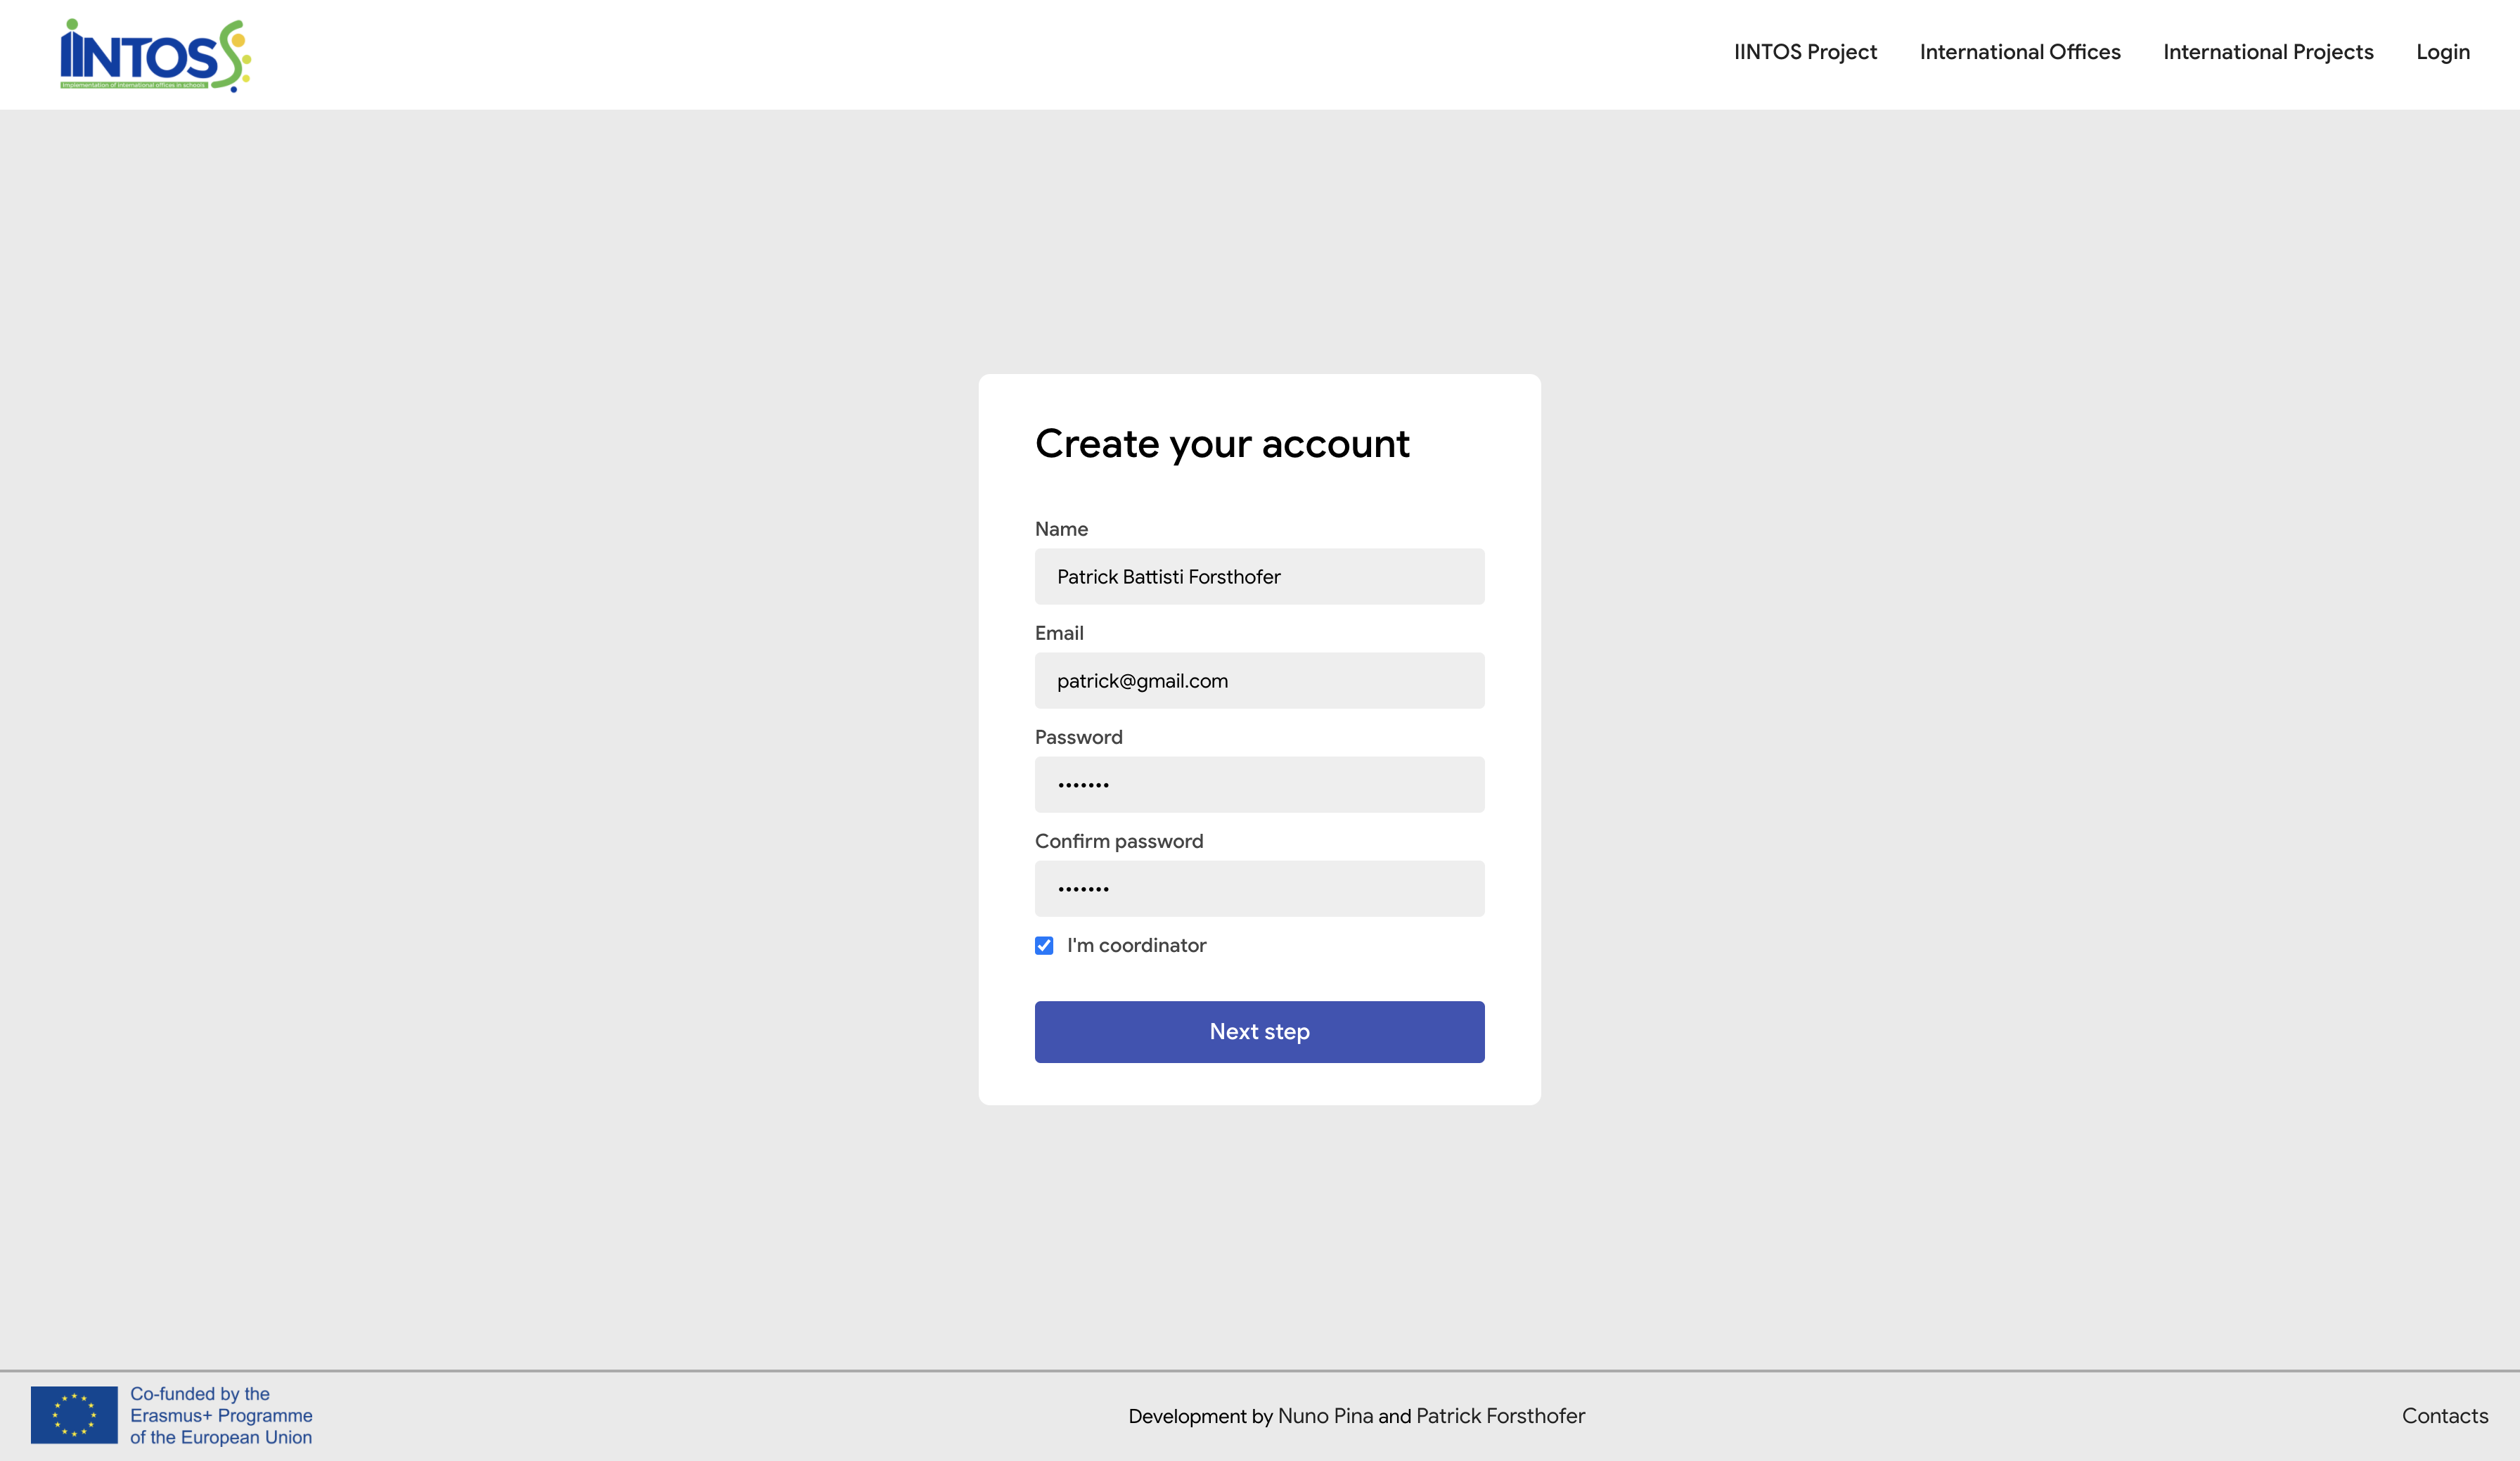
¶ Create your account
You have to fill the form with your name, email and password. You must mark the checkbox “I’m coordinator” if you are the International coordinator of your school, or in the case there is no International coordinator, you are authorized to developing International projects. Then click on "Next step".
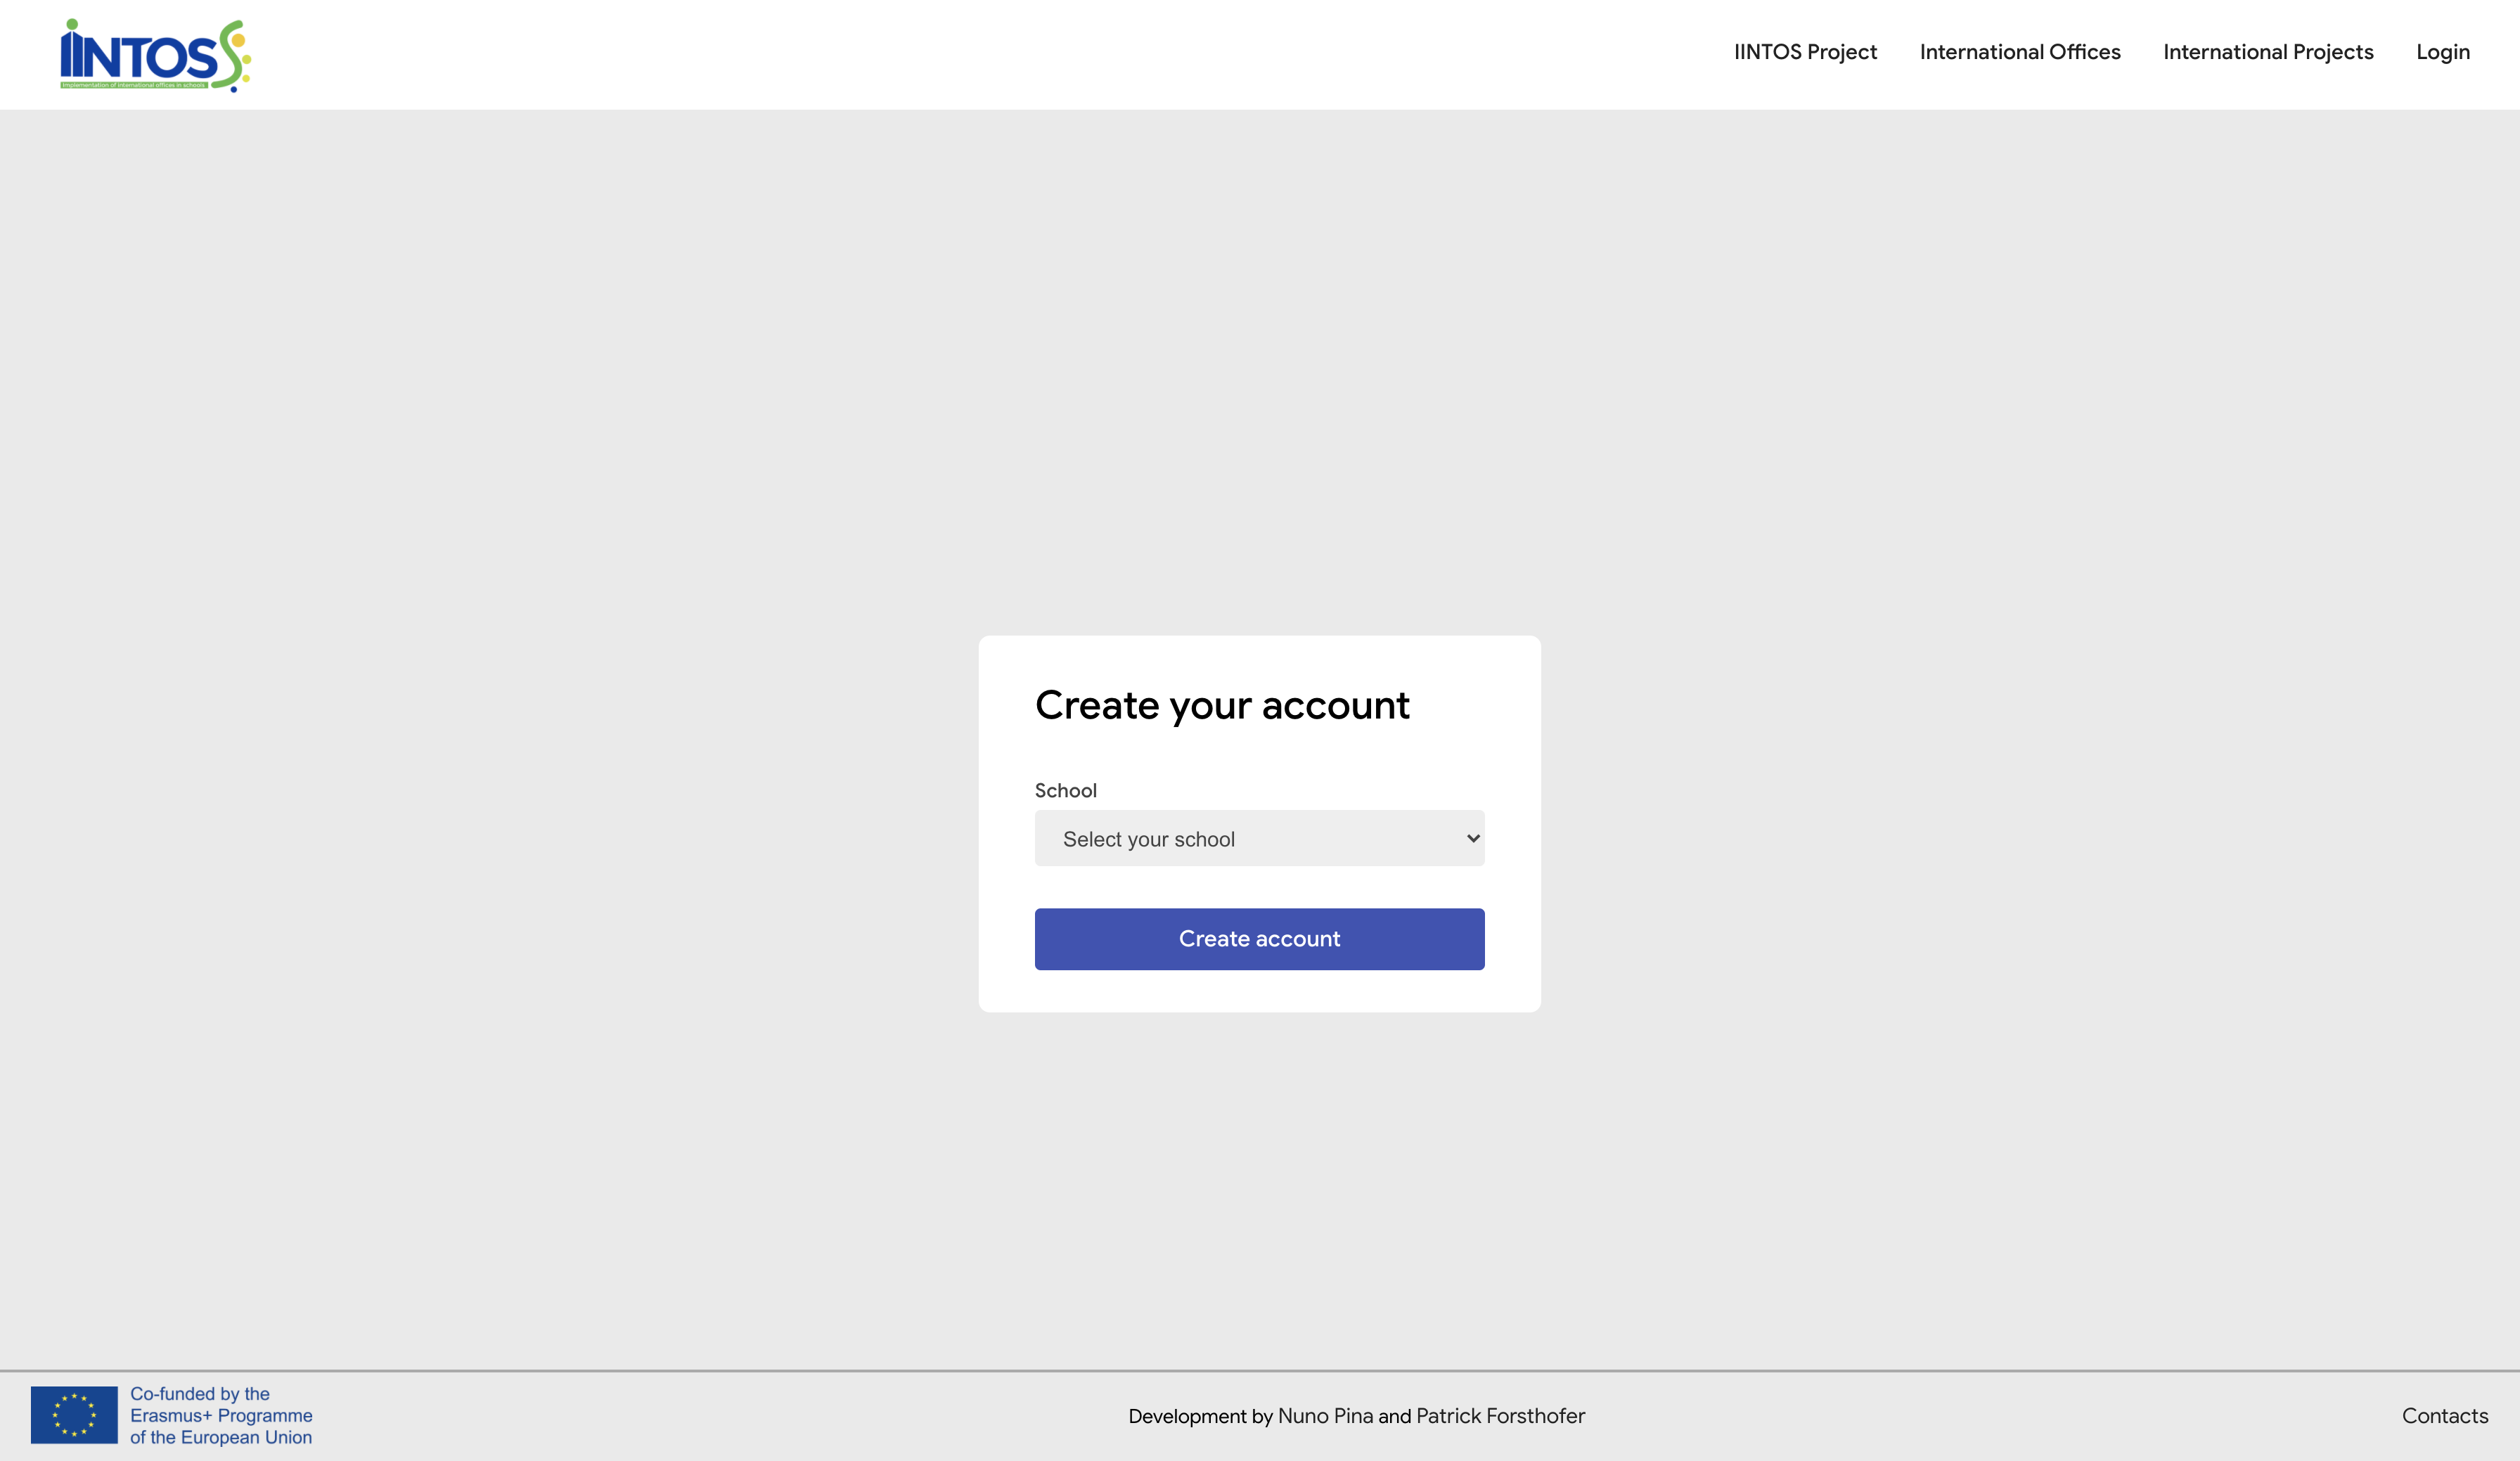
¶ Create your account
Here you have to select your school. Only if you are not the coordinator.
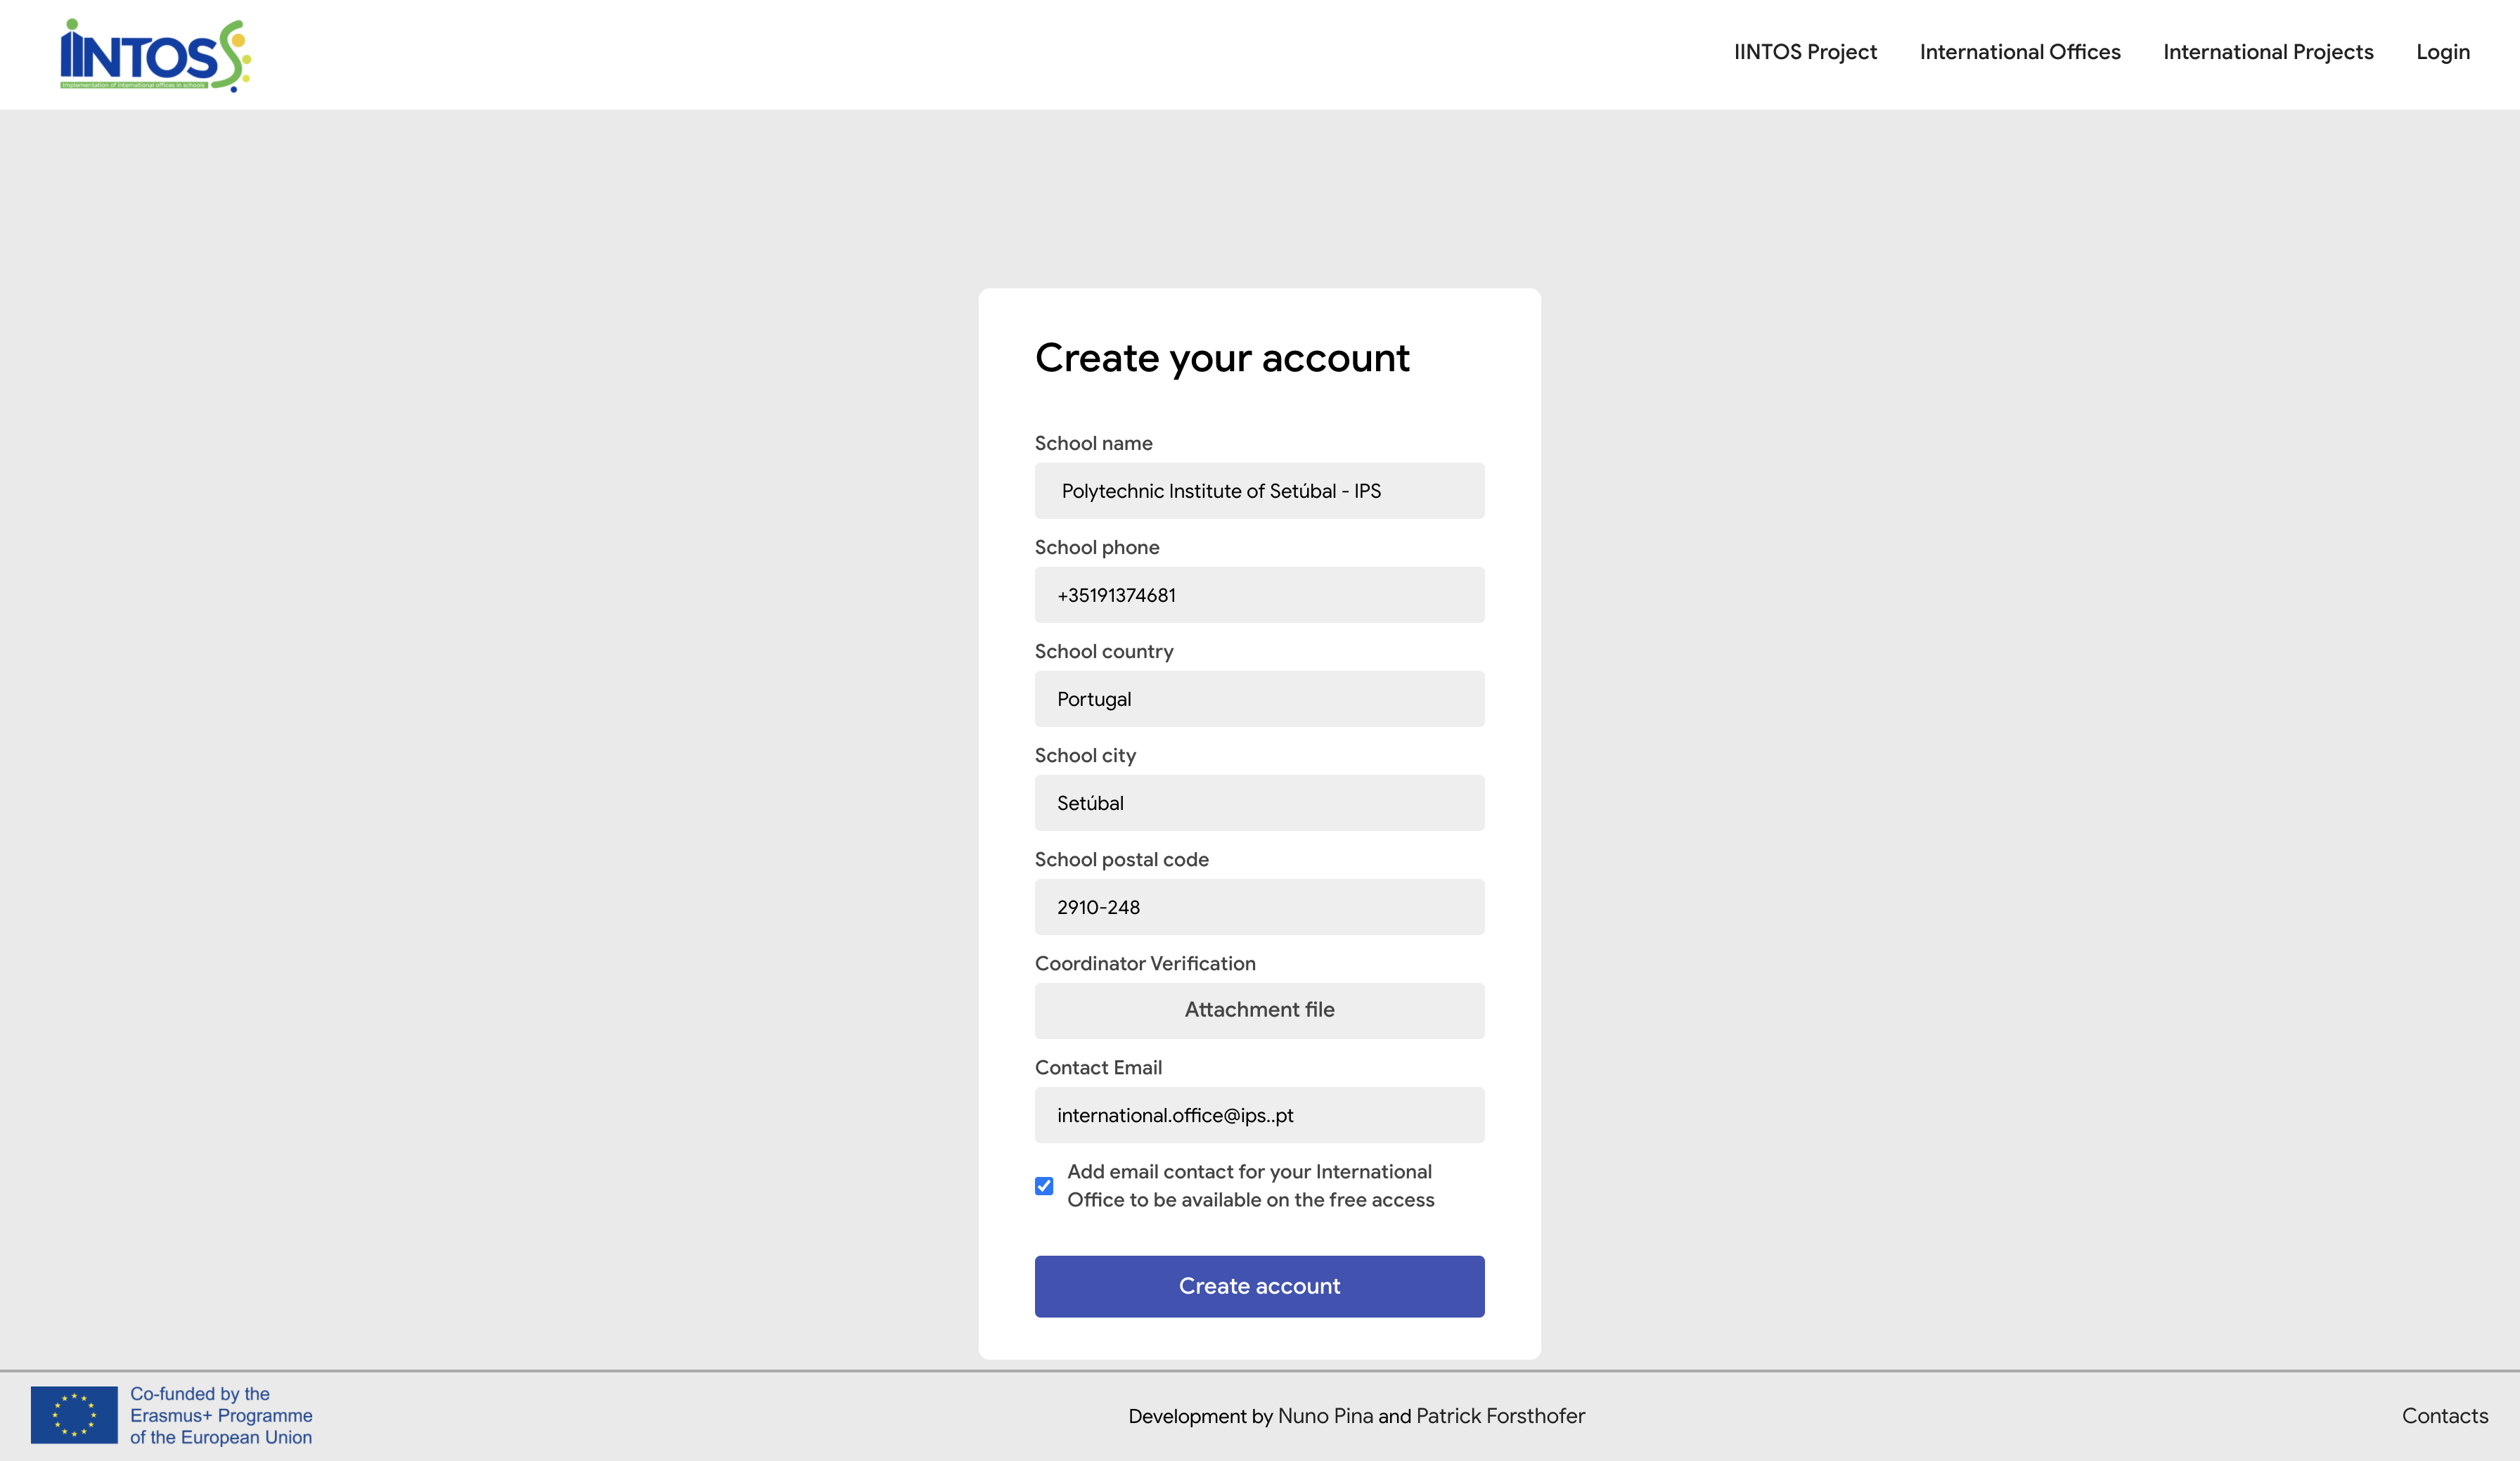
¶ Create your account
If you are the coordinator you need to complete your registration by filling in the school information and submitting the document that confirms that you are really a coordinator (Coordinator Verification)
¶ Create your account
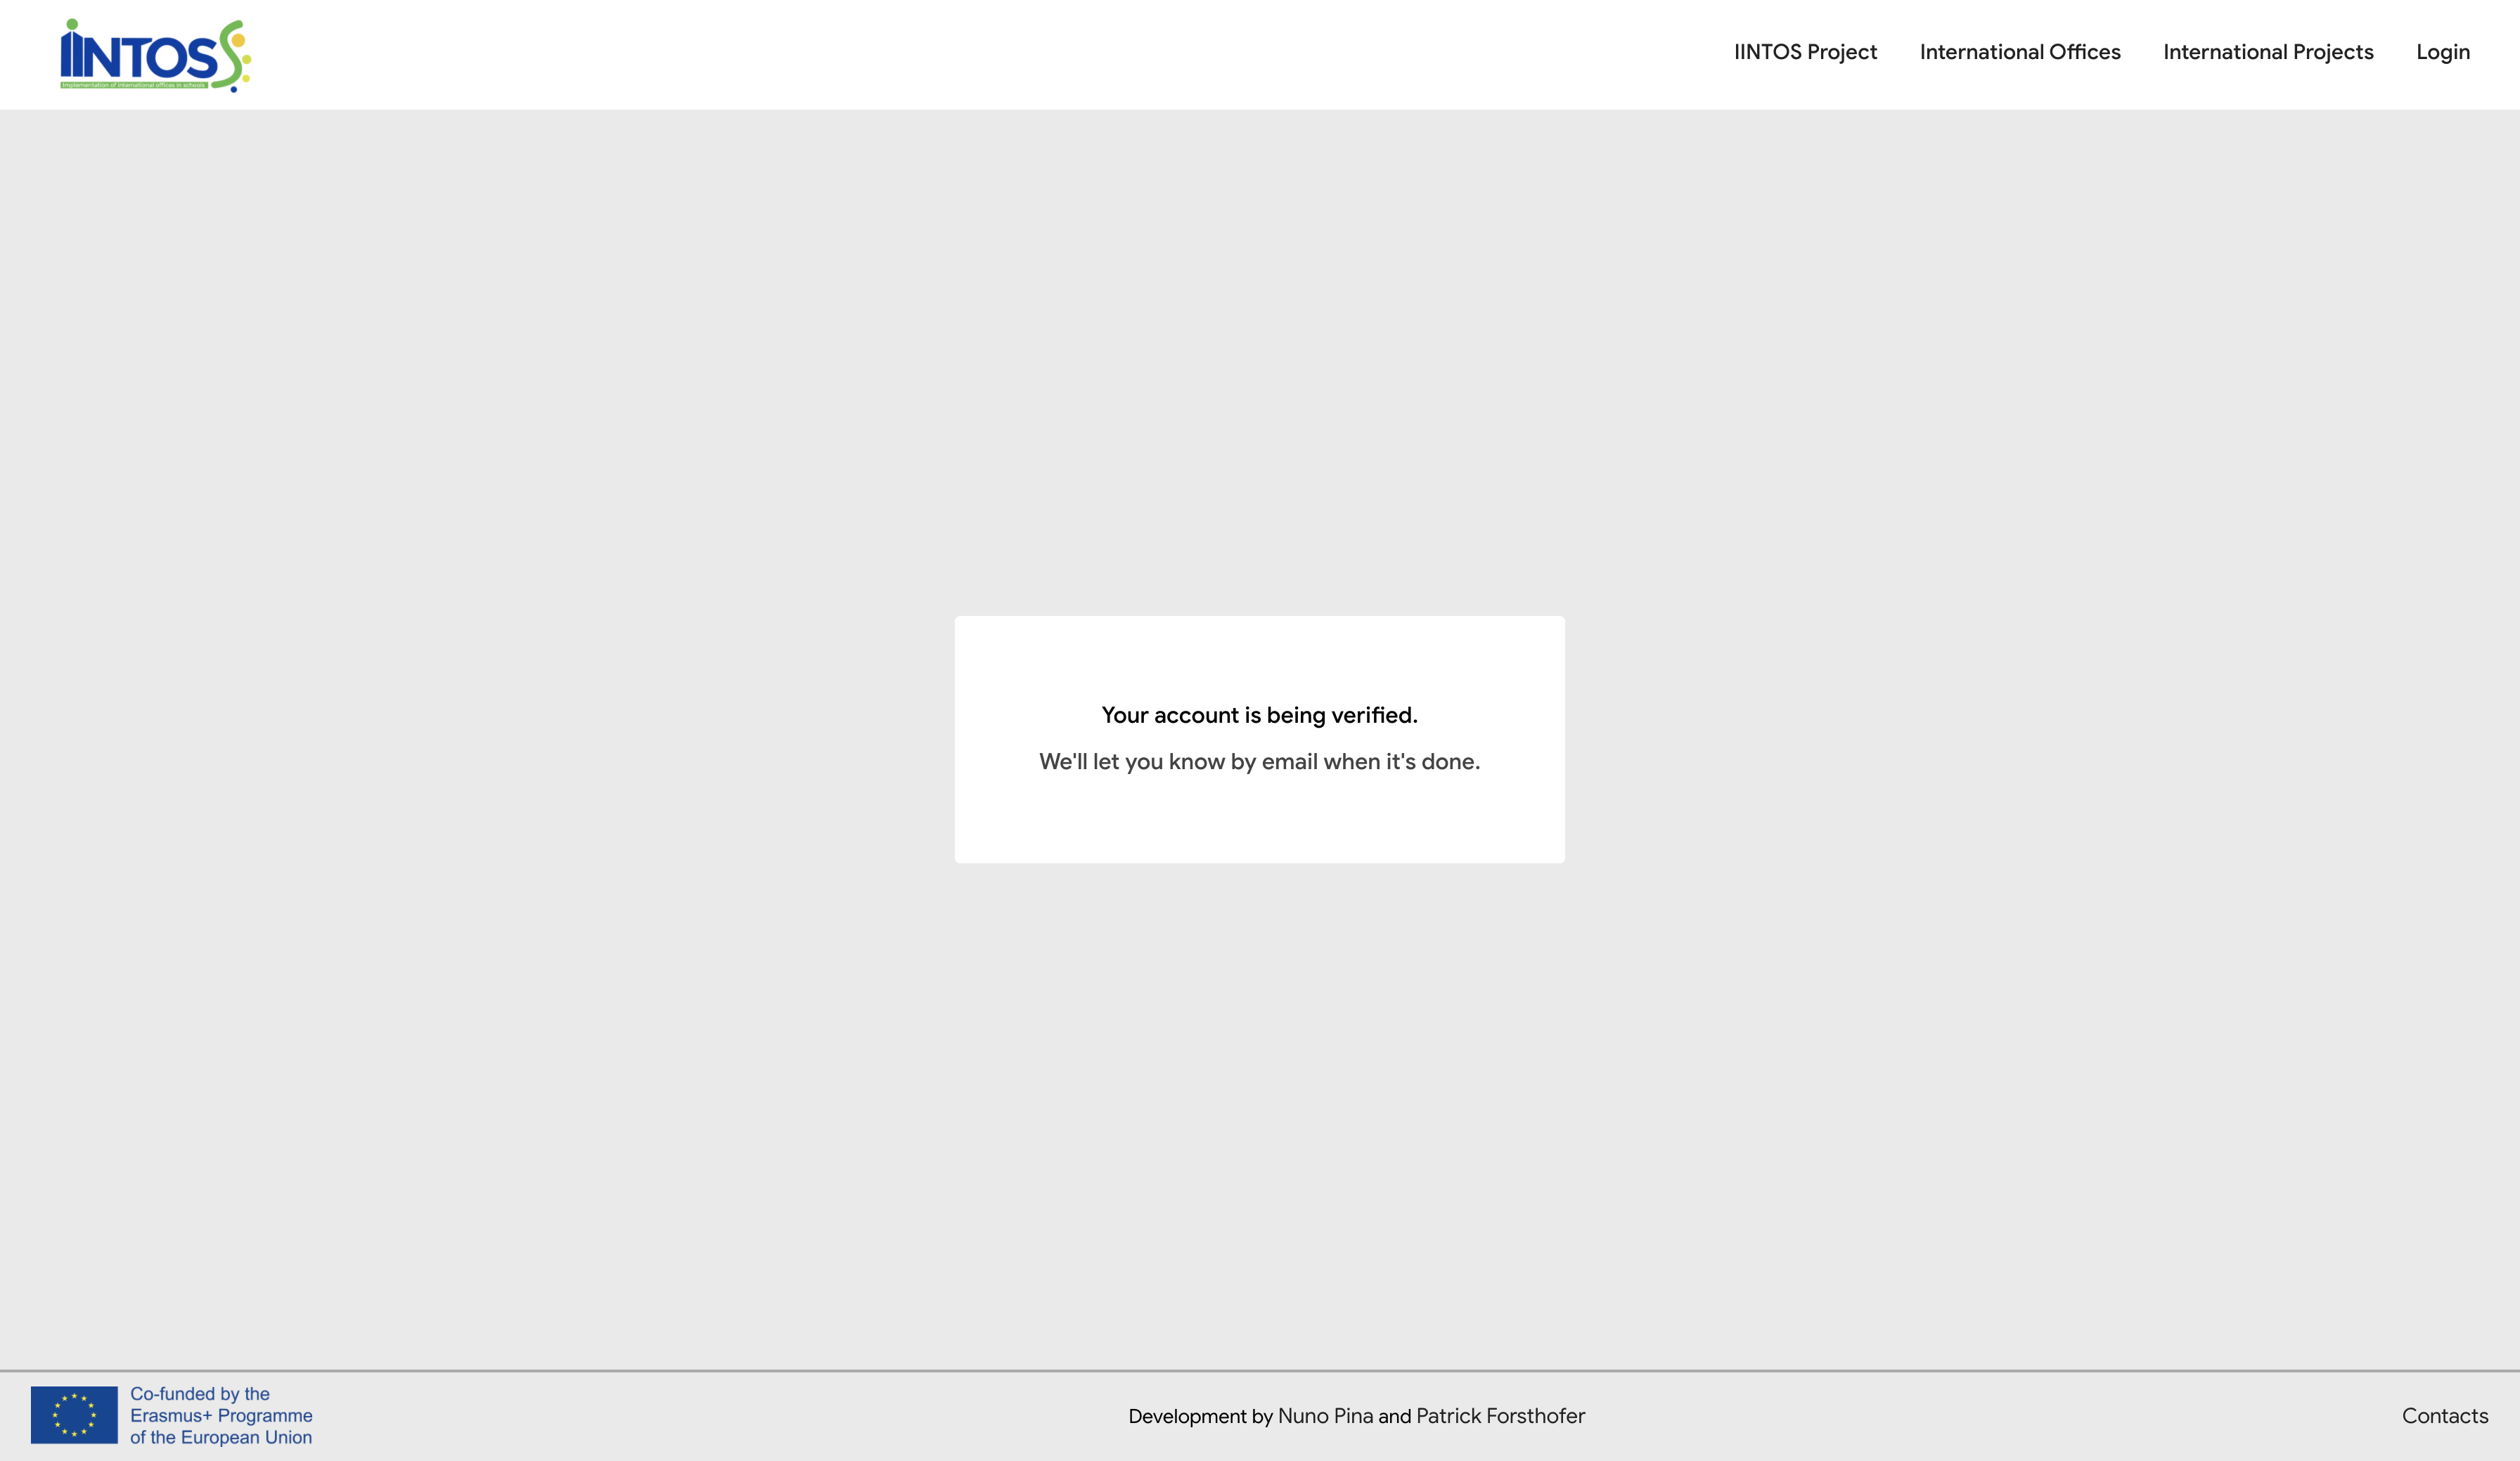
Your registration will be verified by you school coordinator if you are not the coordinator. If you are a coordinator, your account will be verified by the platform administrators. Wait for the confirmation email.
¶ Dashbaord
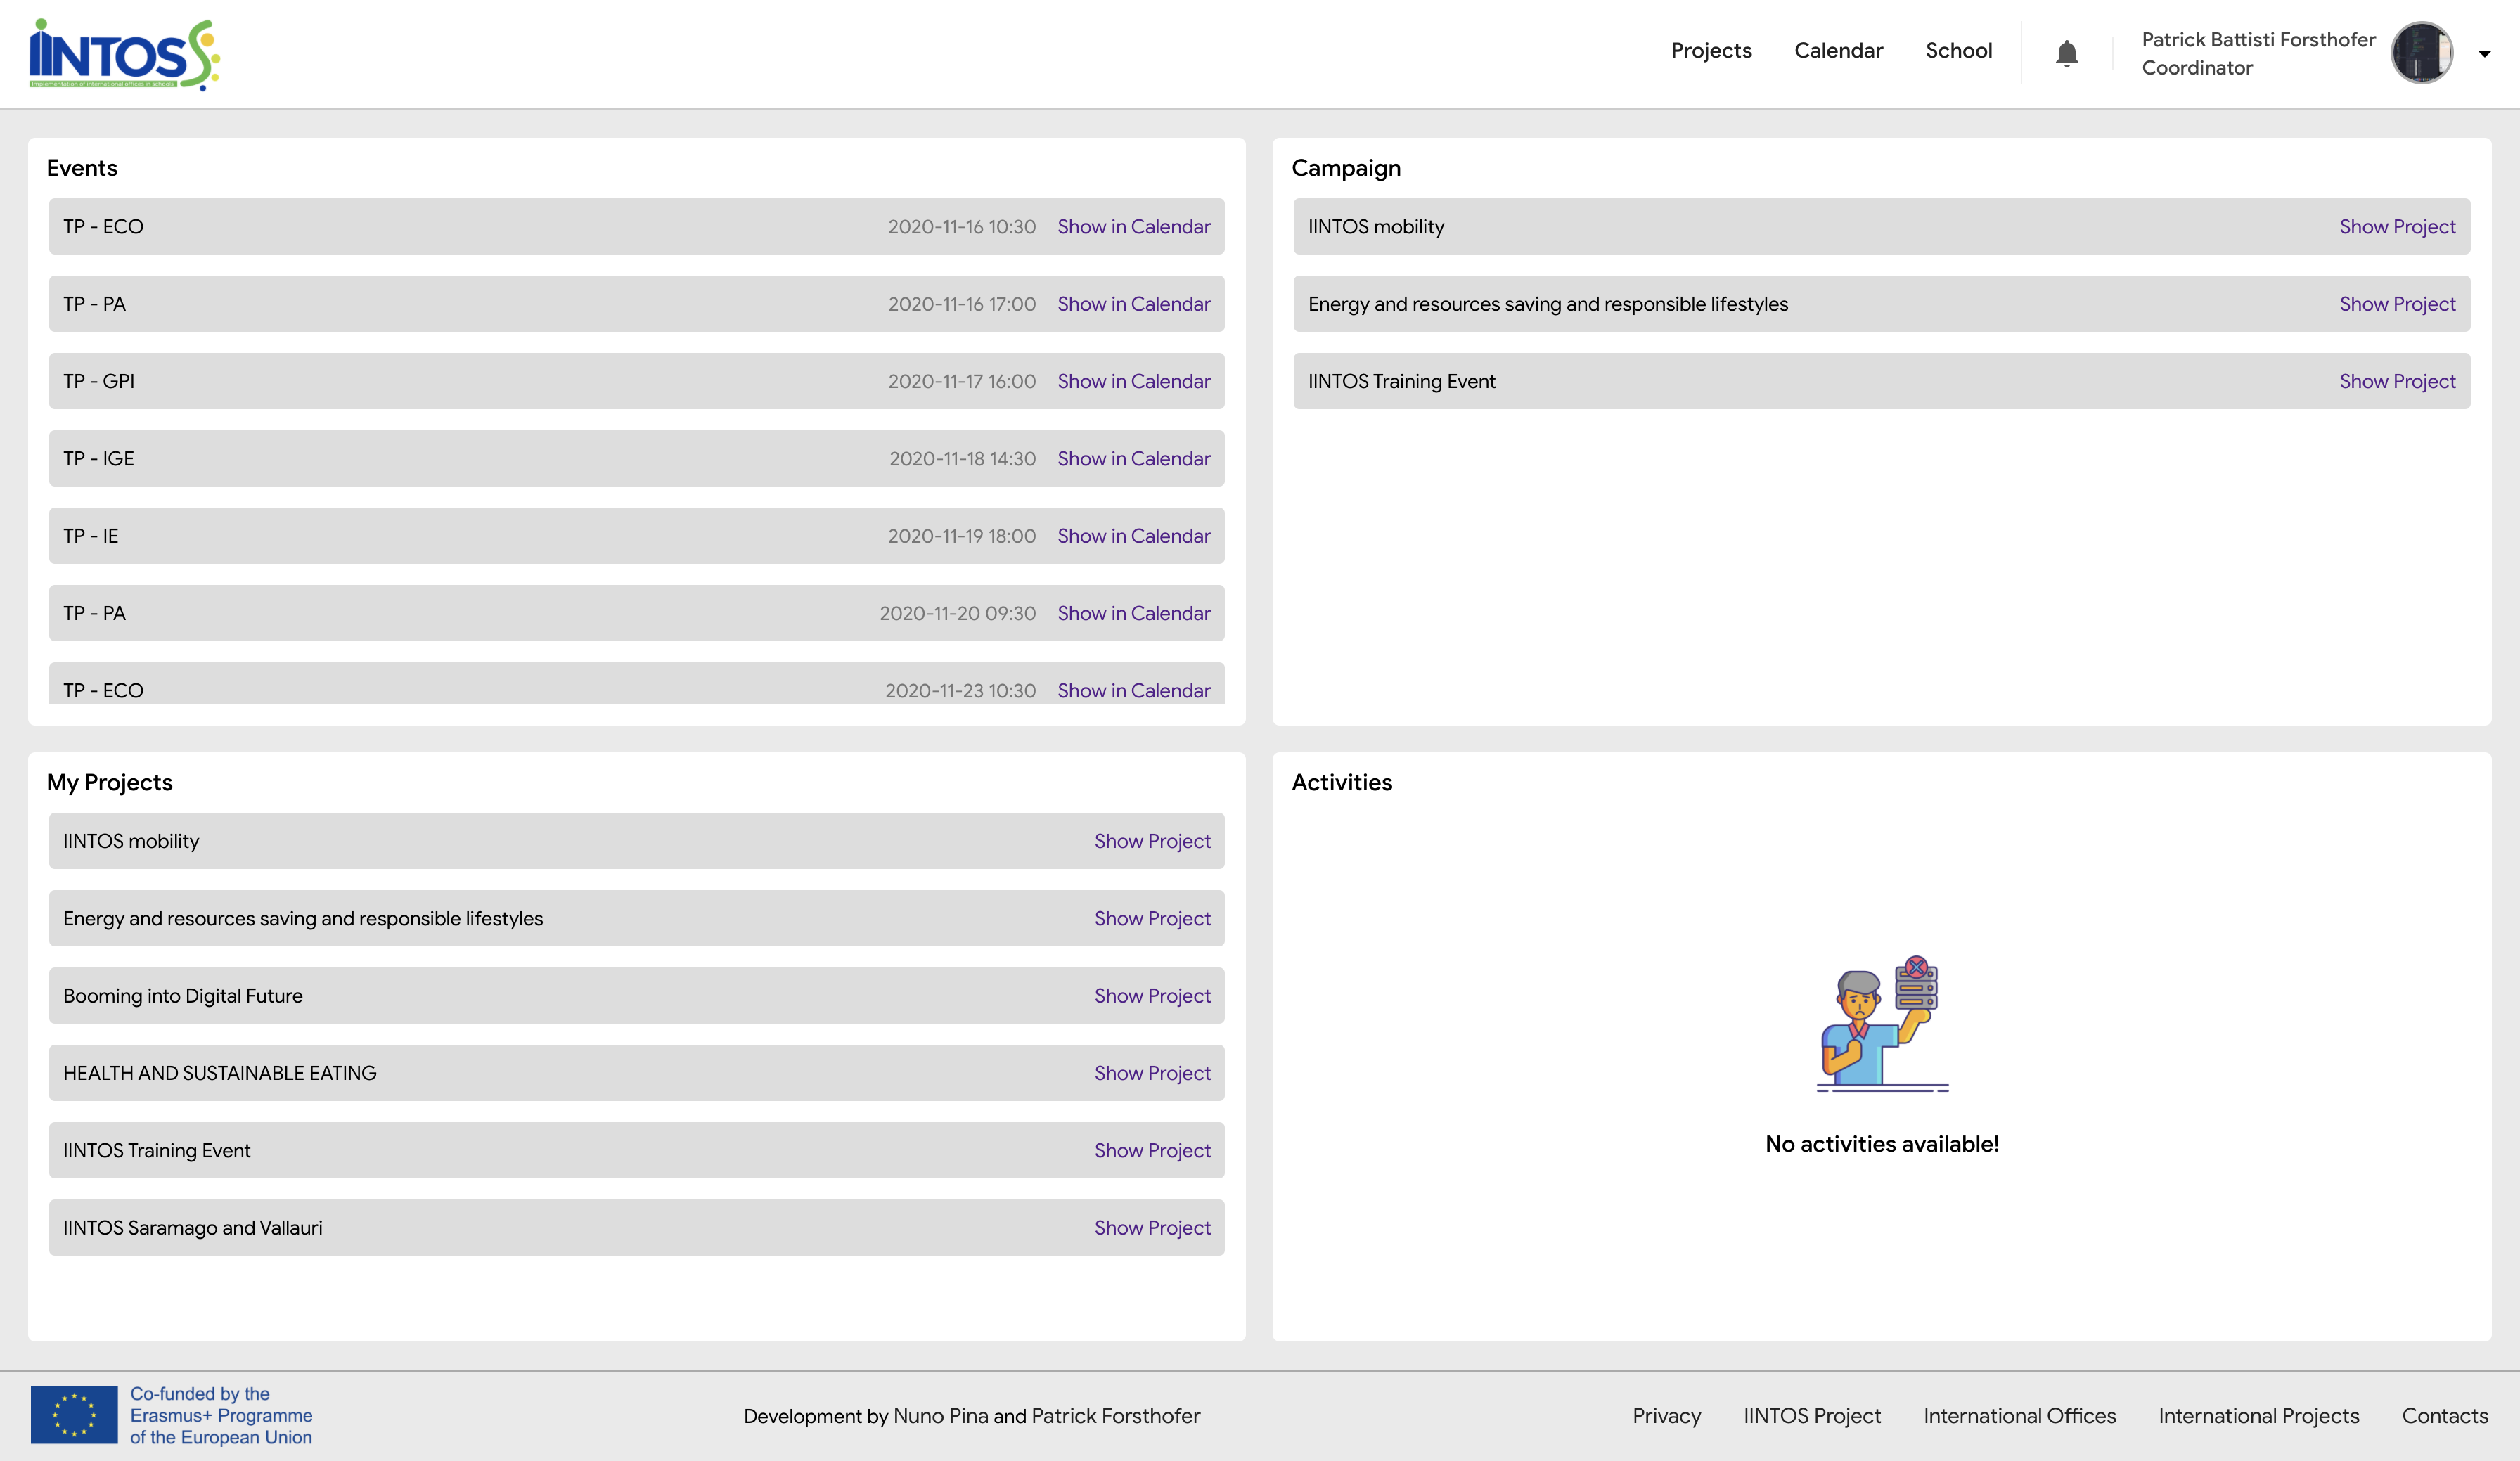
With your account verified, you can access the restrict part of the platform. The first page is one dashboard with some information of the platform. You can see your Google Calendar events, Projects in campaign, Your Projects and your project activities. There are shortcuts to access projects and activities by clicking on "Show Project" and "Show Activity”.
¶ Projects - My Projects
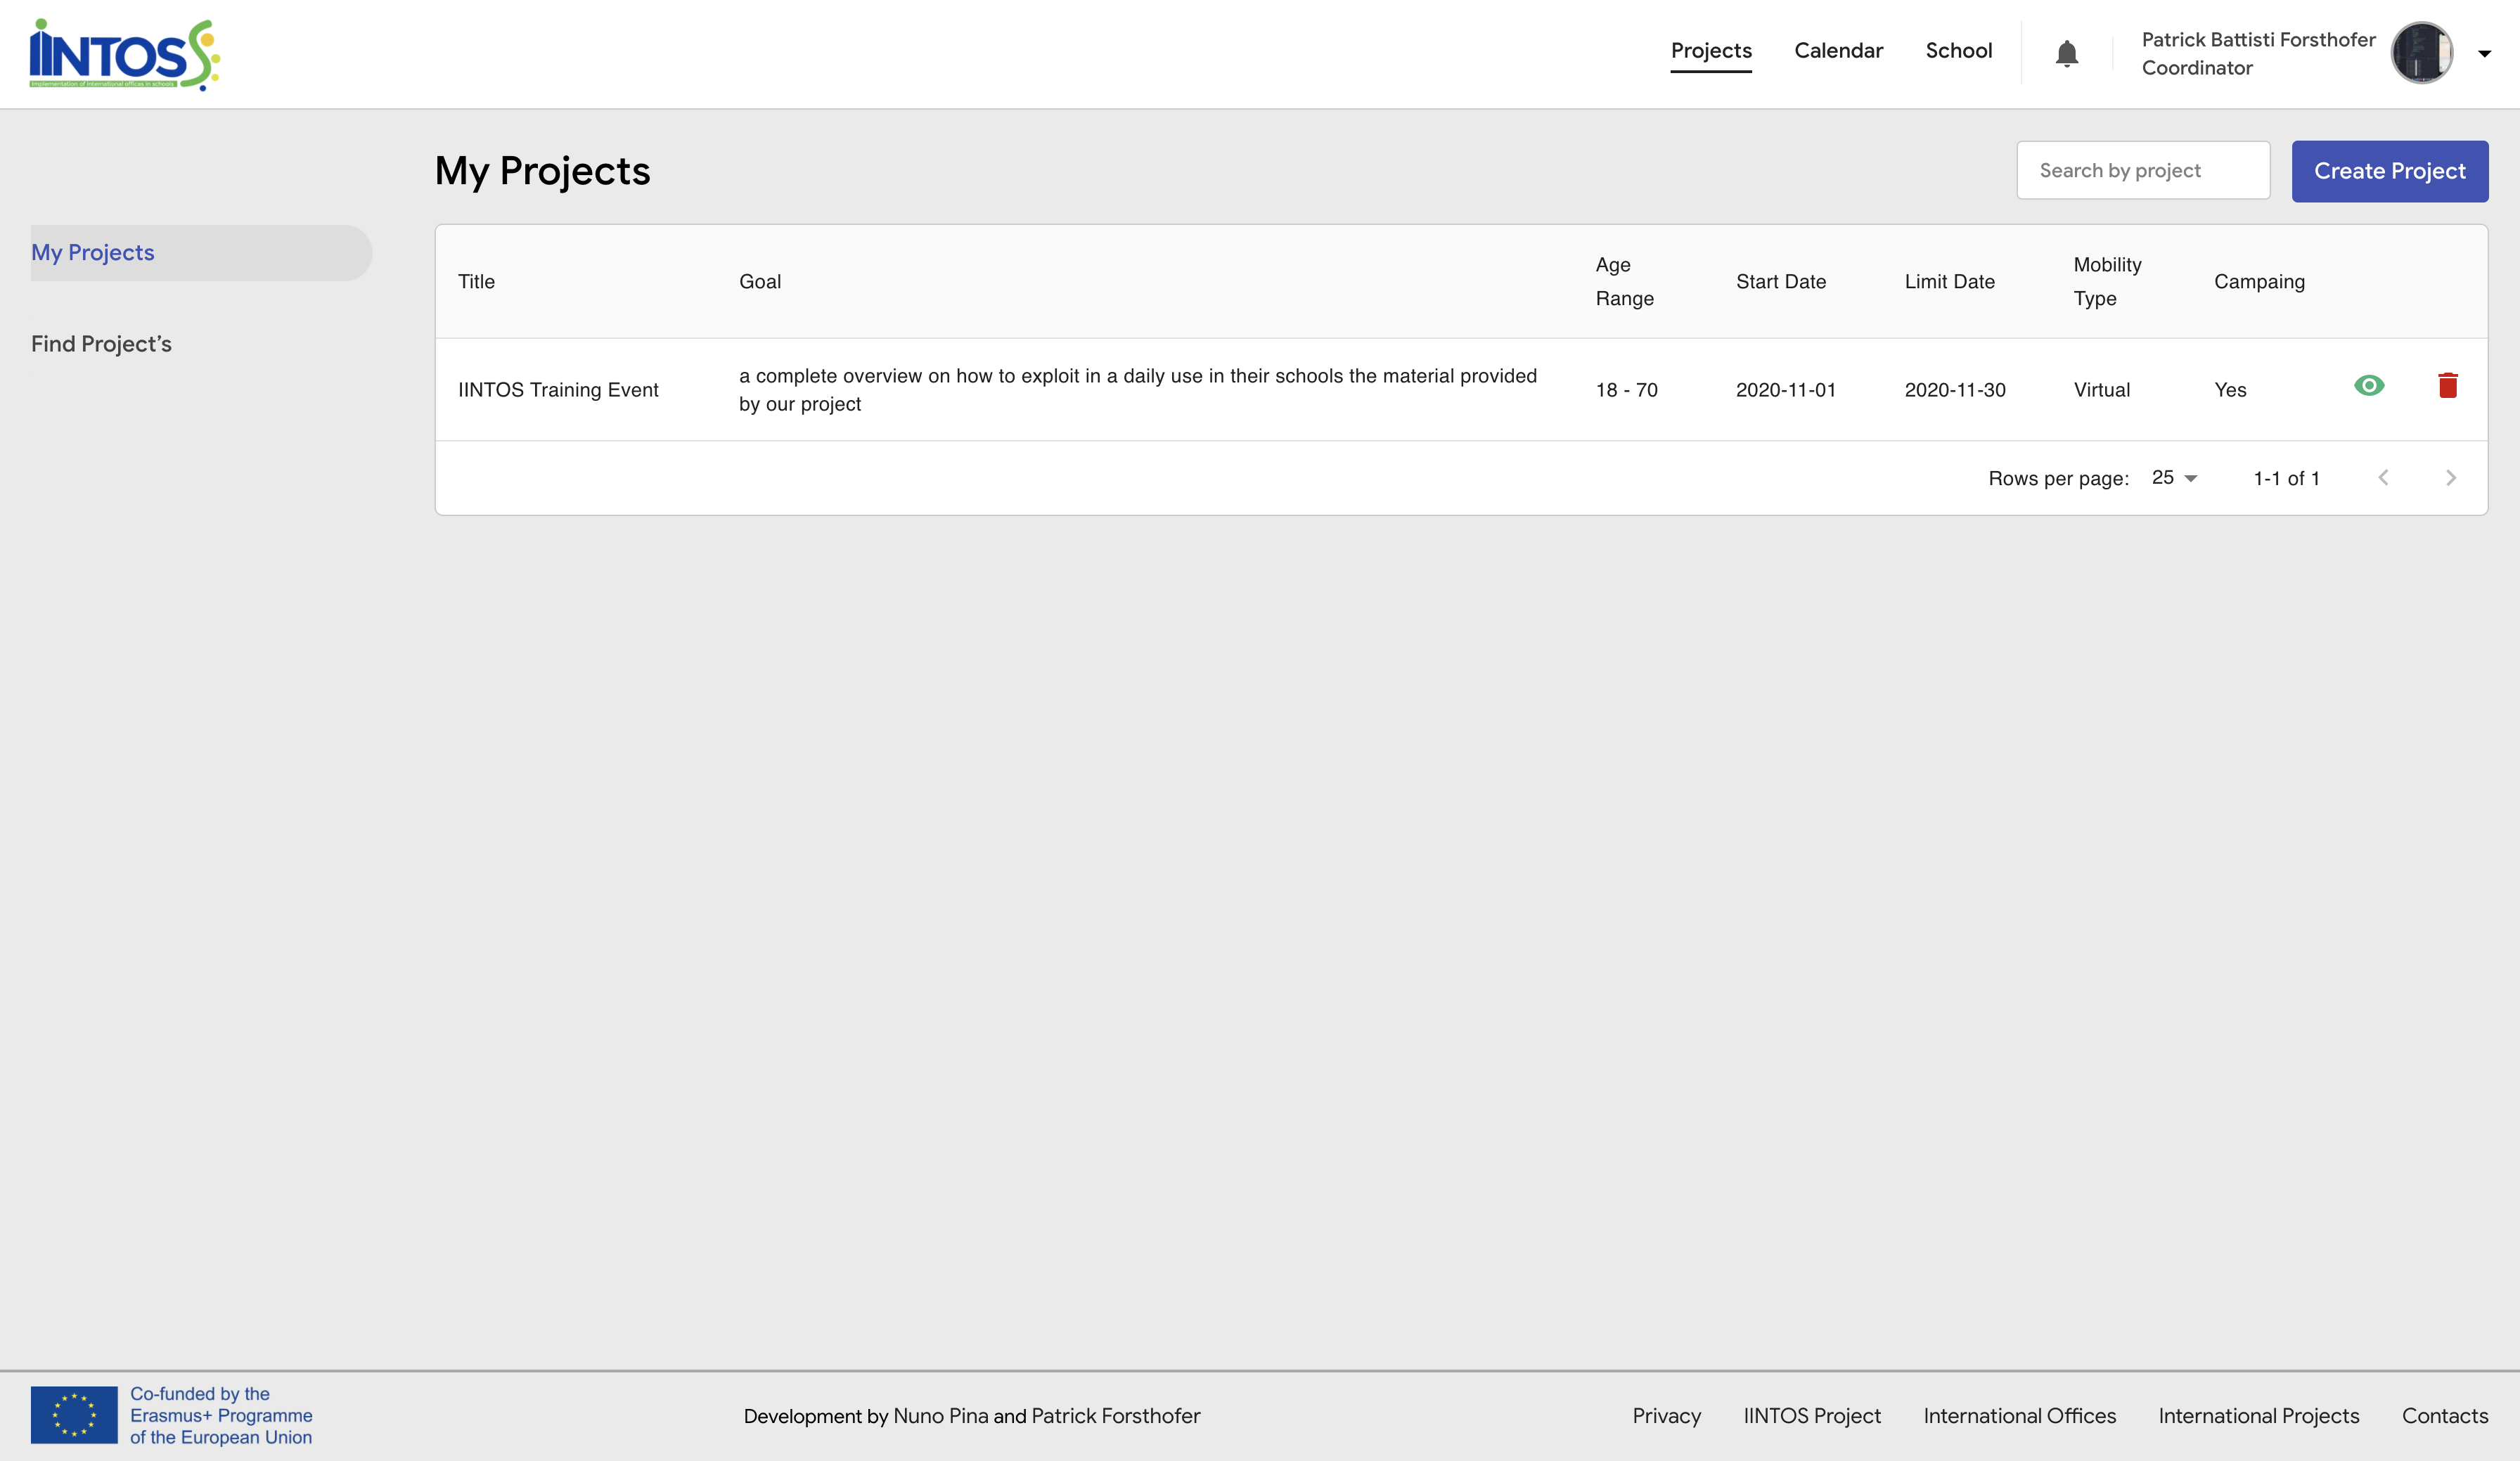
Clicking on option”Projects” in header, you will see your projects. Here you can create a project, delete and show more details of each project. Also, you can search your project using the field “Search by project”.
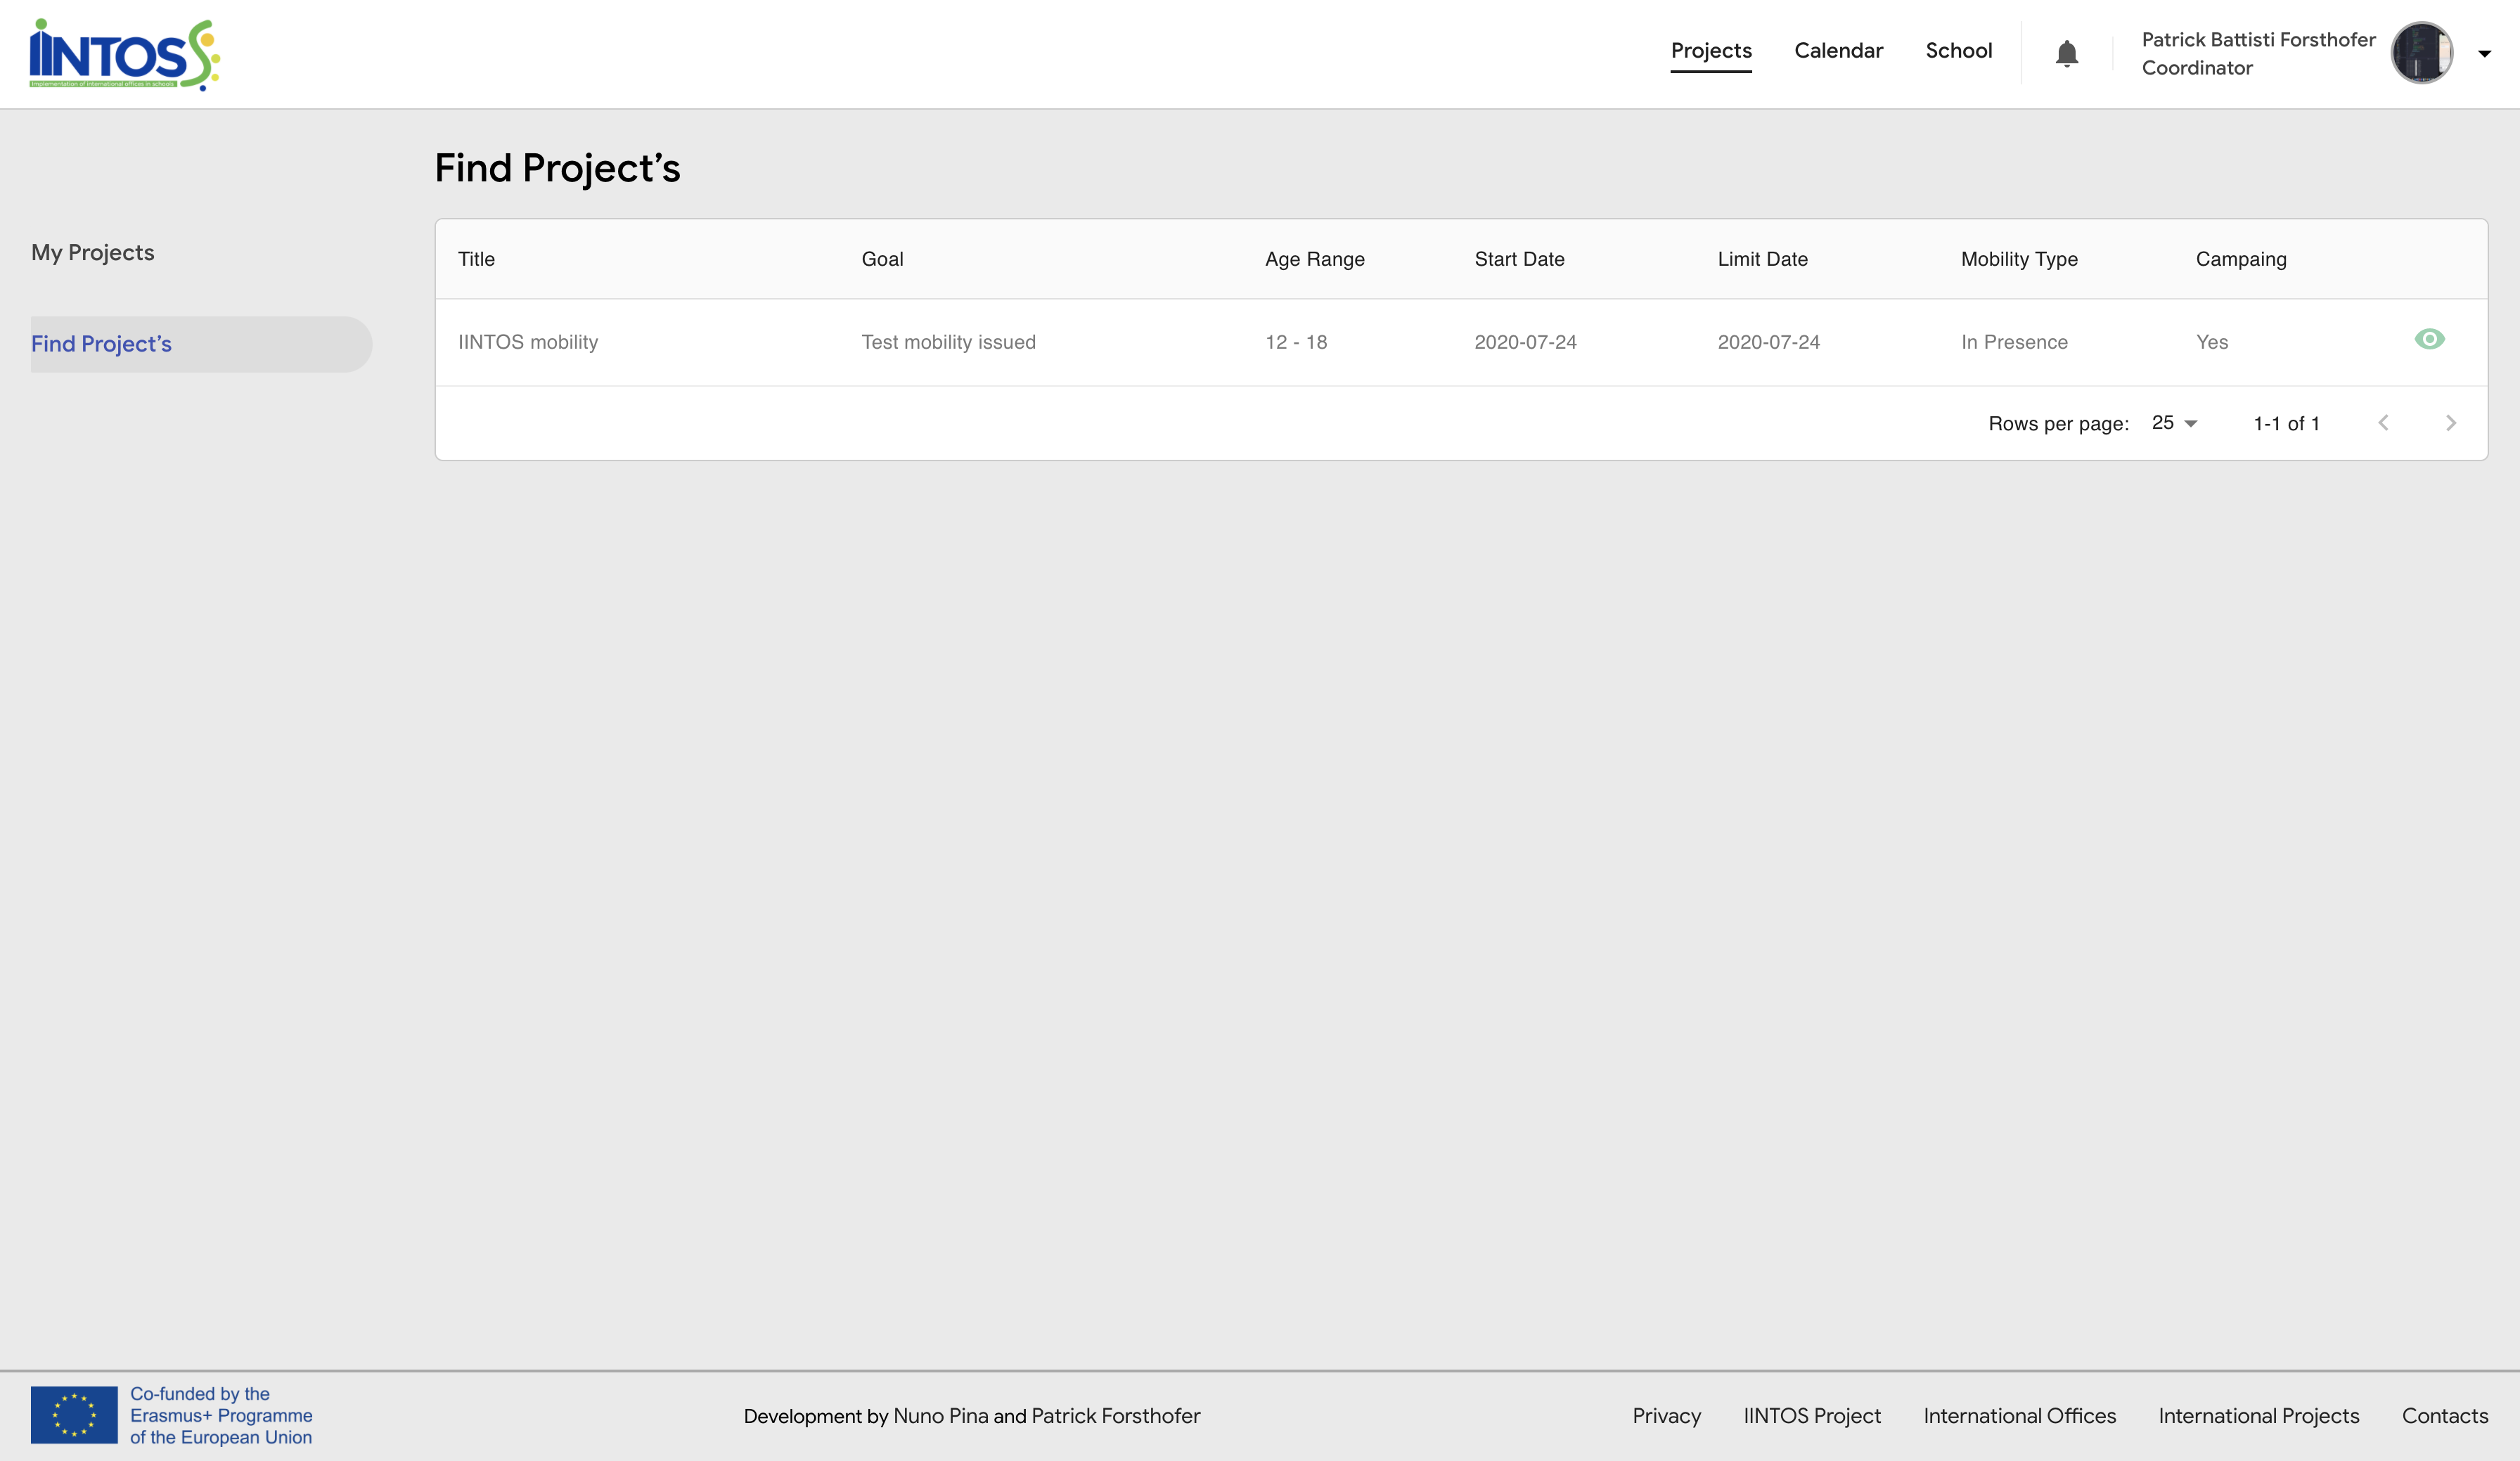
¶ Projects - “Find Project`s
In “Find Project`s", you can find projects waiting for a partner. You can add your school to the project with the following steps: Click "Show", navigate to "Schools" in the menu on the left, click "Add school" and finally select your school.
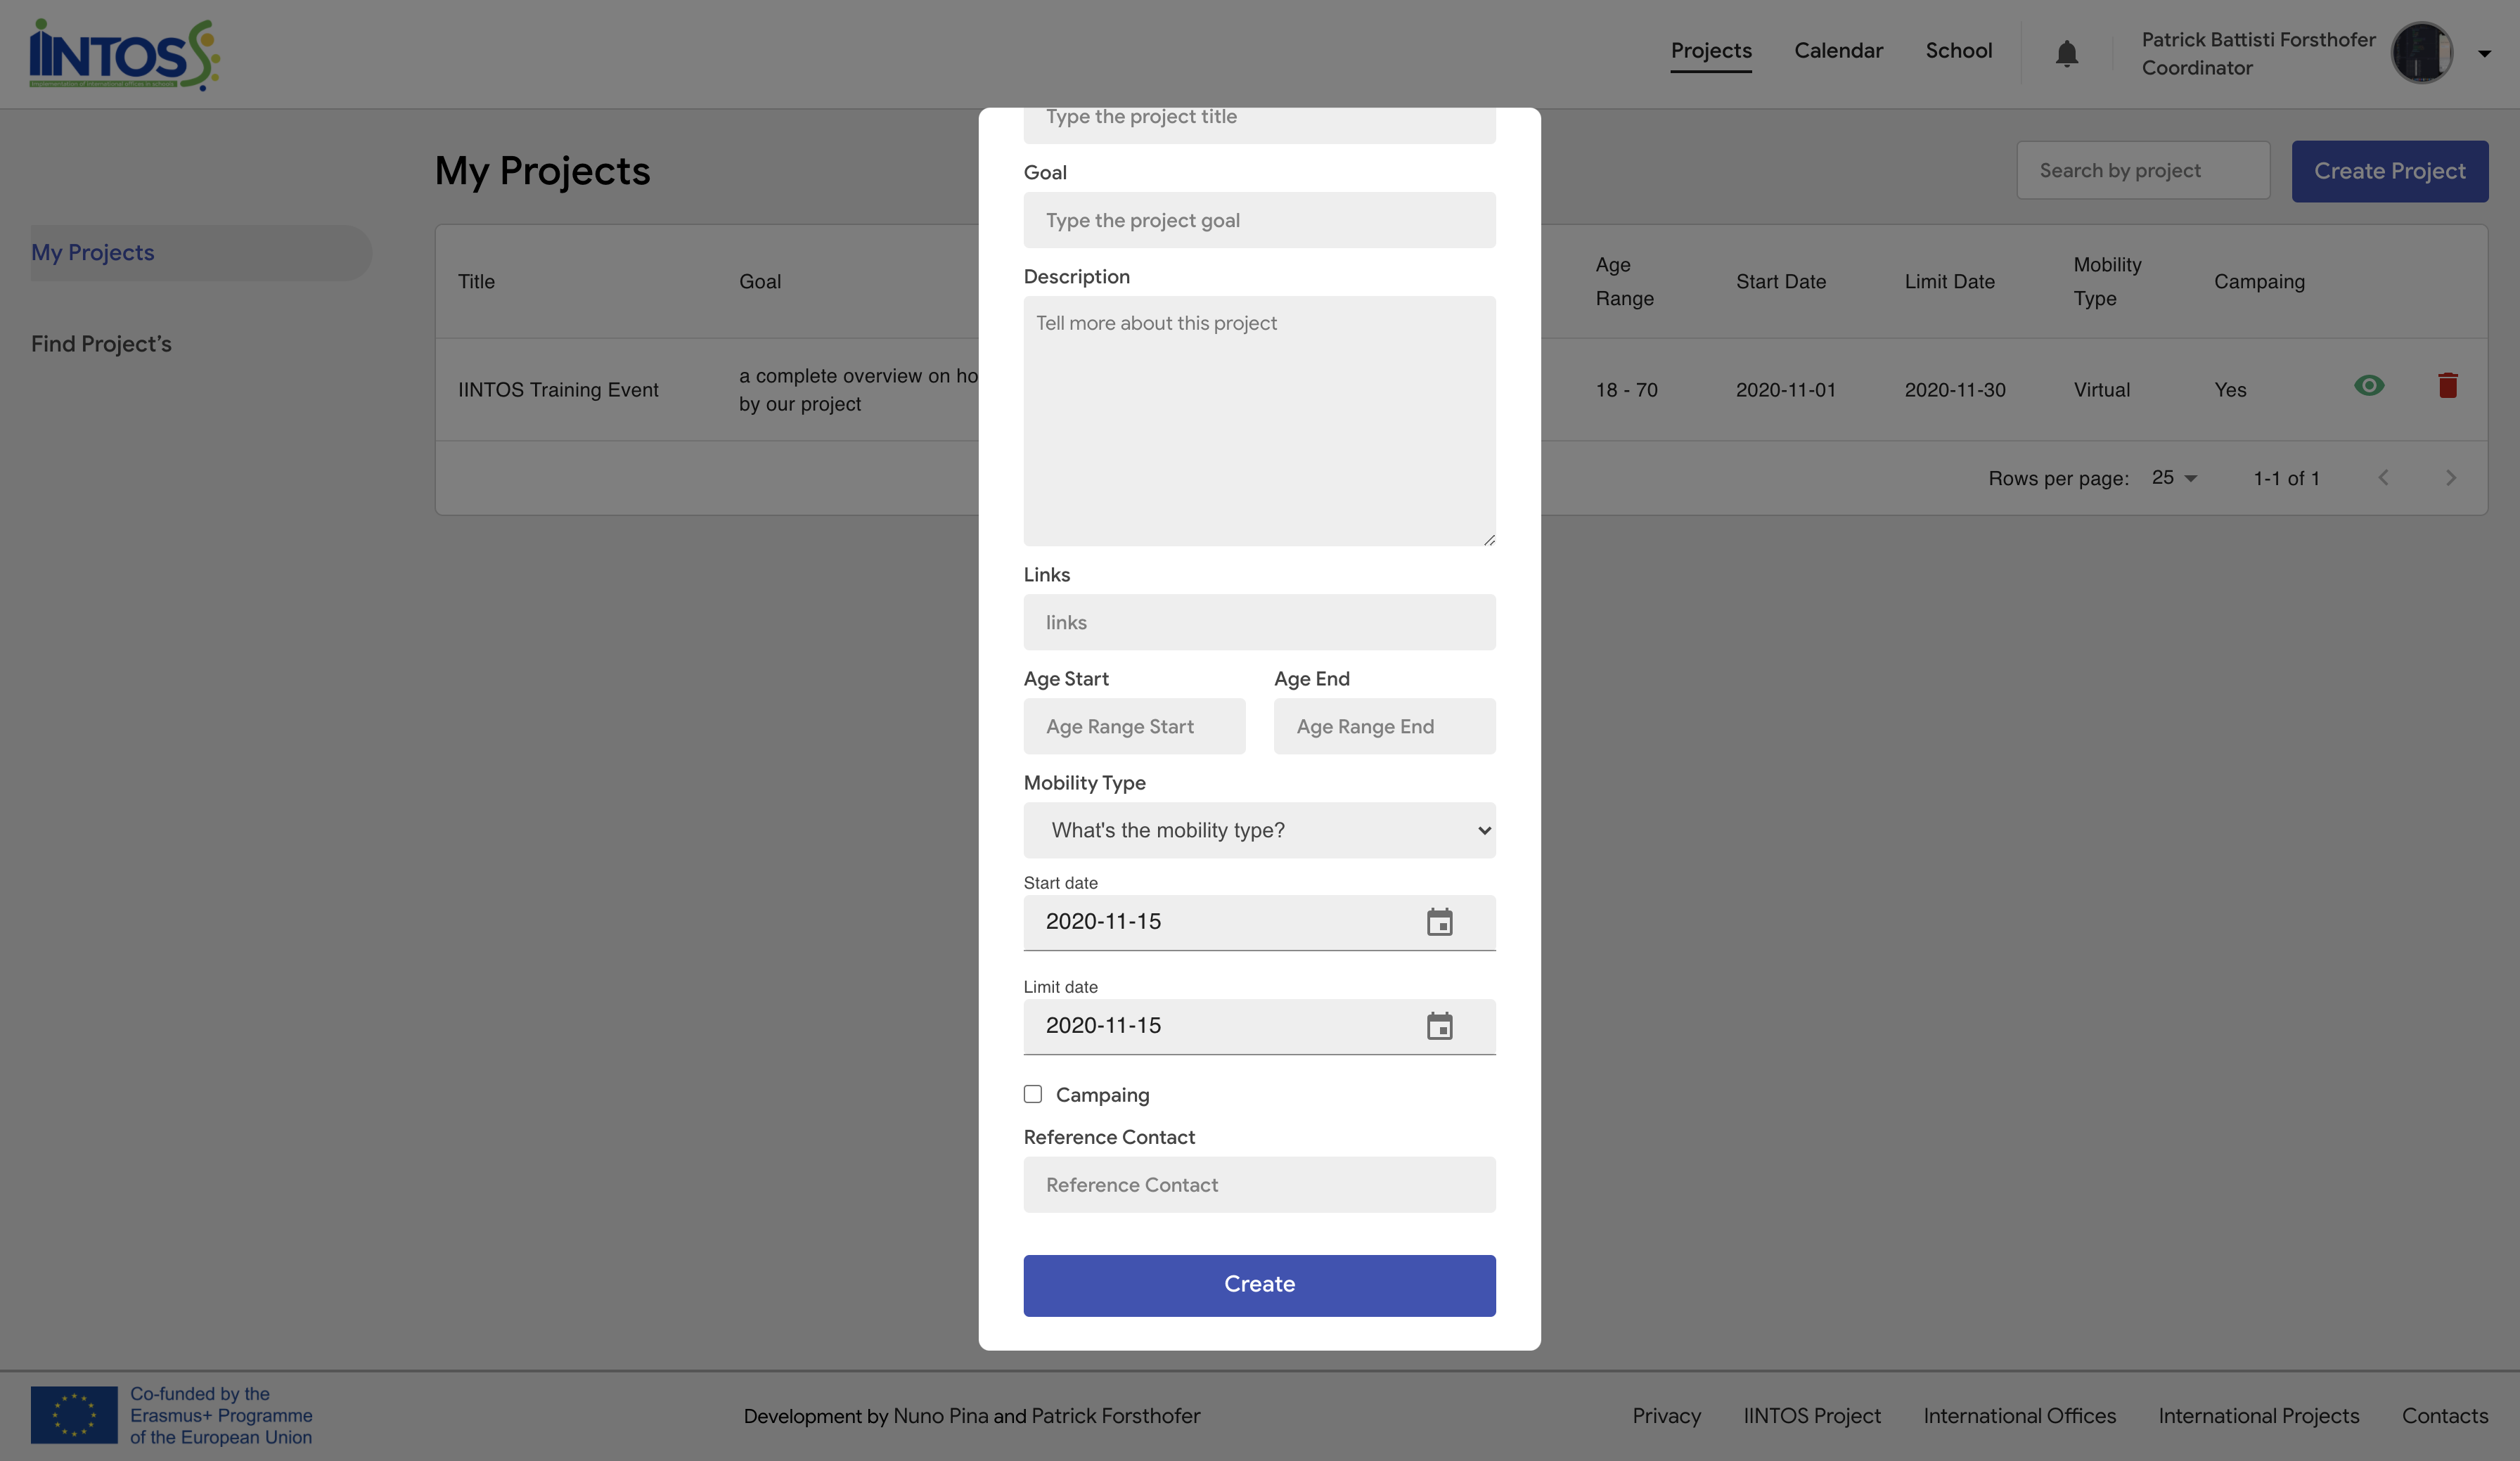
¶ Projects - My Projects
Returning to "My Project". You can create your project clicking on "Create project" and filling out the form. All fields are about your project, the fields "Initial age" and "Final age" are about the age of the pupils. You can select whether your project is virtual or in the presence in the field "Type of mobility. If you want to find partners for your project, you can check the option “Campaign".
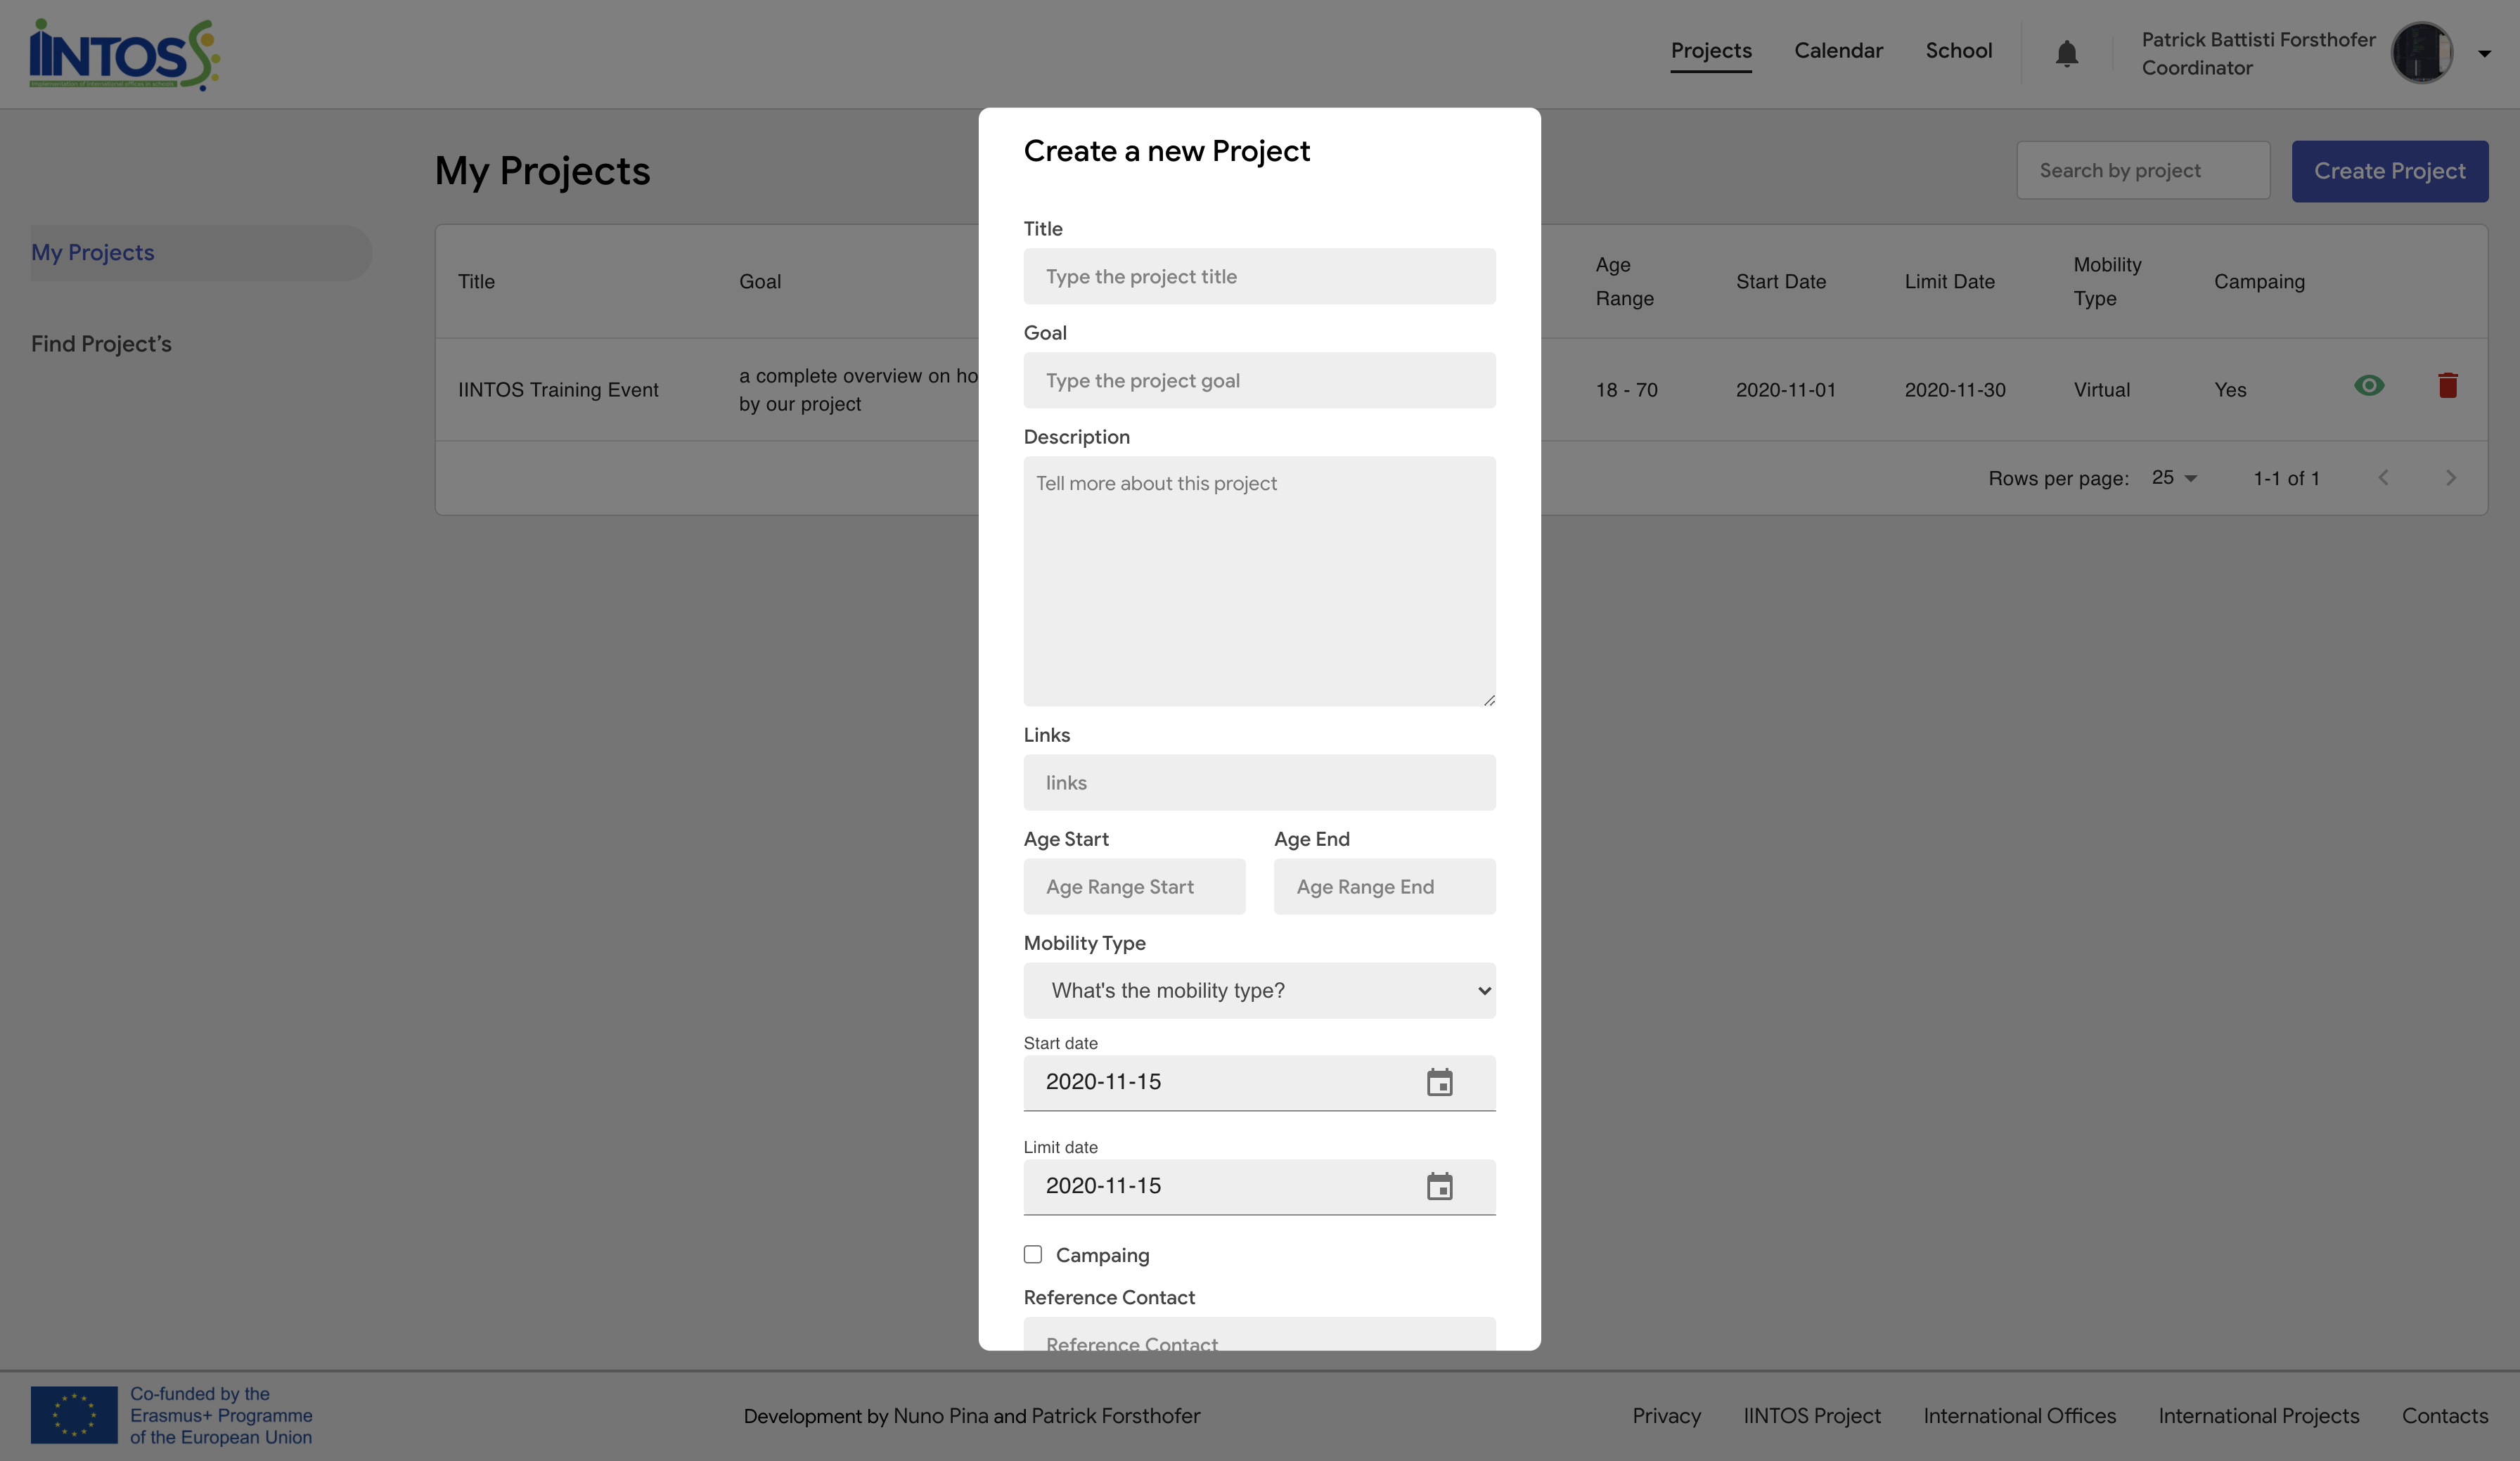
¶ Projects - My Projects
Optionally, you can fill in your email contact in “Reference contact”, it is advisable that you add your contact in case you are campaigning for partners. Then click on “Create” to create the project.
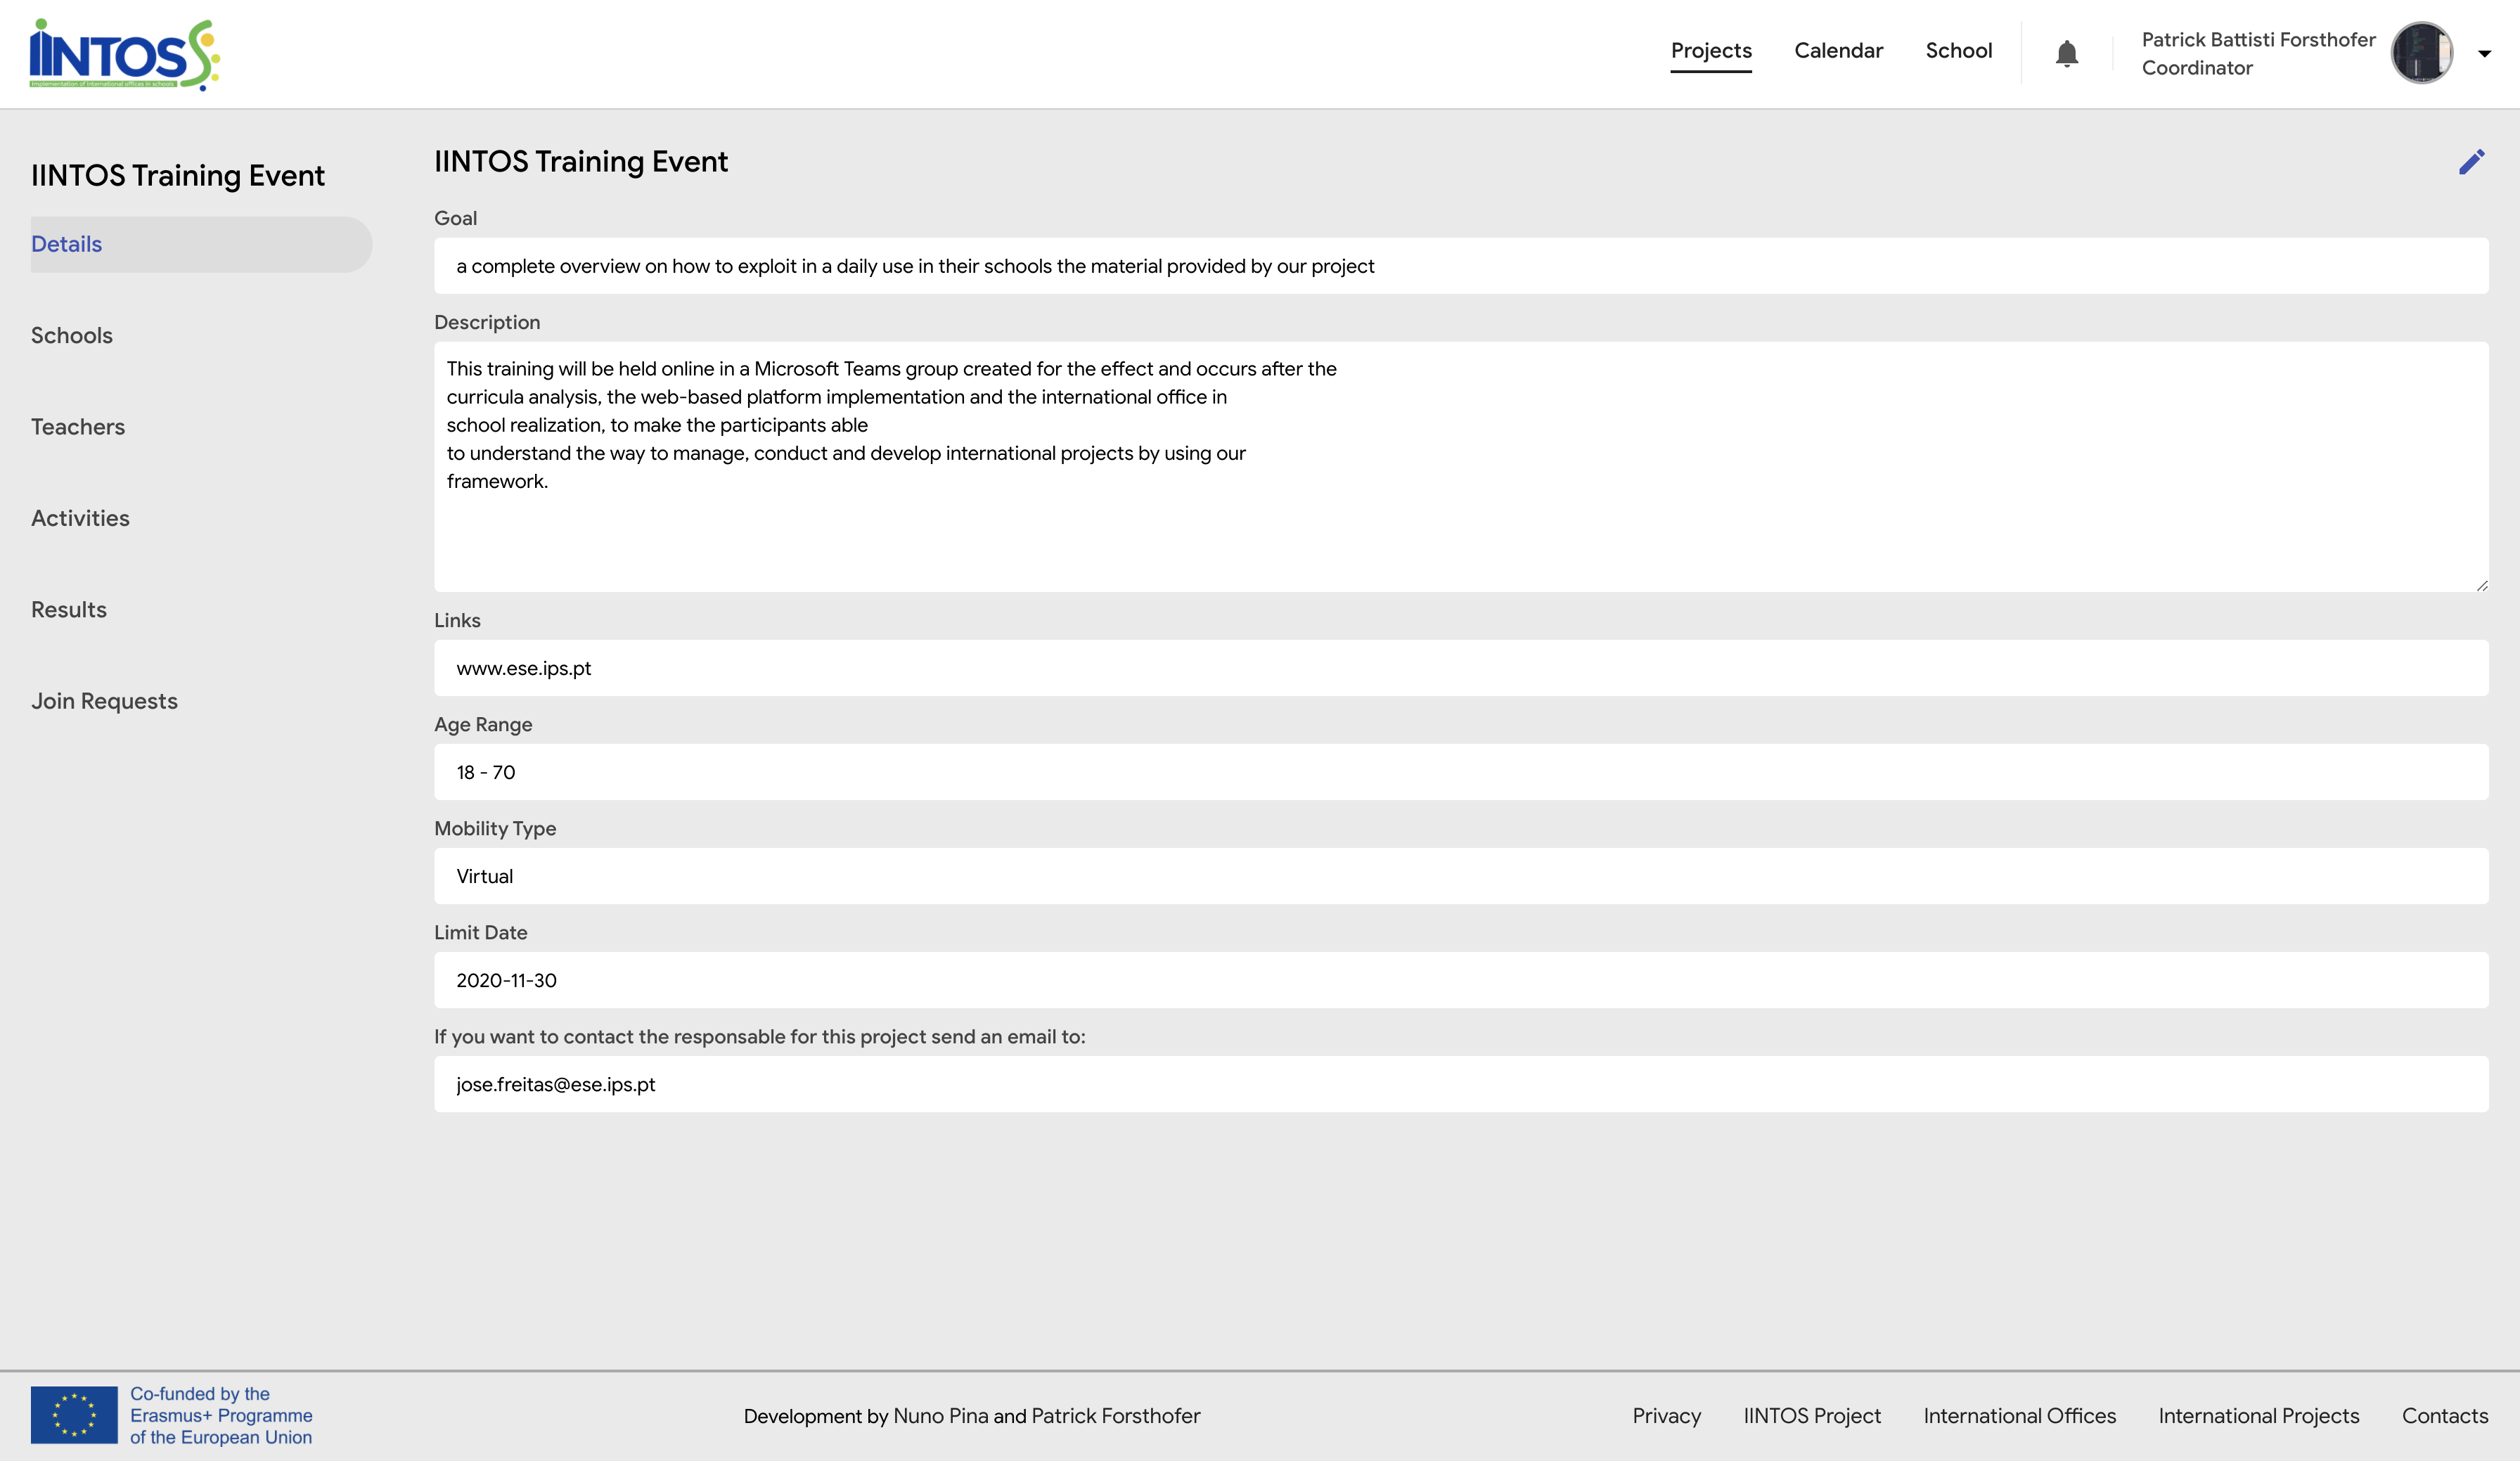
¶ Projects - Details
After you click "Show" in the list of projects, the details are visible. Here you can edit the project information clicking on the pen in the upper right position or navigate to other information about the project on the left menu.
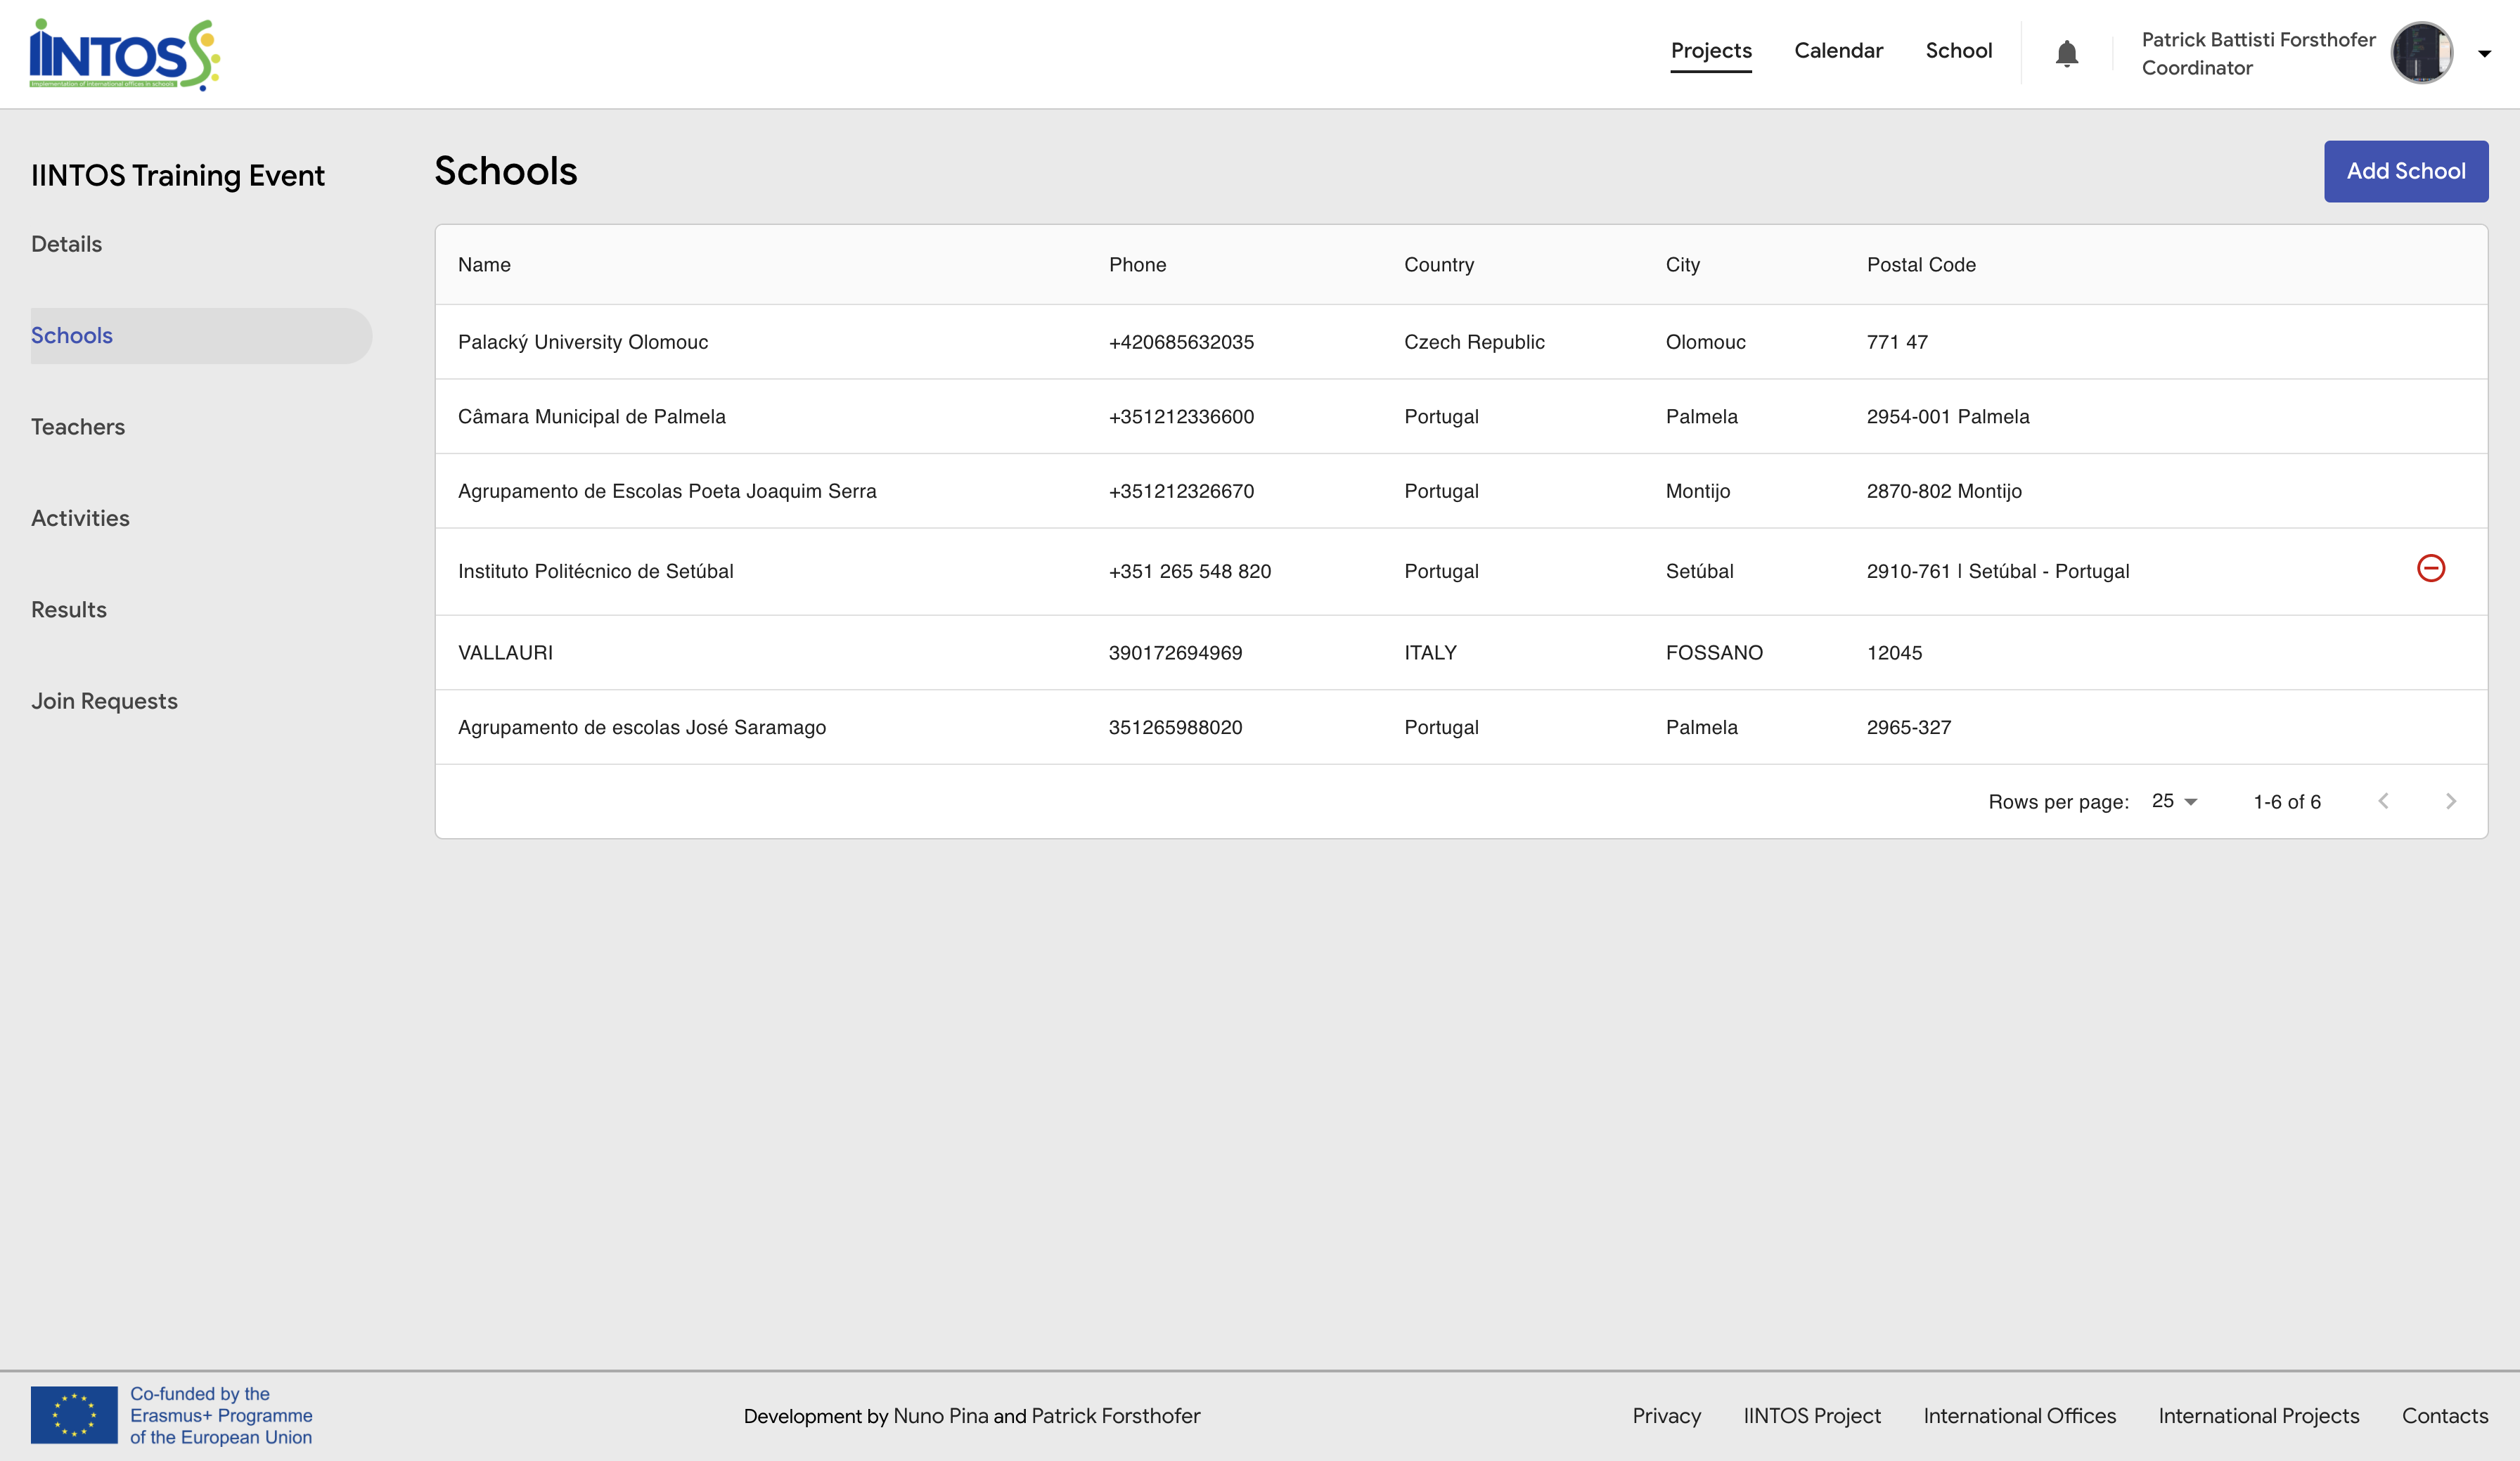
¶ Projects - Schools
When choosing “Schools” you can see the project partners. You can add a school clicking "Add school" and remove a school by clicking on the red circle with the minus symbol. Schools can only be added and removed by the respective international coordinator or teacher authorized to develop projects.
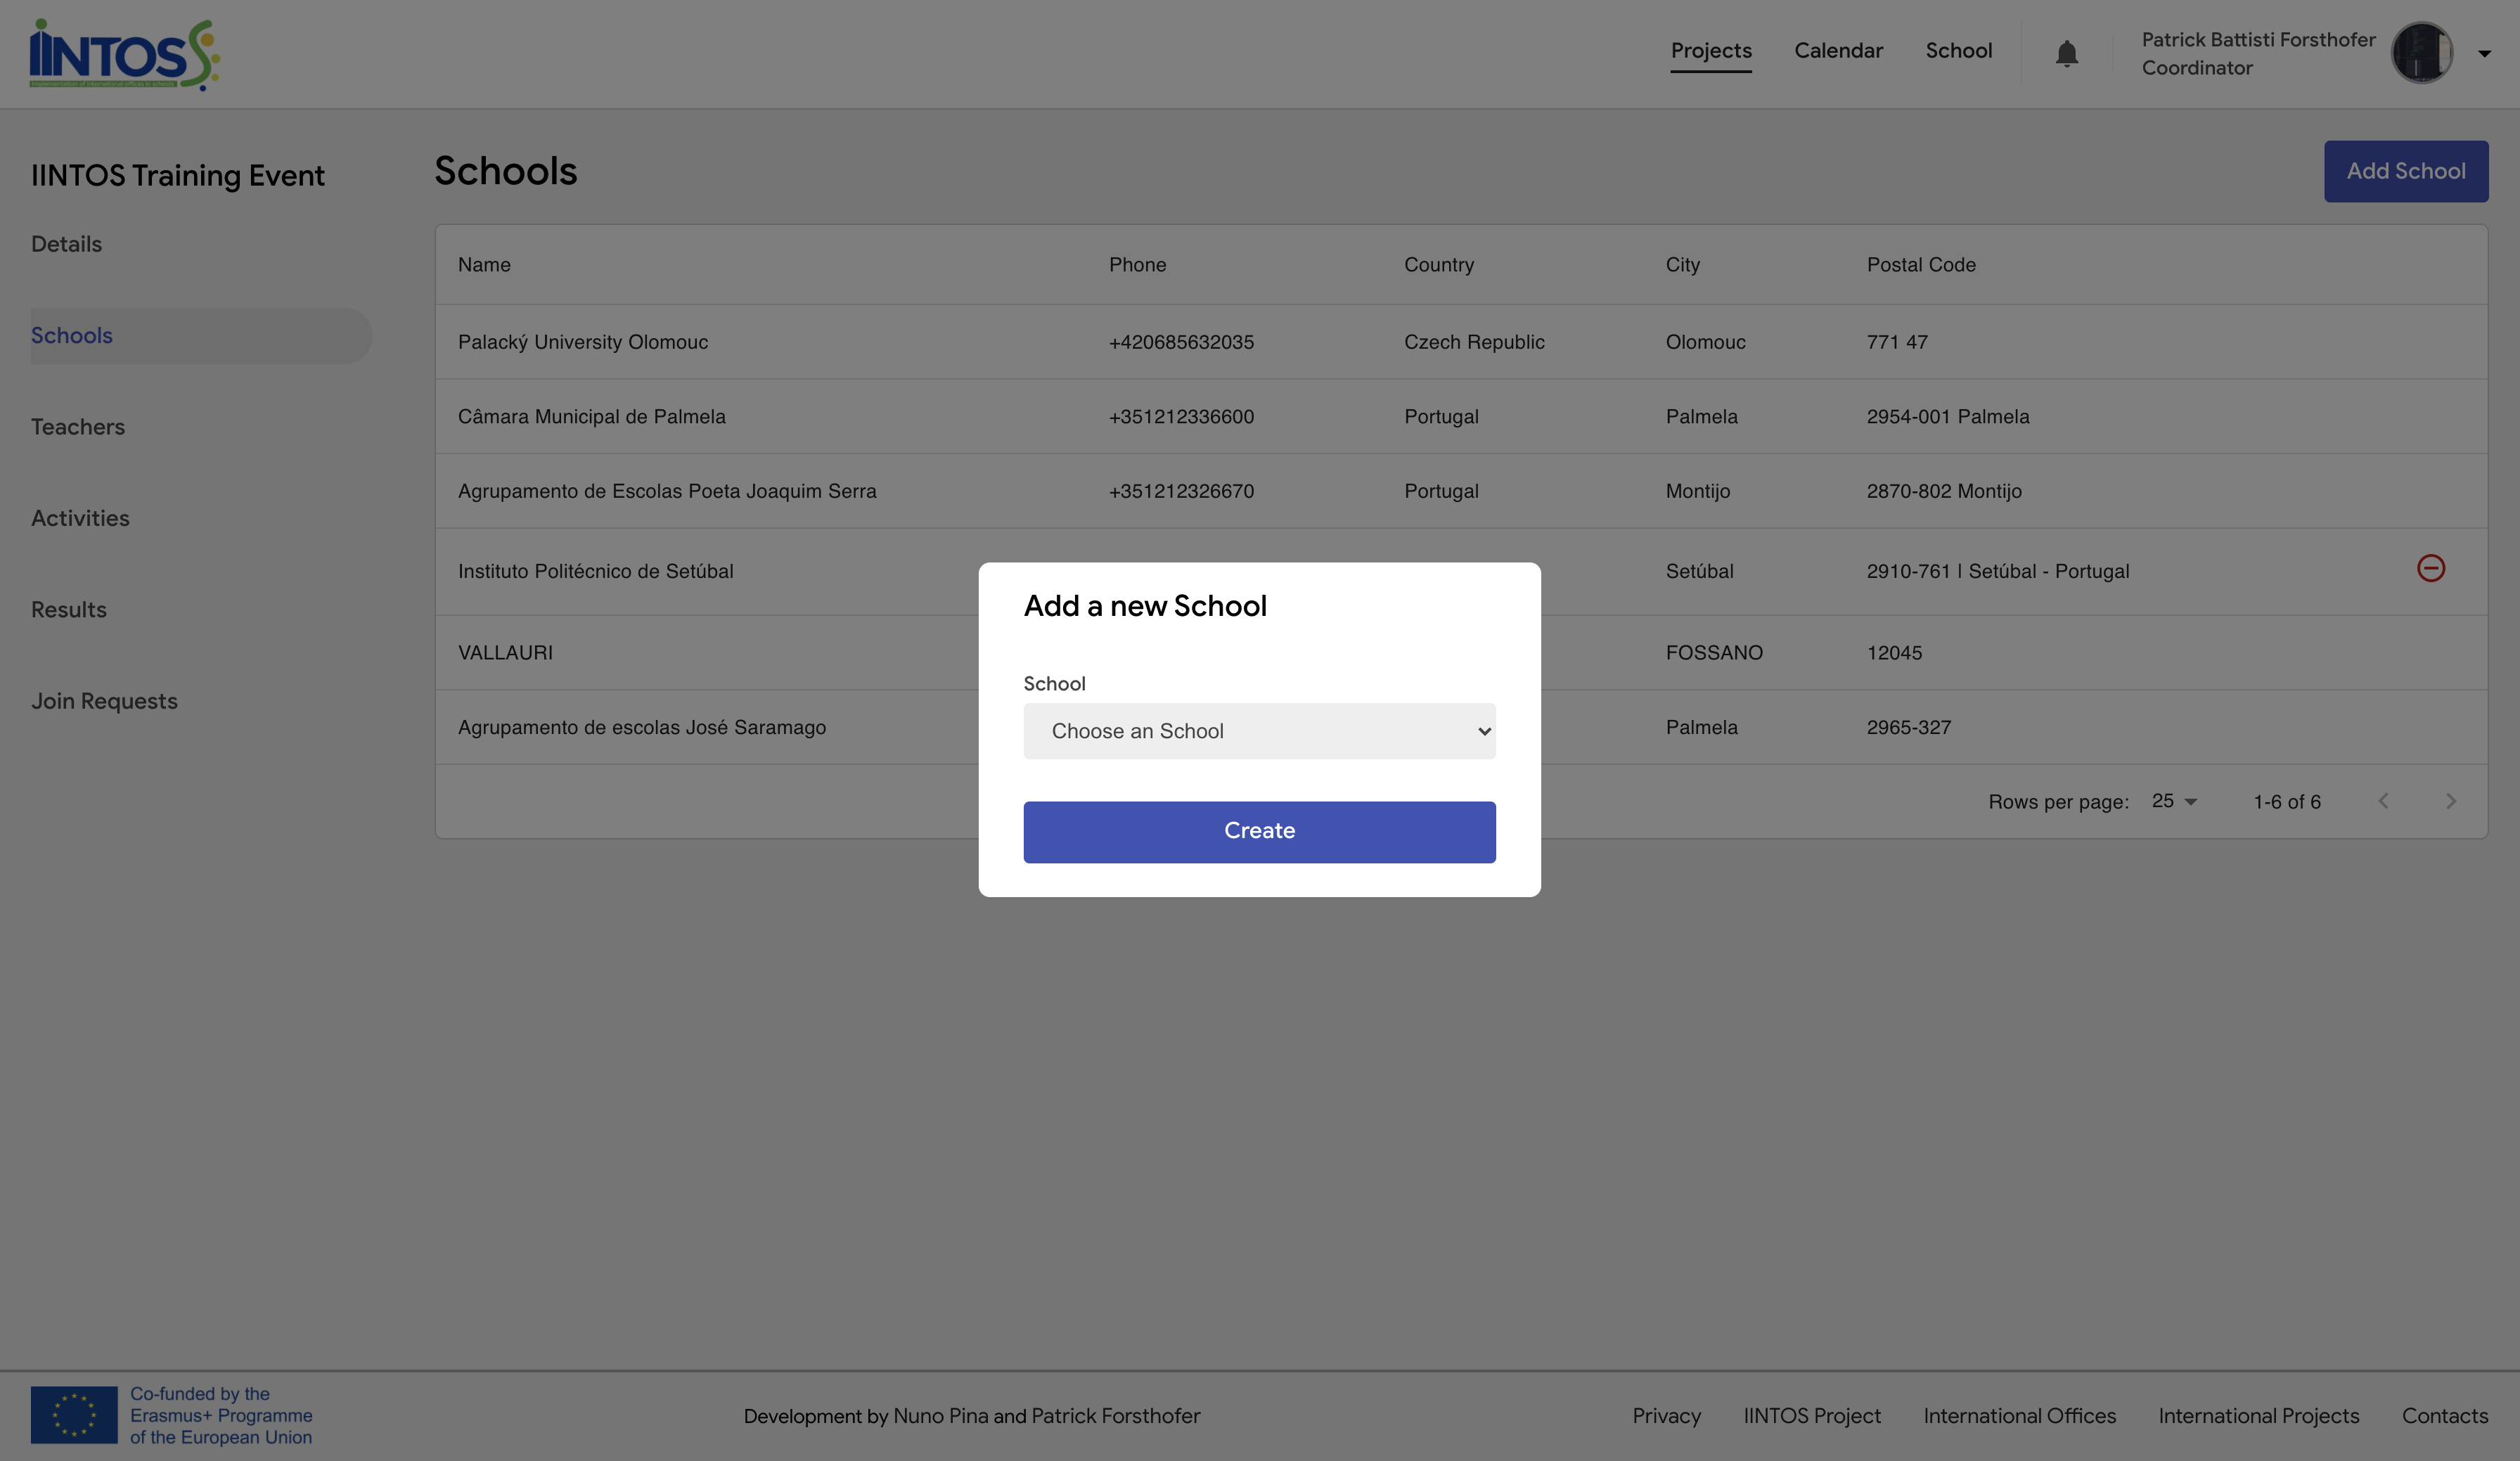
¶ Projects – Schools
To add a partner, you must click on "Add school" and select the school in the form. Then just click on “Create".
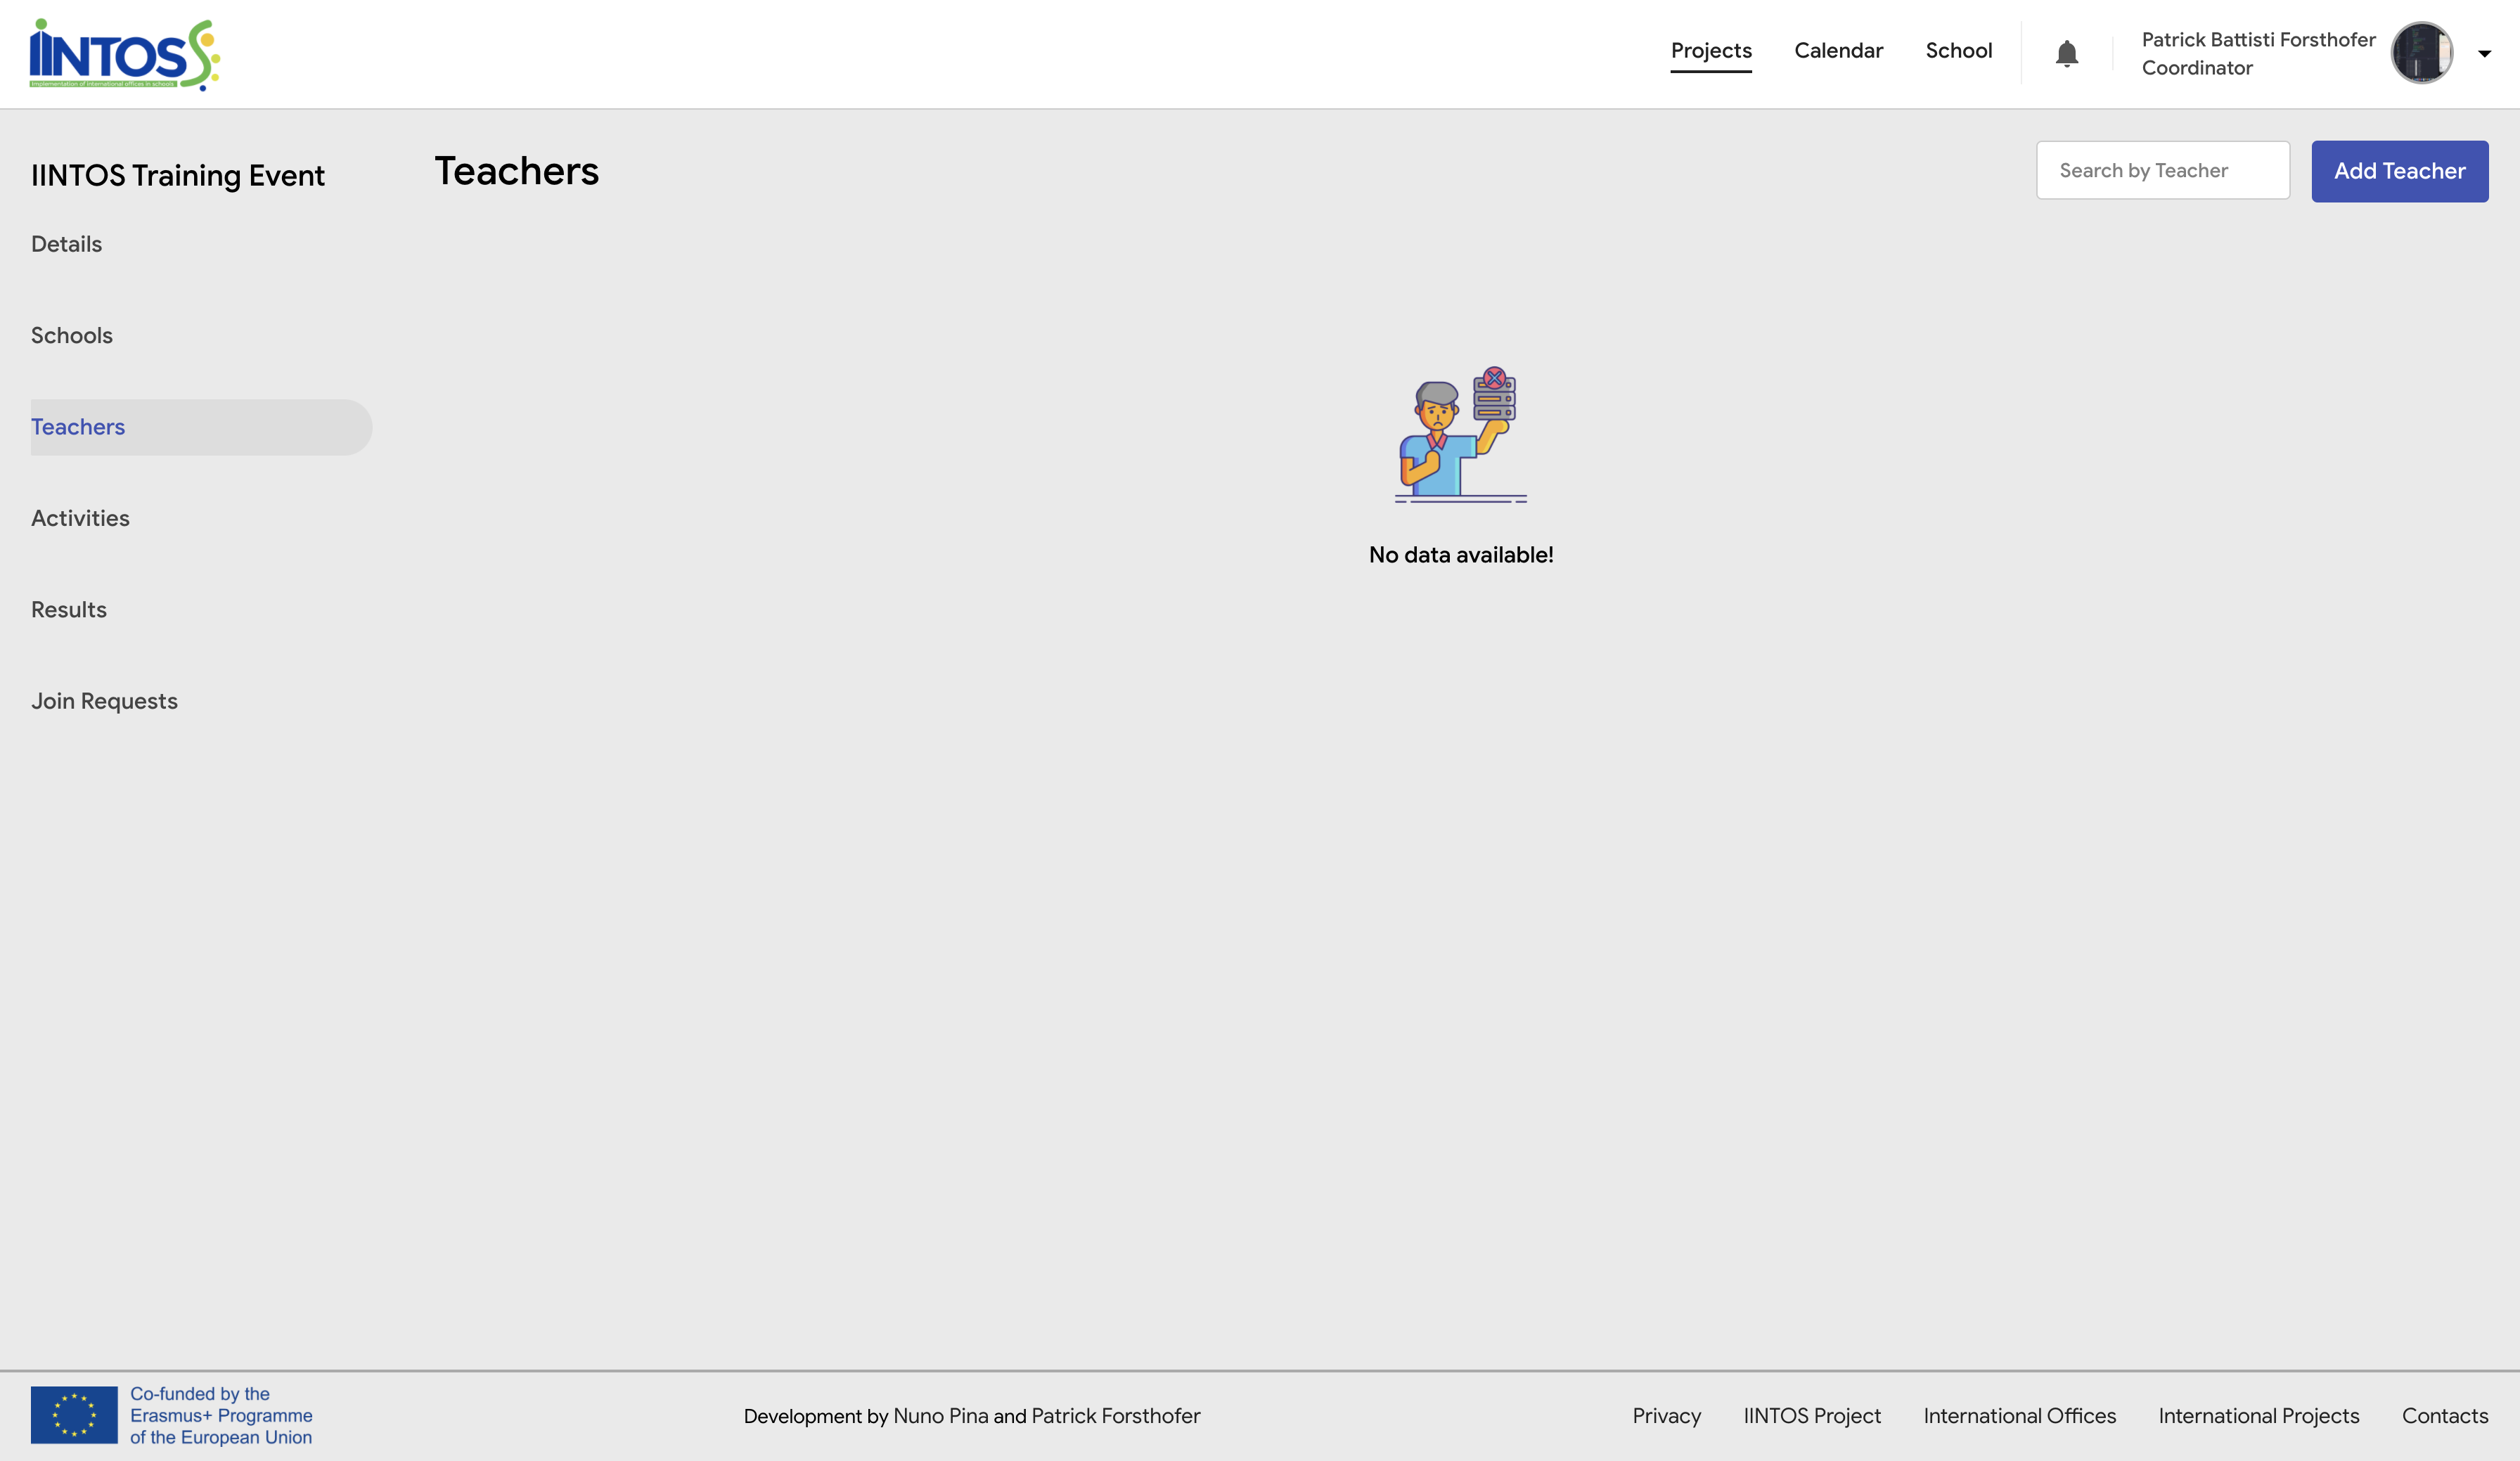
¶ Projects - Participants
In the “Participants” you can see the teachers of the project. You can filter by teacher using the "Search for teacher" field and add a new teacher by clicking "Add teacher".
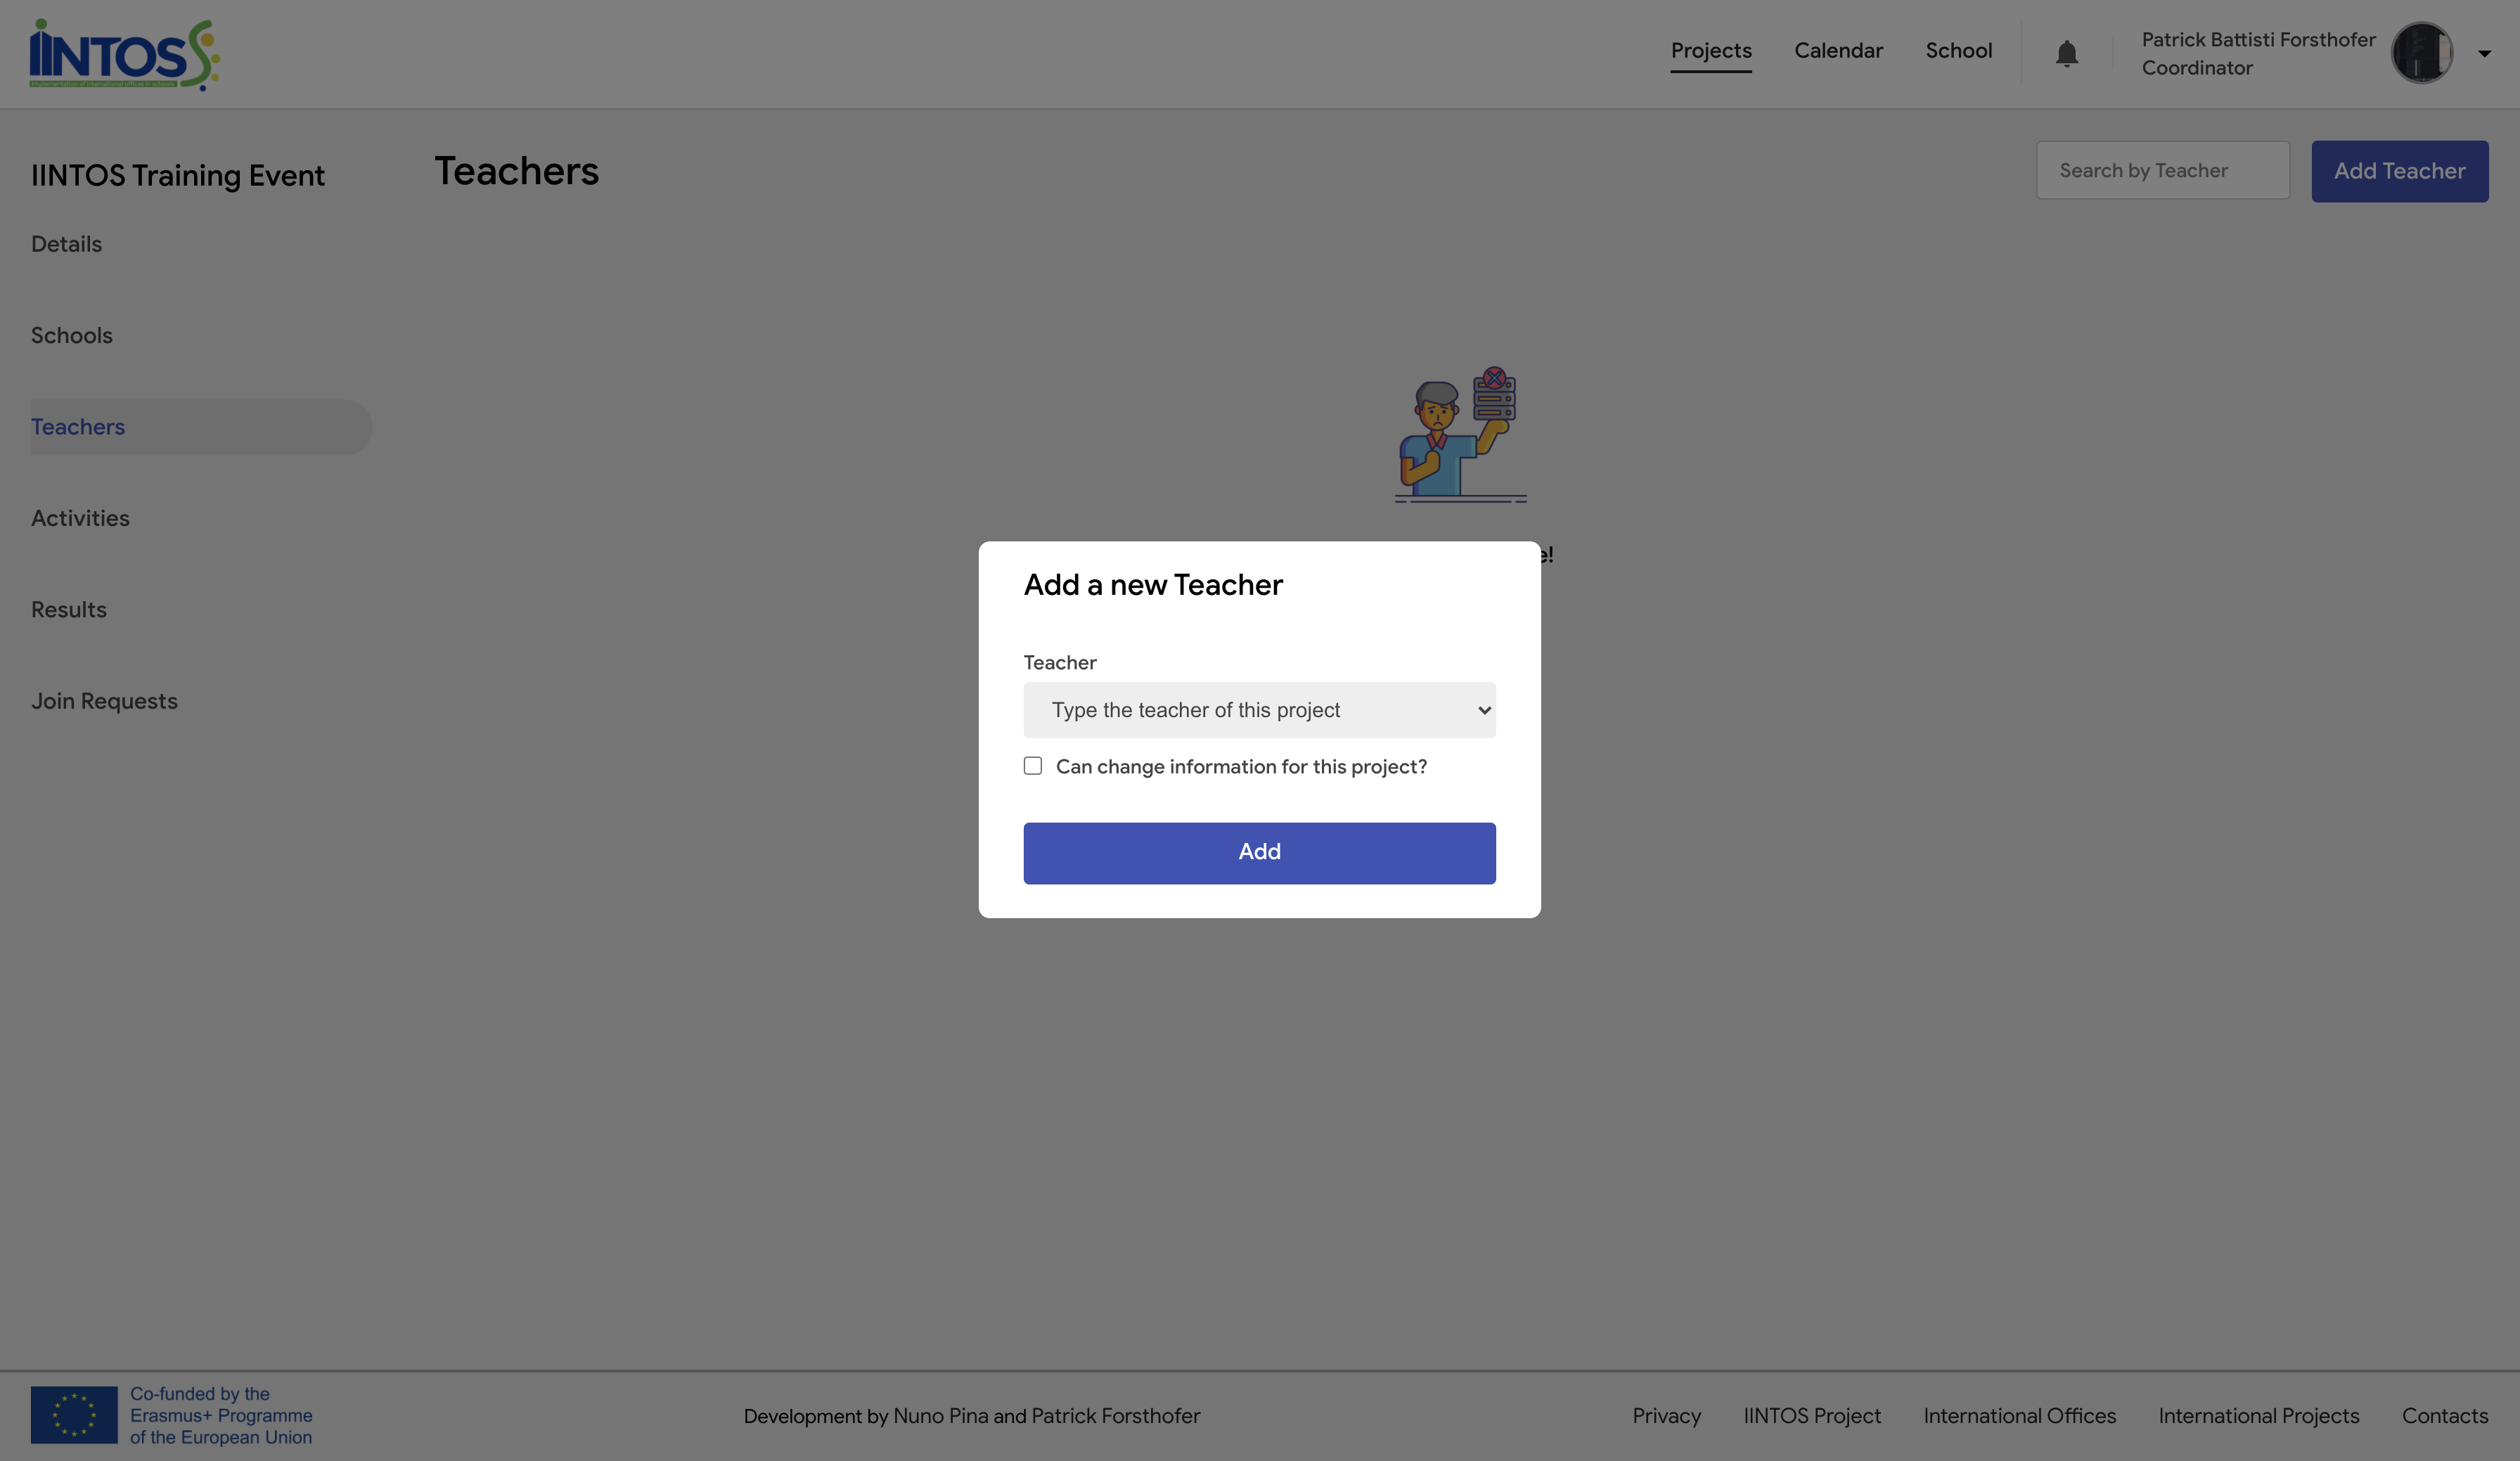
¶ Projects - Participants
After clicking "Add teacher", you can select your school teacher to join the project. You can give permission to teacher that to edit the project by checking the question "Can you change the information for this project?"
¶ Projects - Activity
Here you can see the project activities. You can create a new activity, show the mobility steps and filter activities. You can also mark completed, edit and delete each activity.
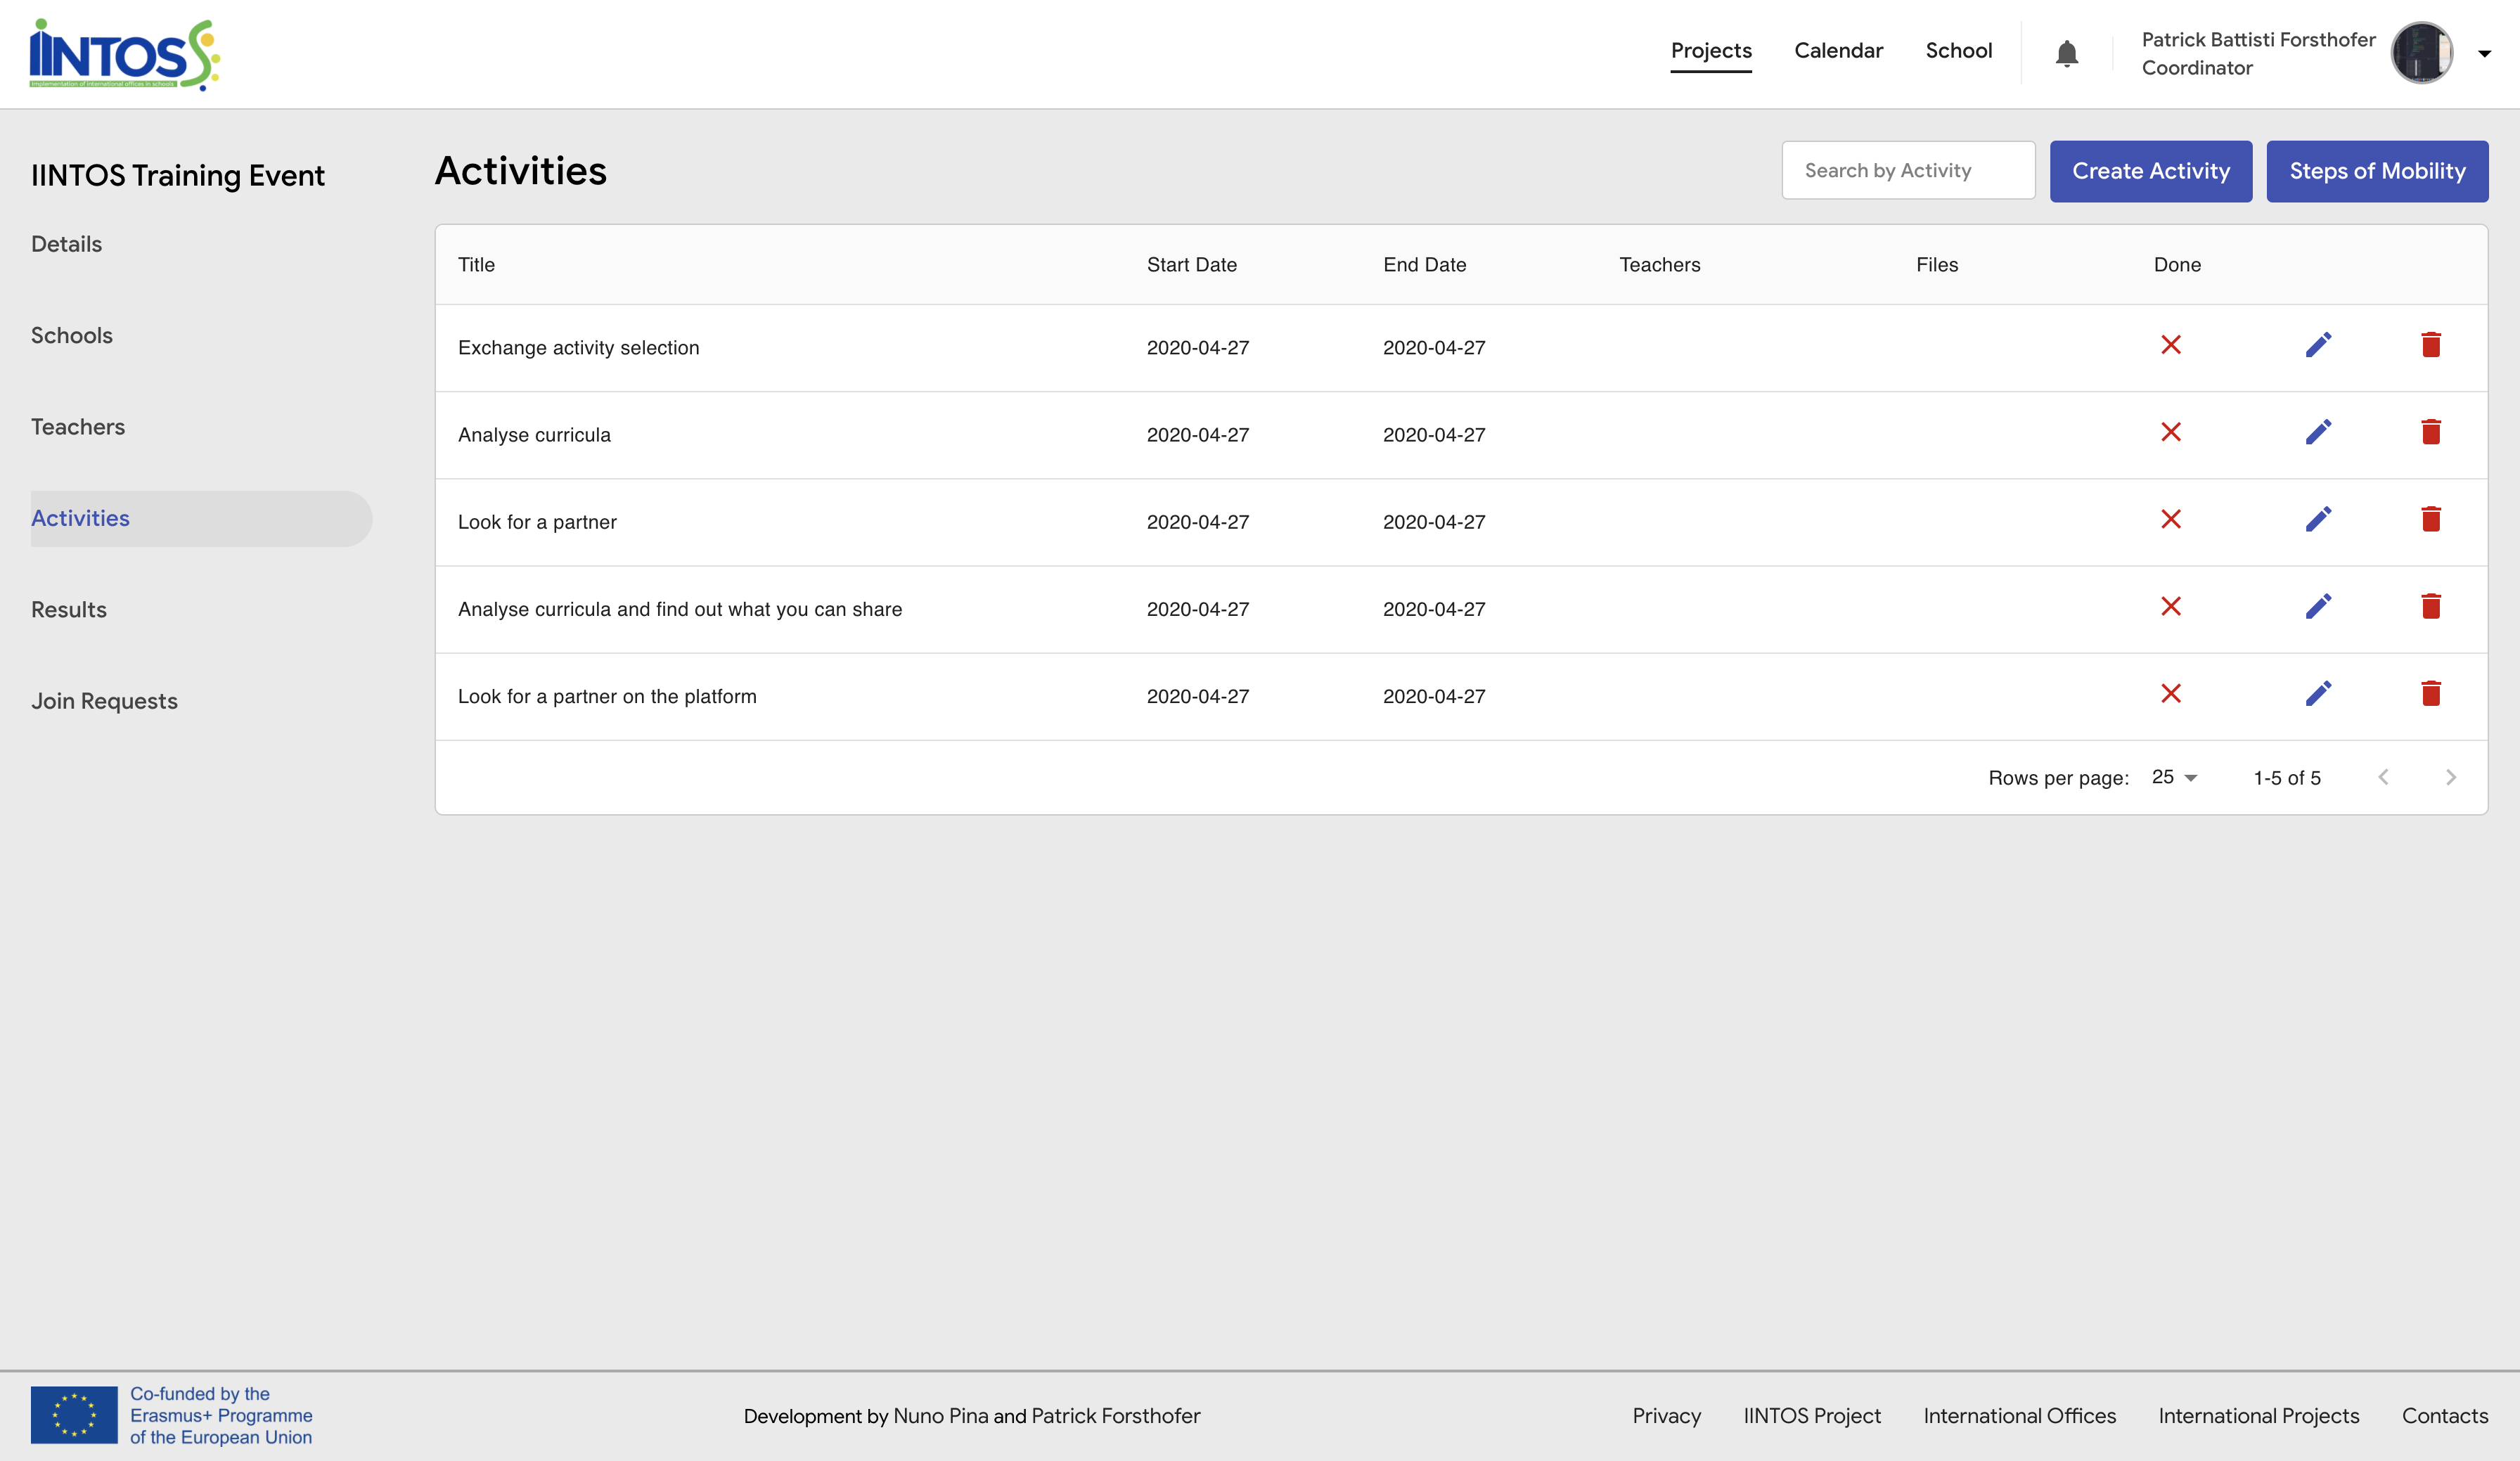
¶ Projects - Activity
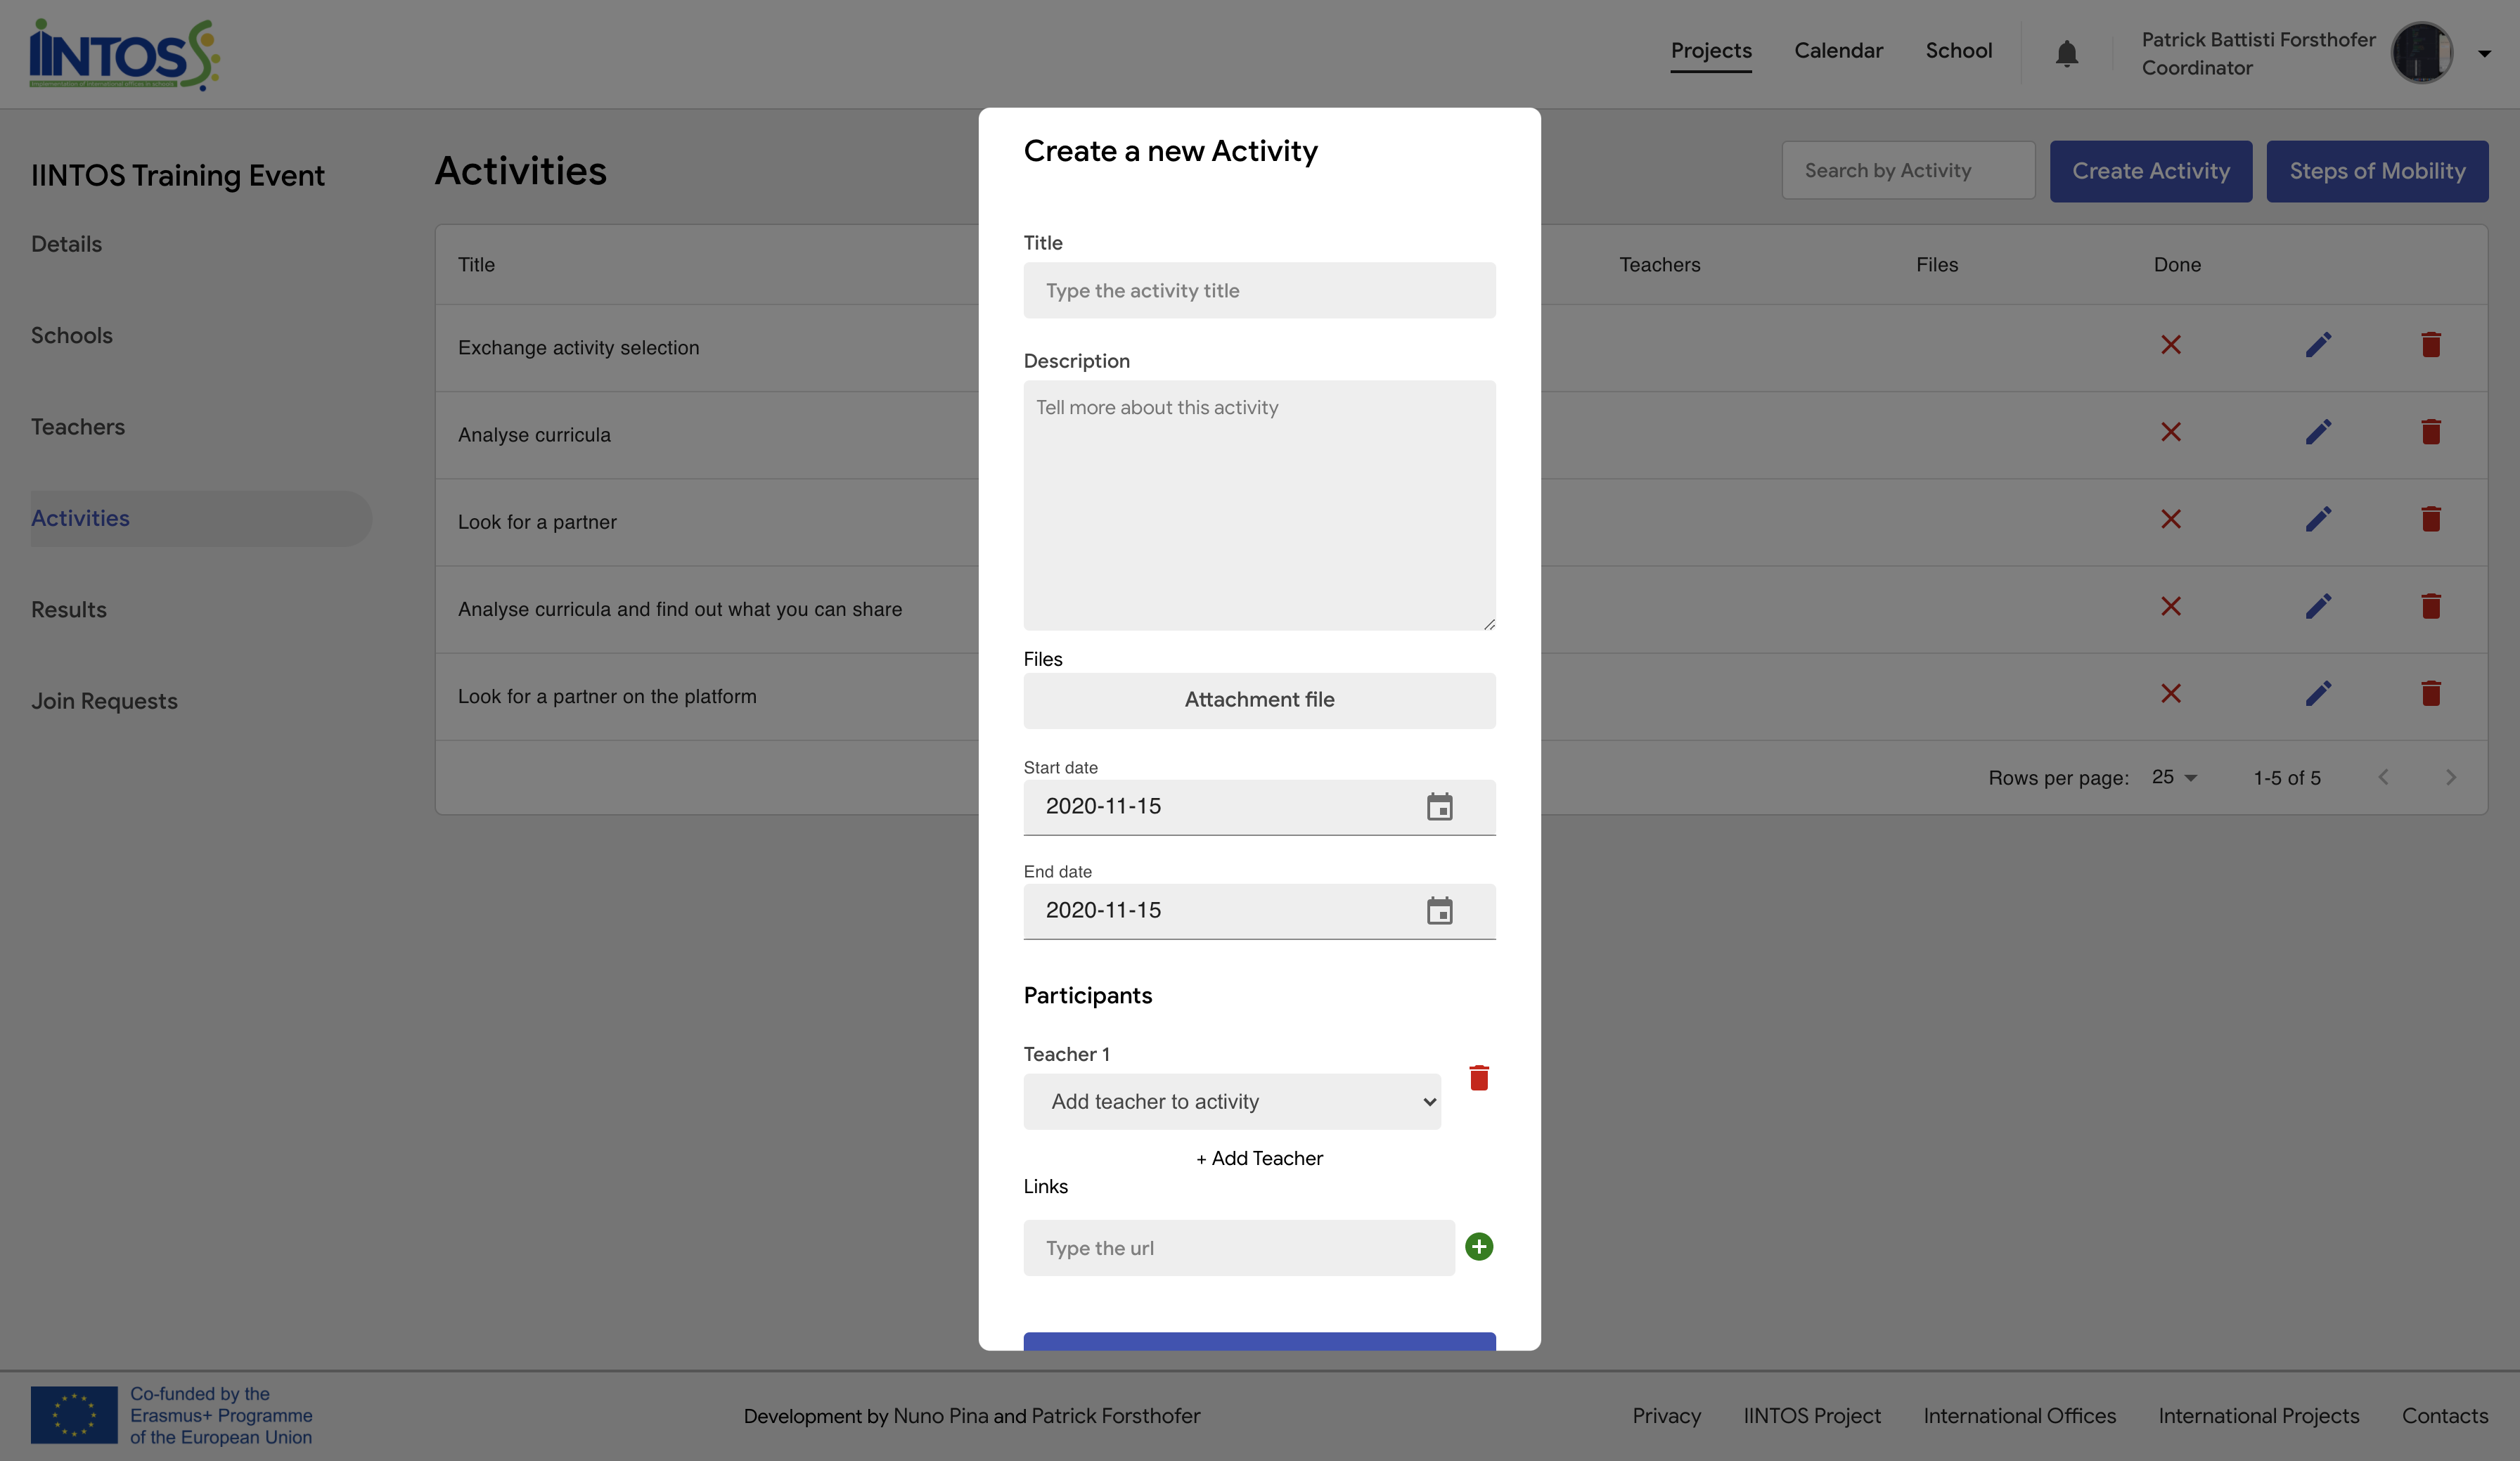
You can create a new activity by clicking "Create Activity", filling the form and then clicking "Create"
¶ Projects - Activity
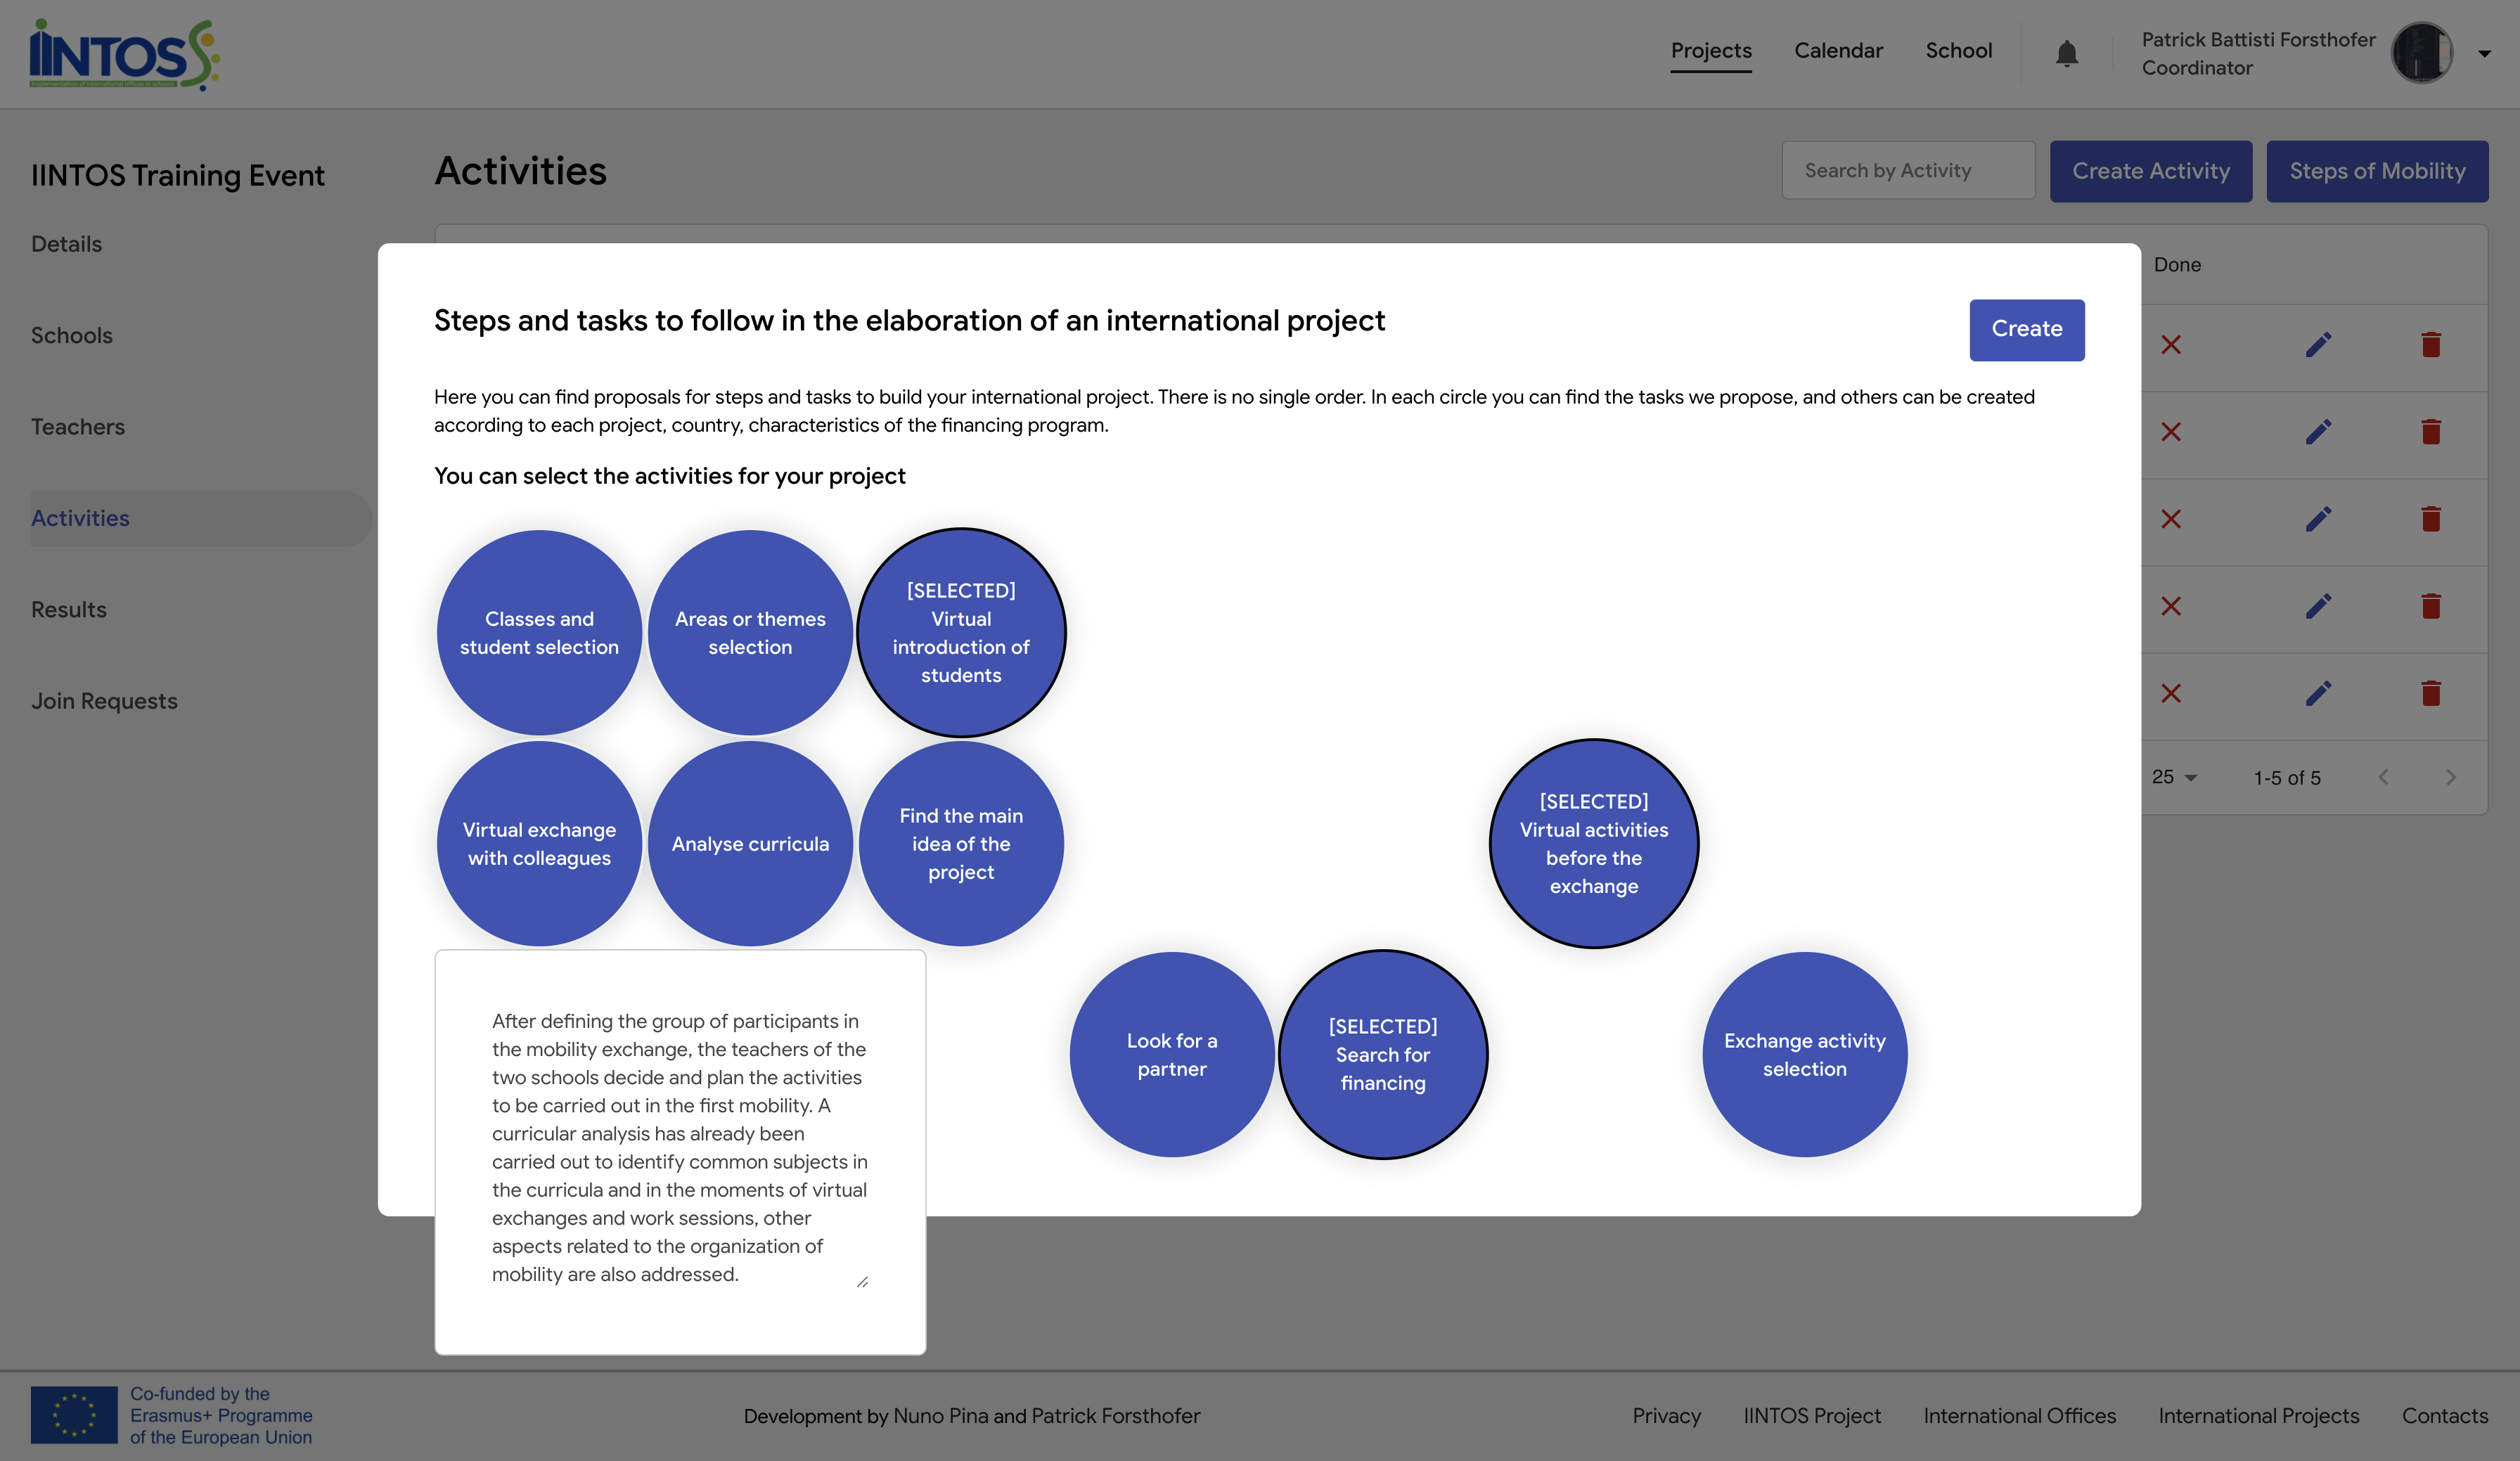
In “Steps of Mobility” you can find proposals for steps and tasks to build your international project. There is no effective order. In each circle you can find the tasks we propose, and others can be created according to each project, country, characteristics of the financing program. You can see the description of the step by hovering your mouse over the circles, you can select the steps clicking on the circle and then click on "Create" to add the choosen activities to your project.
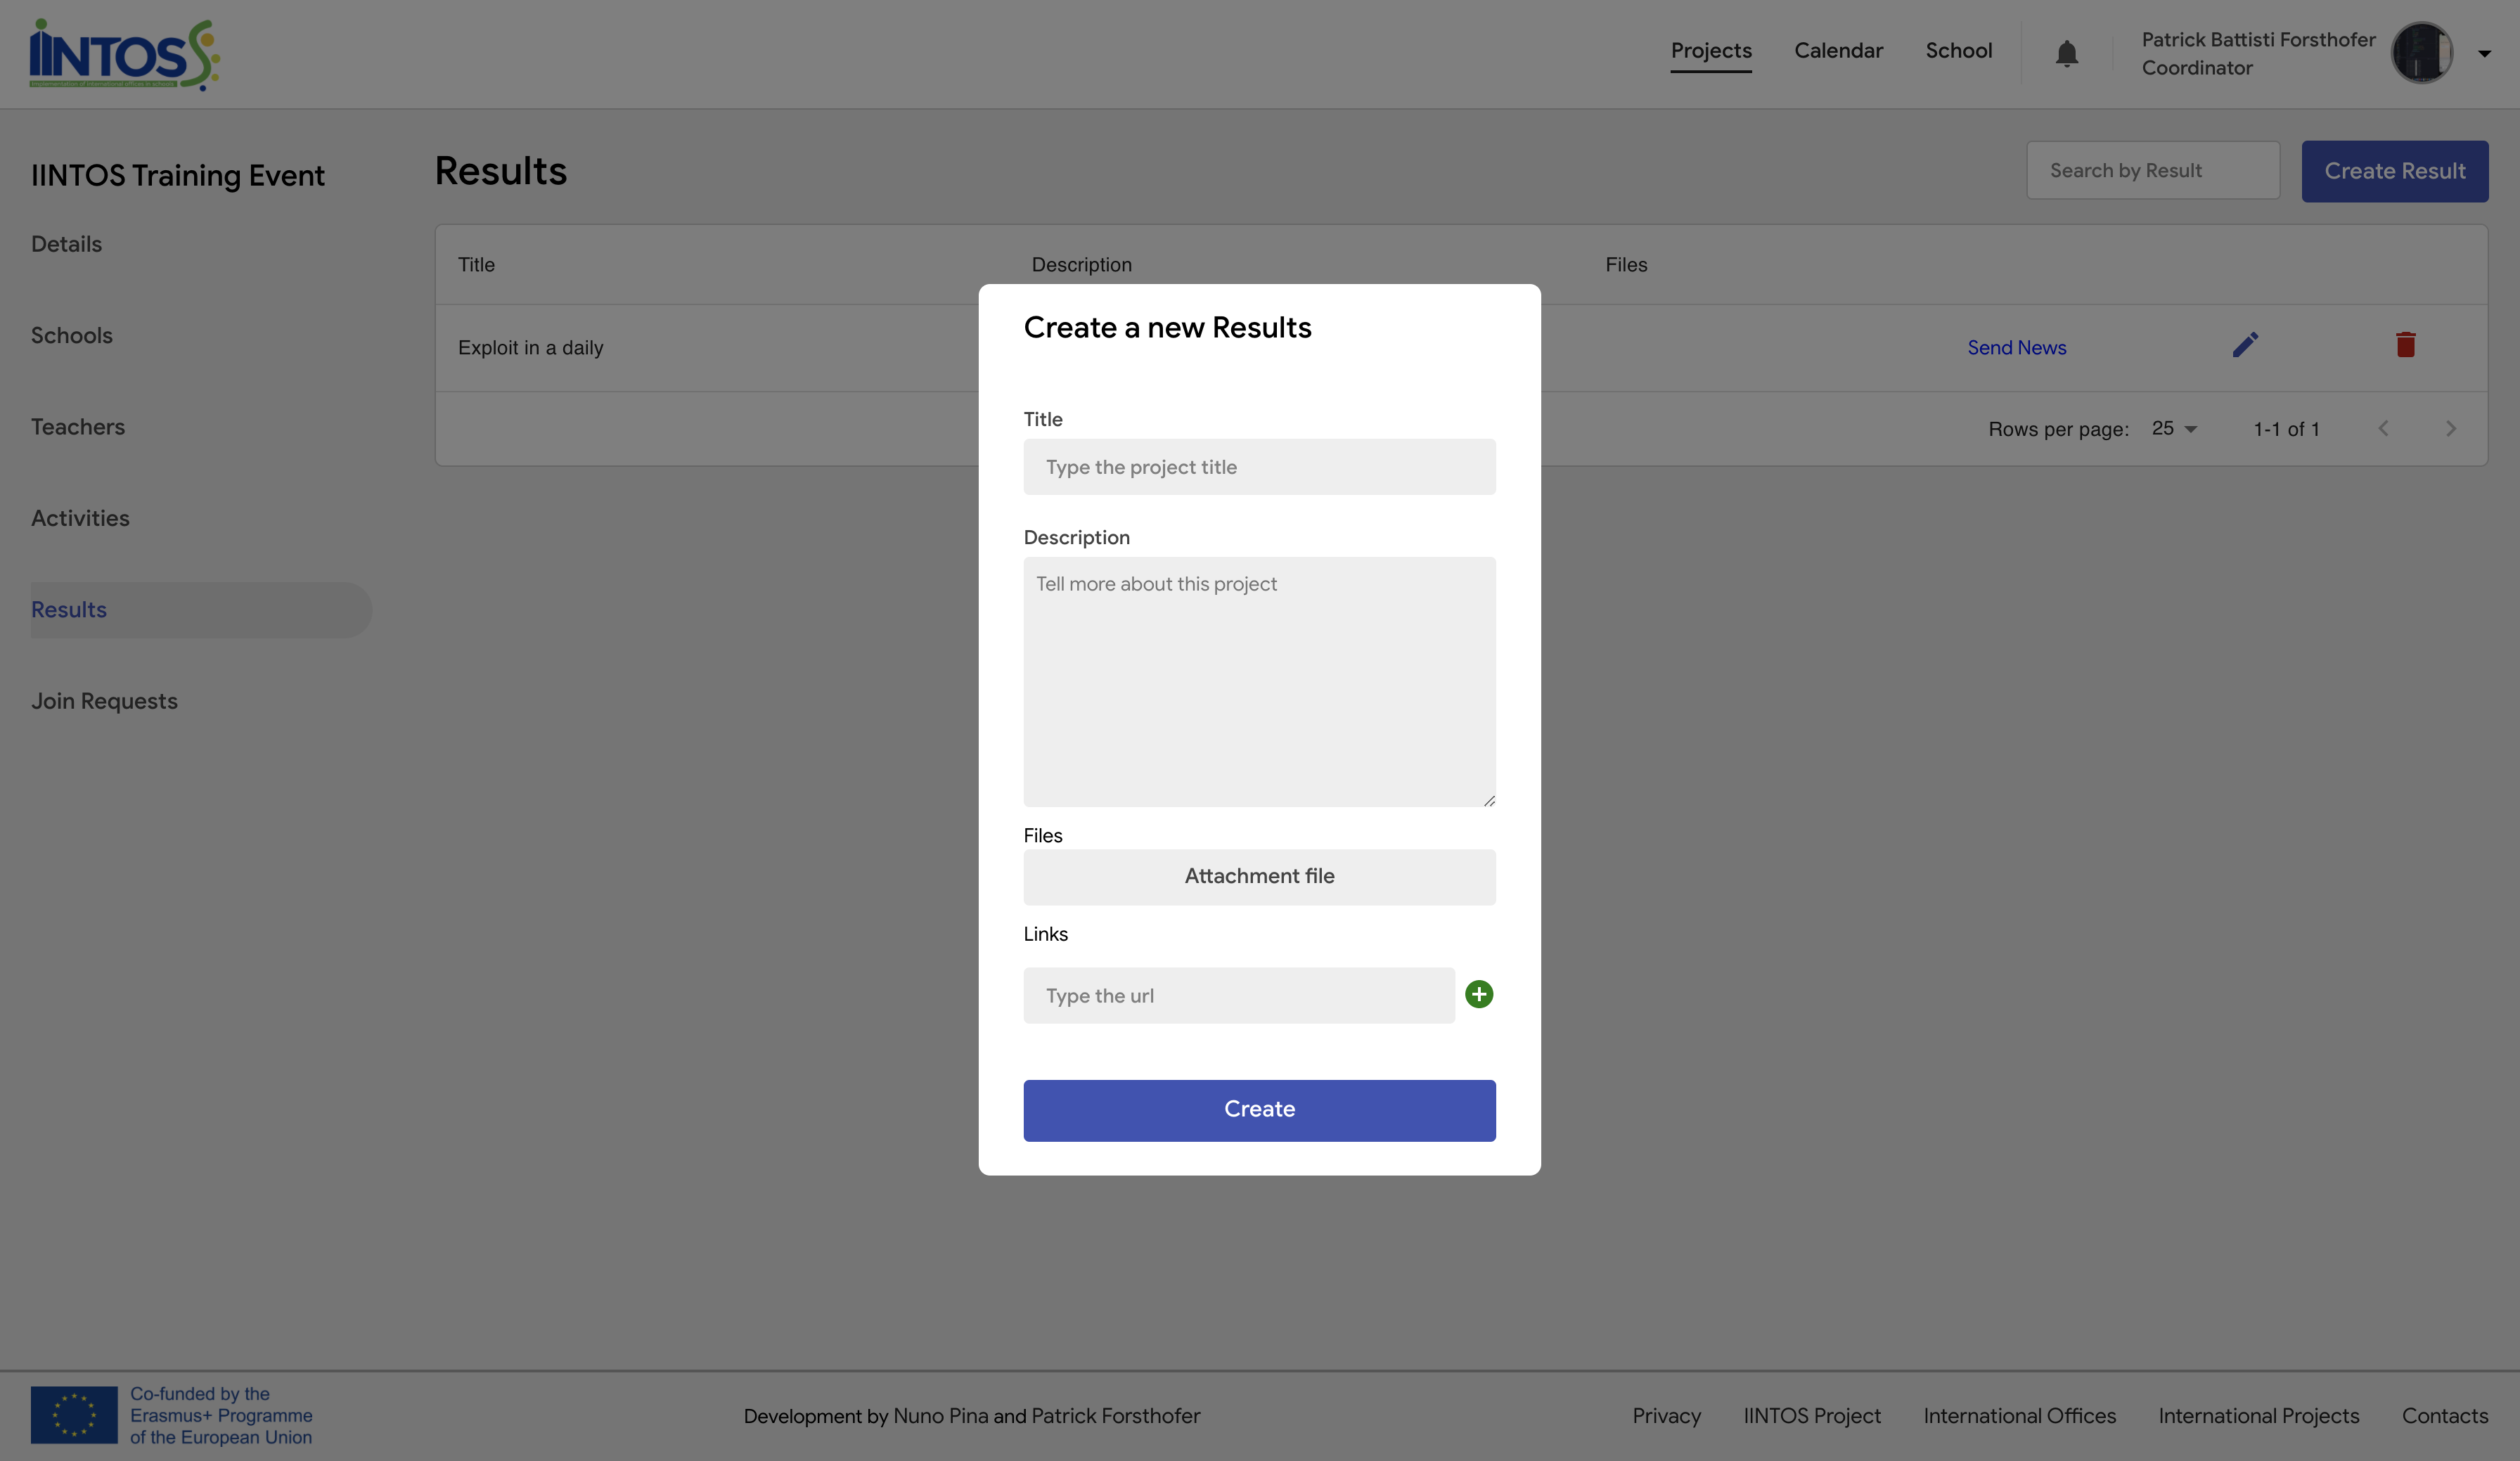
¶ Projects - Results
Here you can see the results of the project. You can create one result clicking in “Create Result”. For each result, you can edit, delete and send to news.
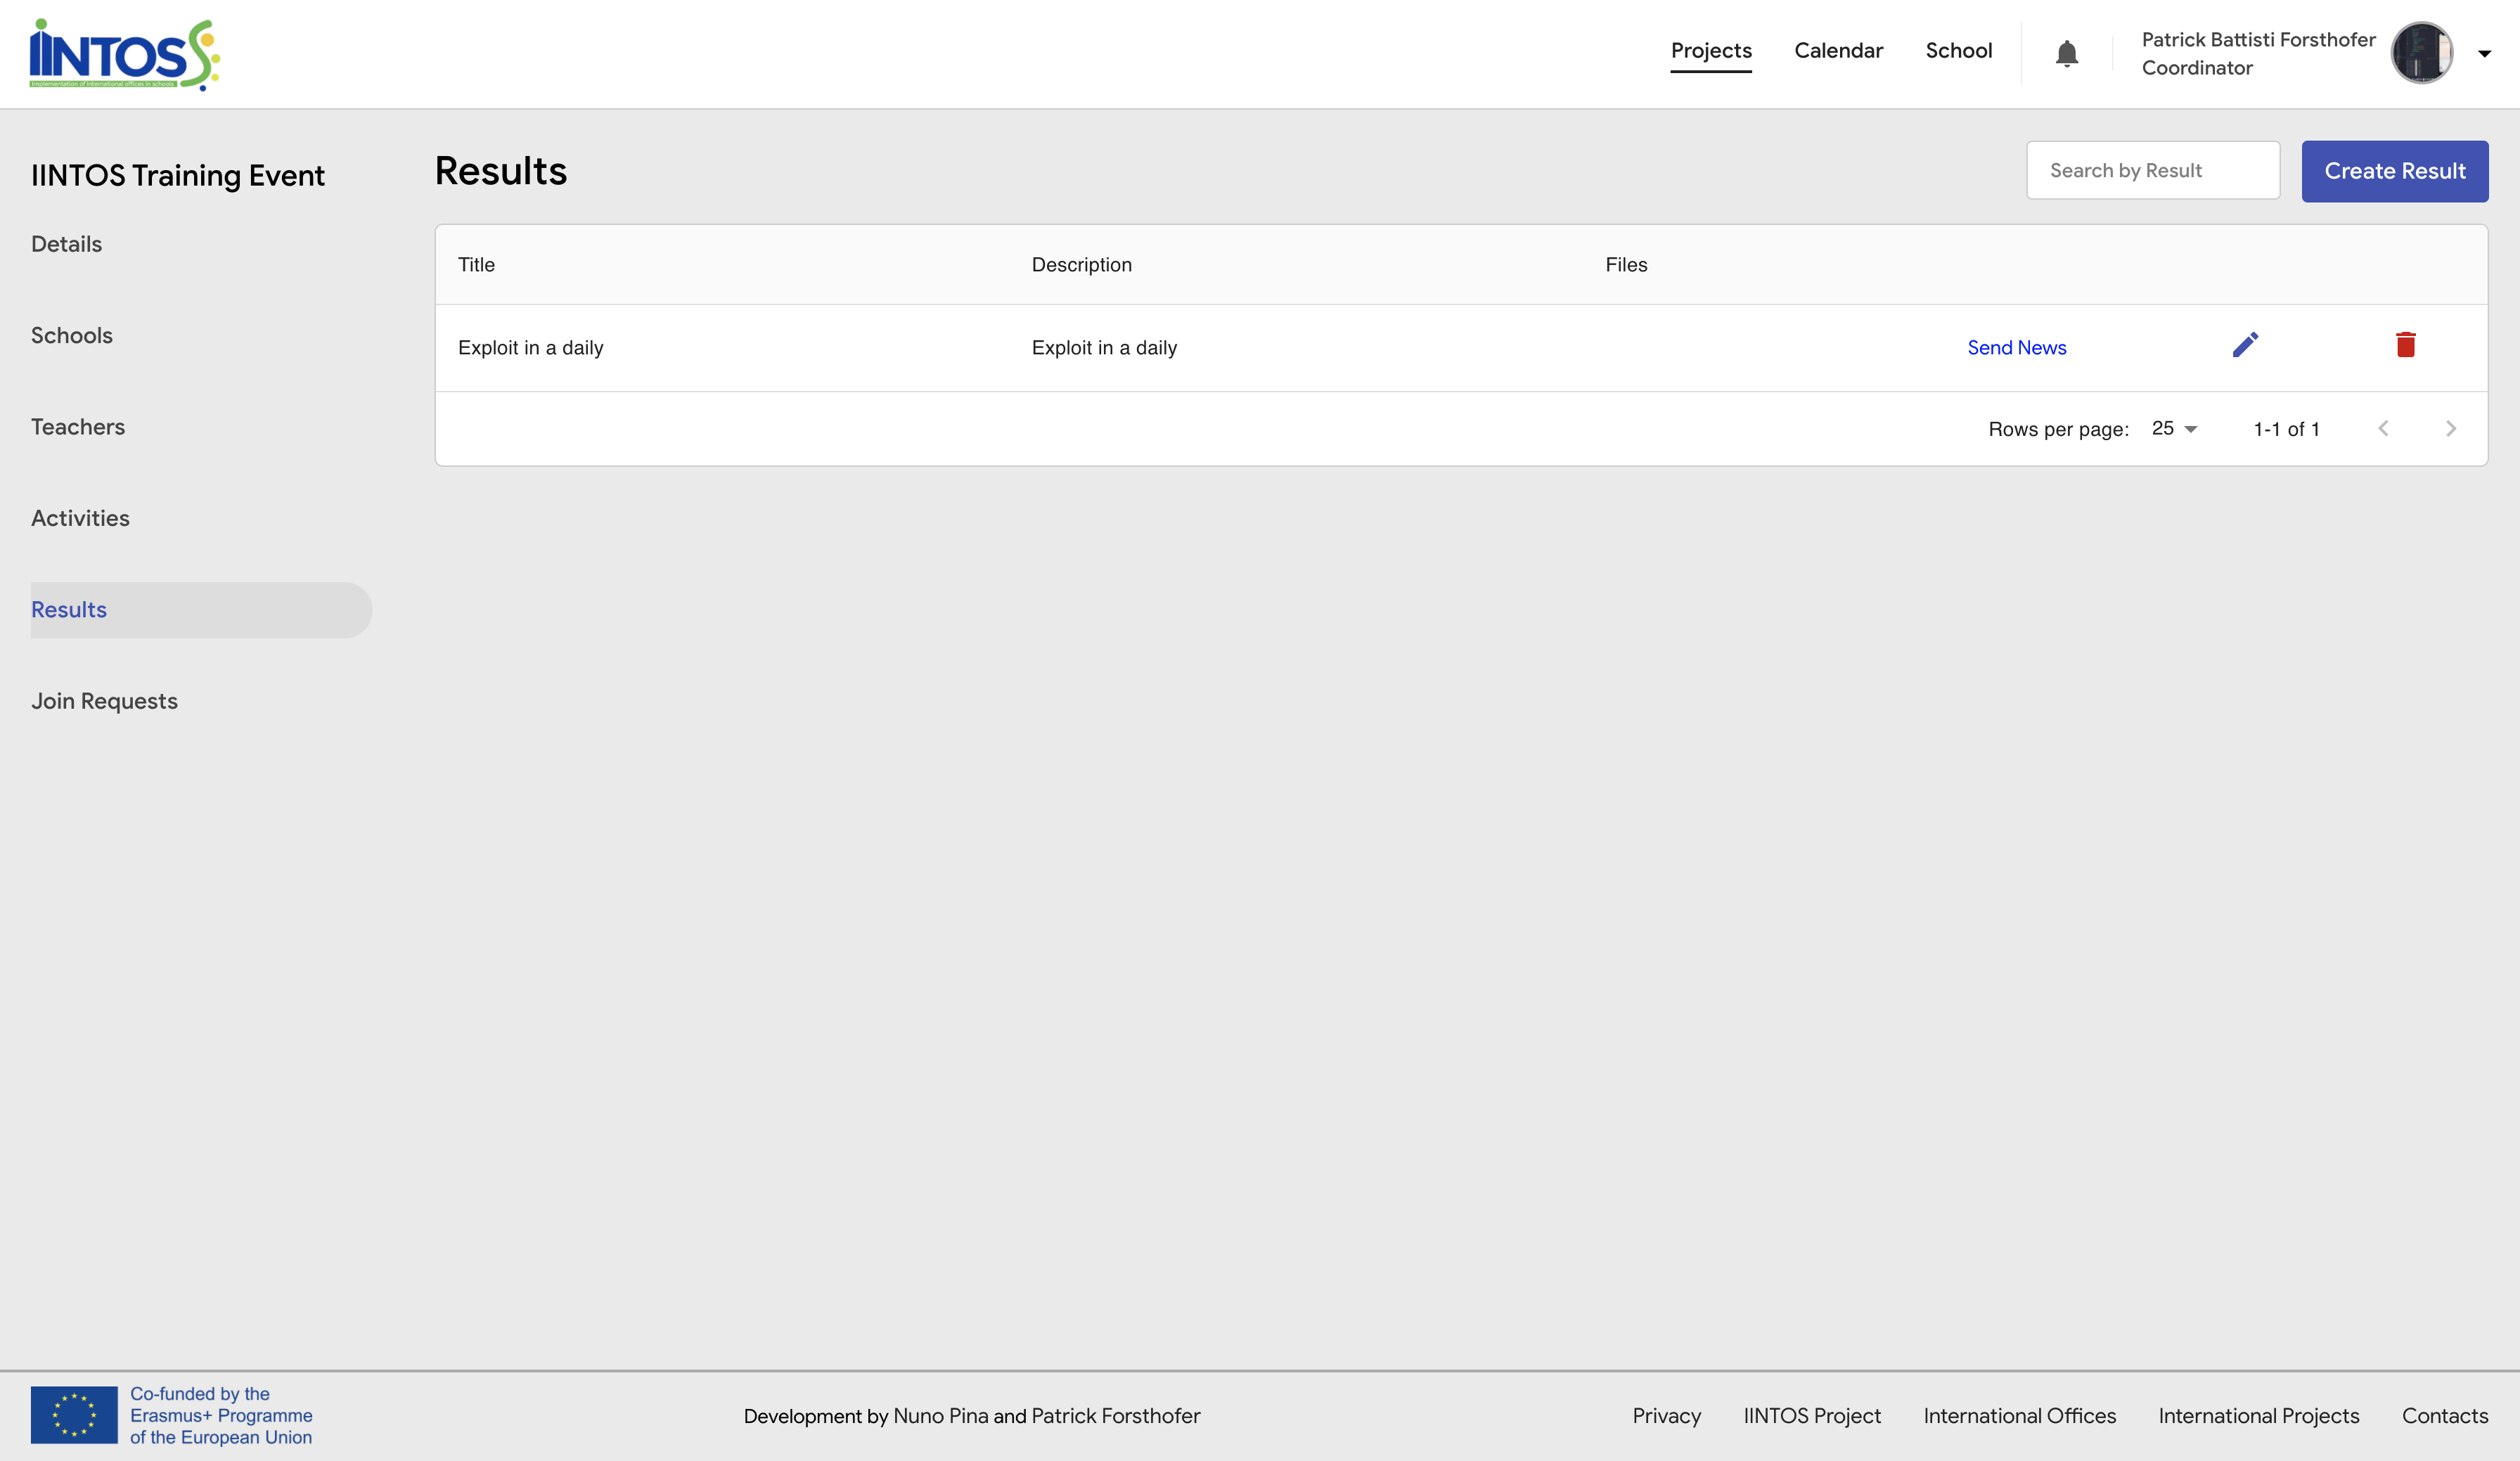
¶ Projects - Results
You must fill in the form to create a result.
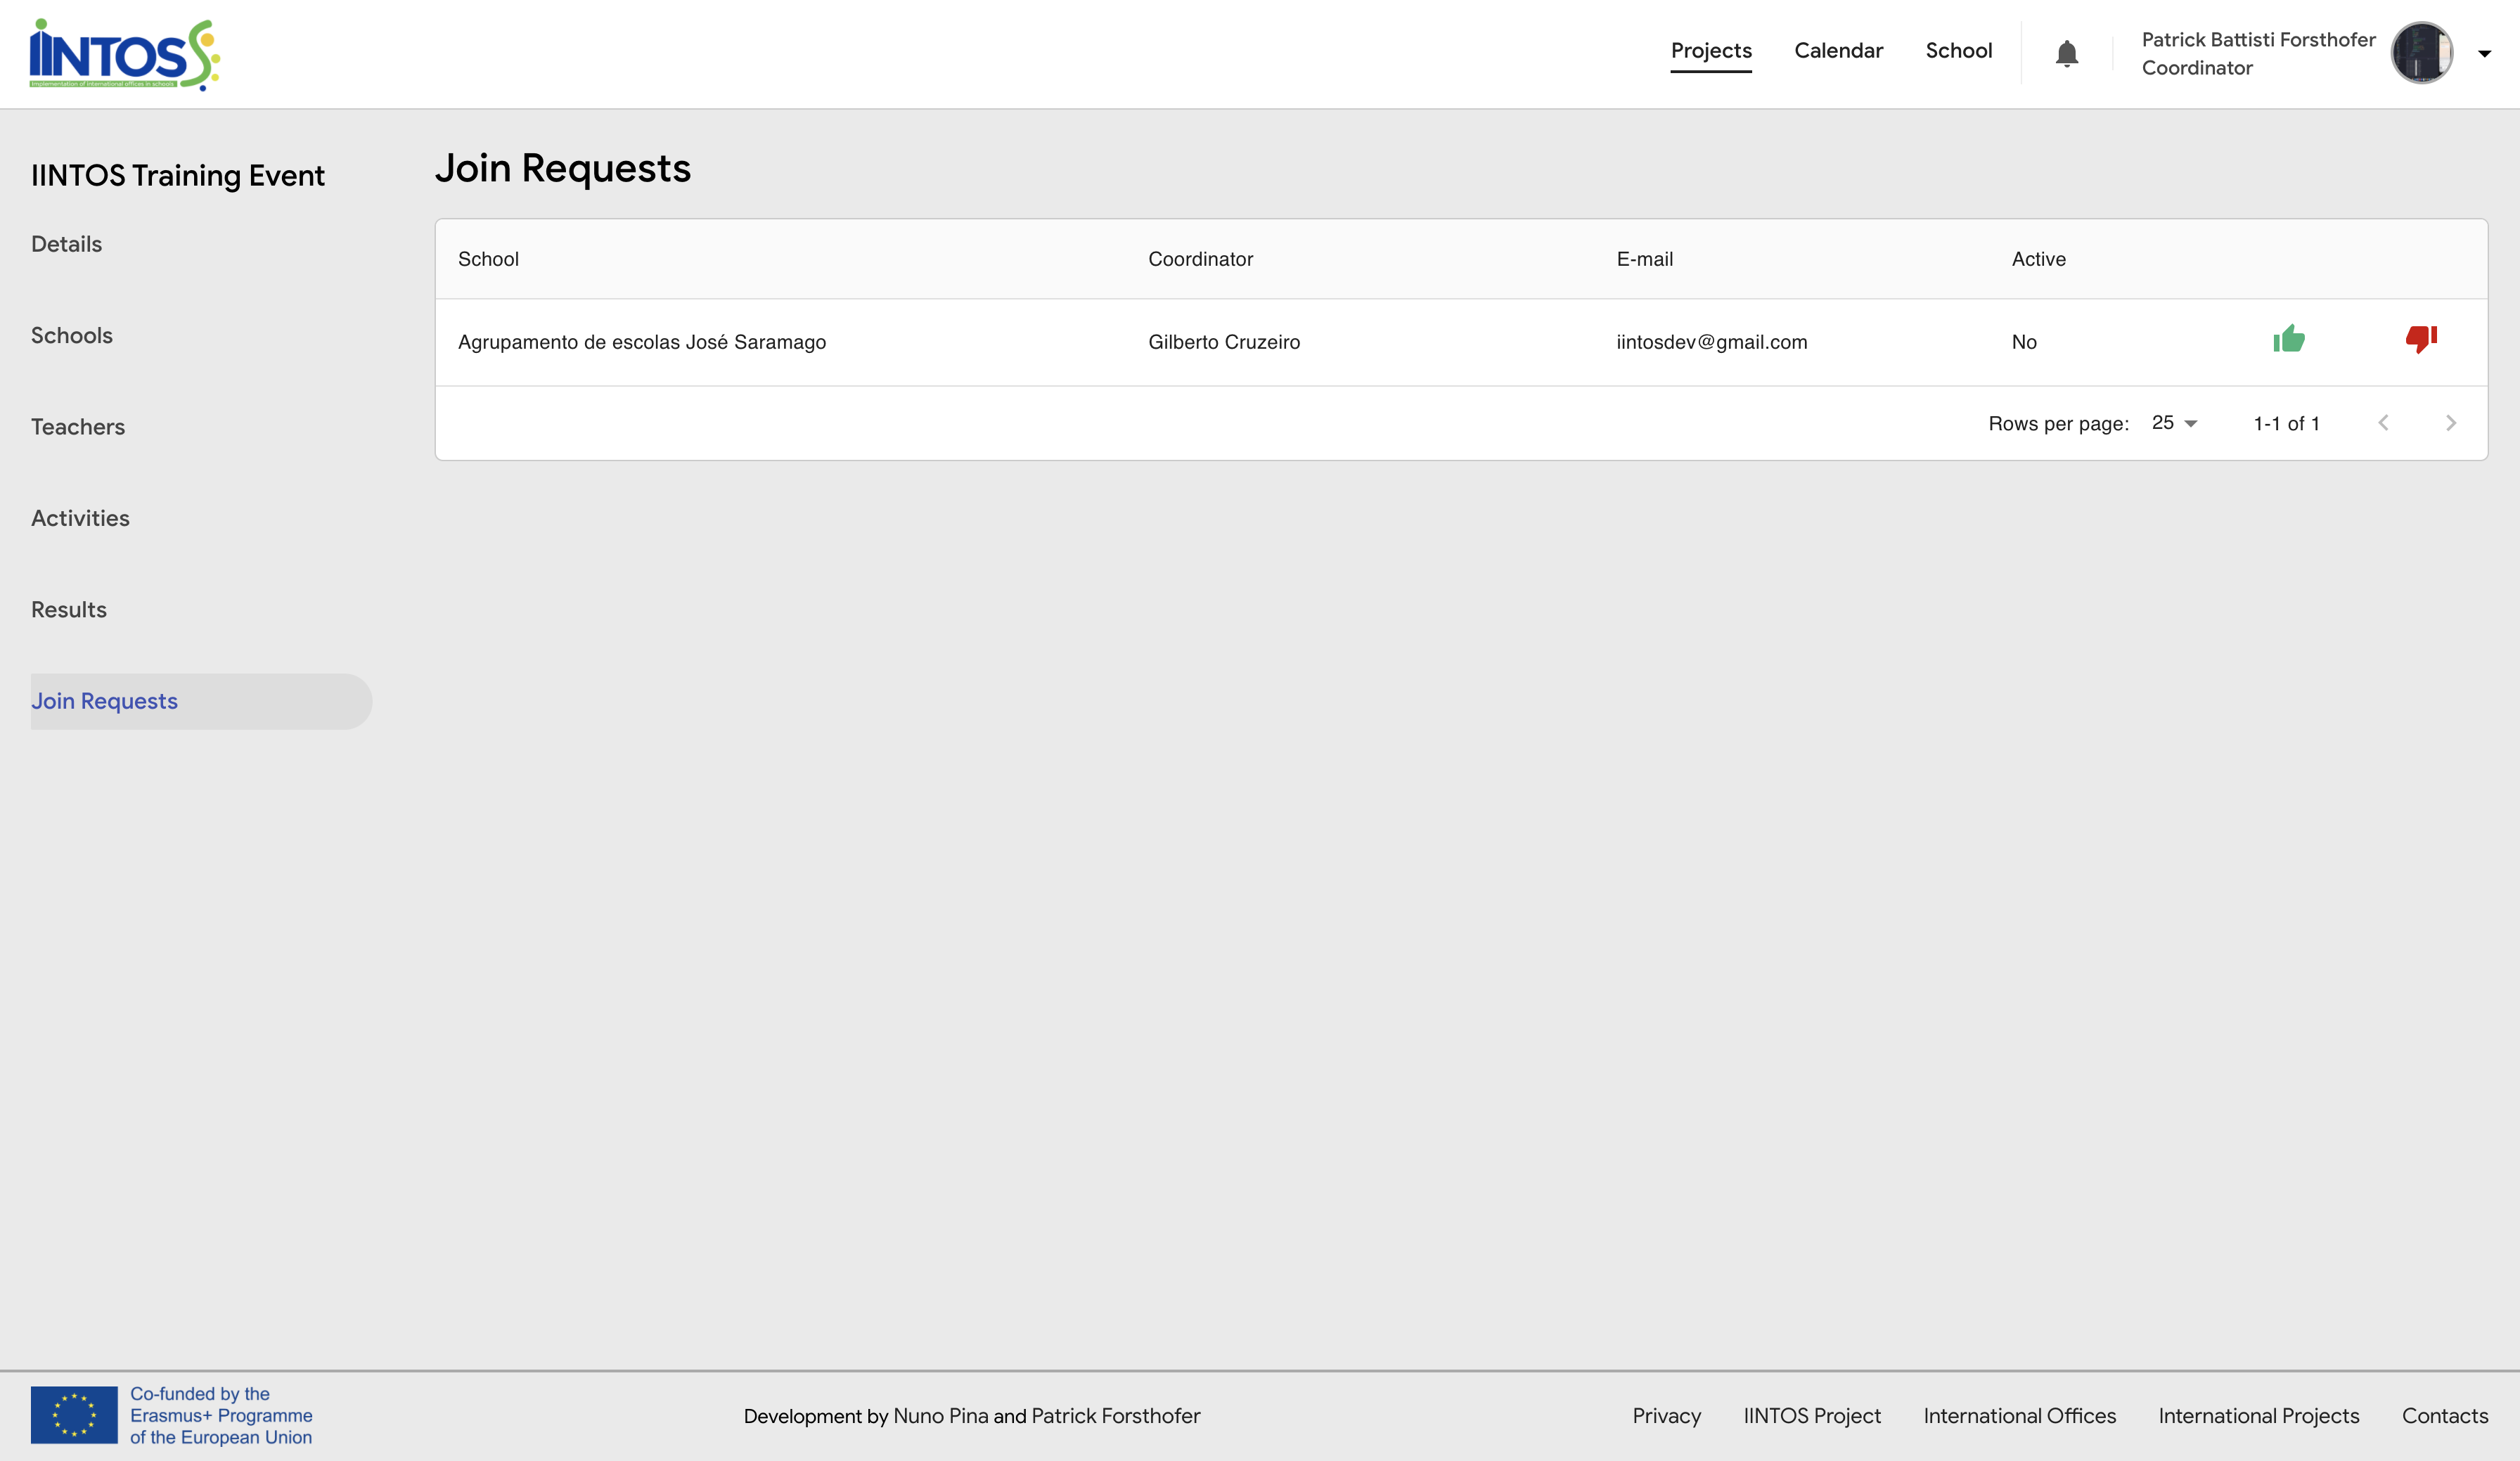
¶ Join Requests
If your school is a member of the project, you can see the option "Join Request" on the left menu, here you can "Activate / Refuse" the request sent by other schools to join the project.
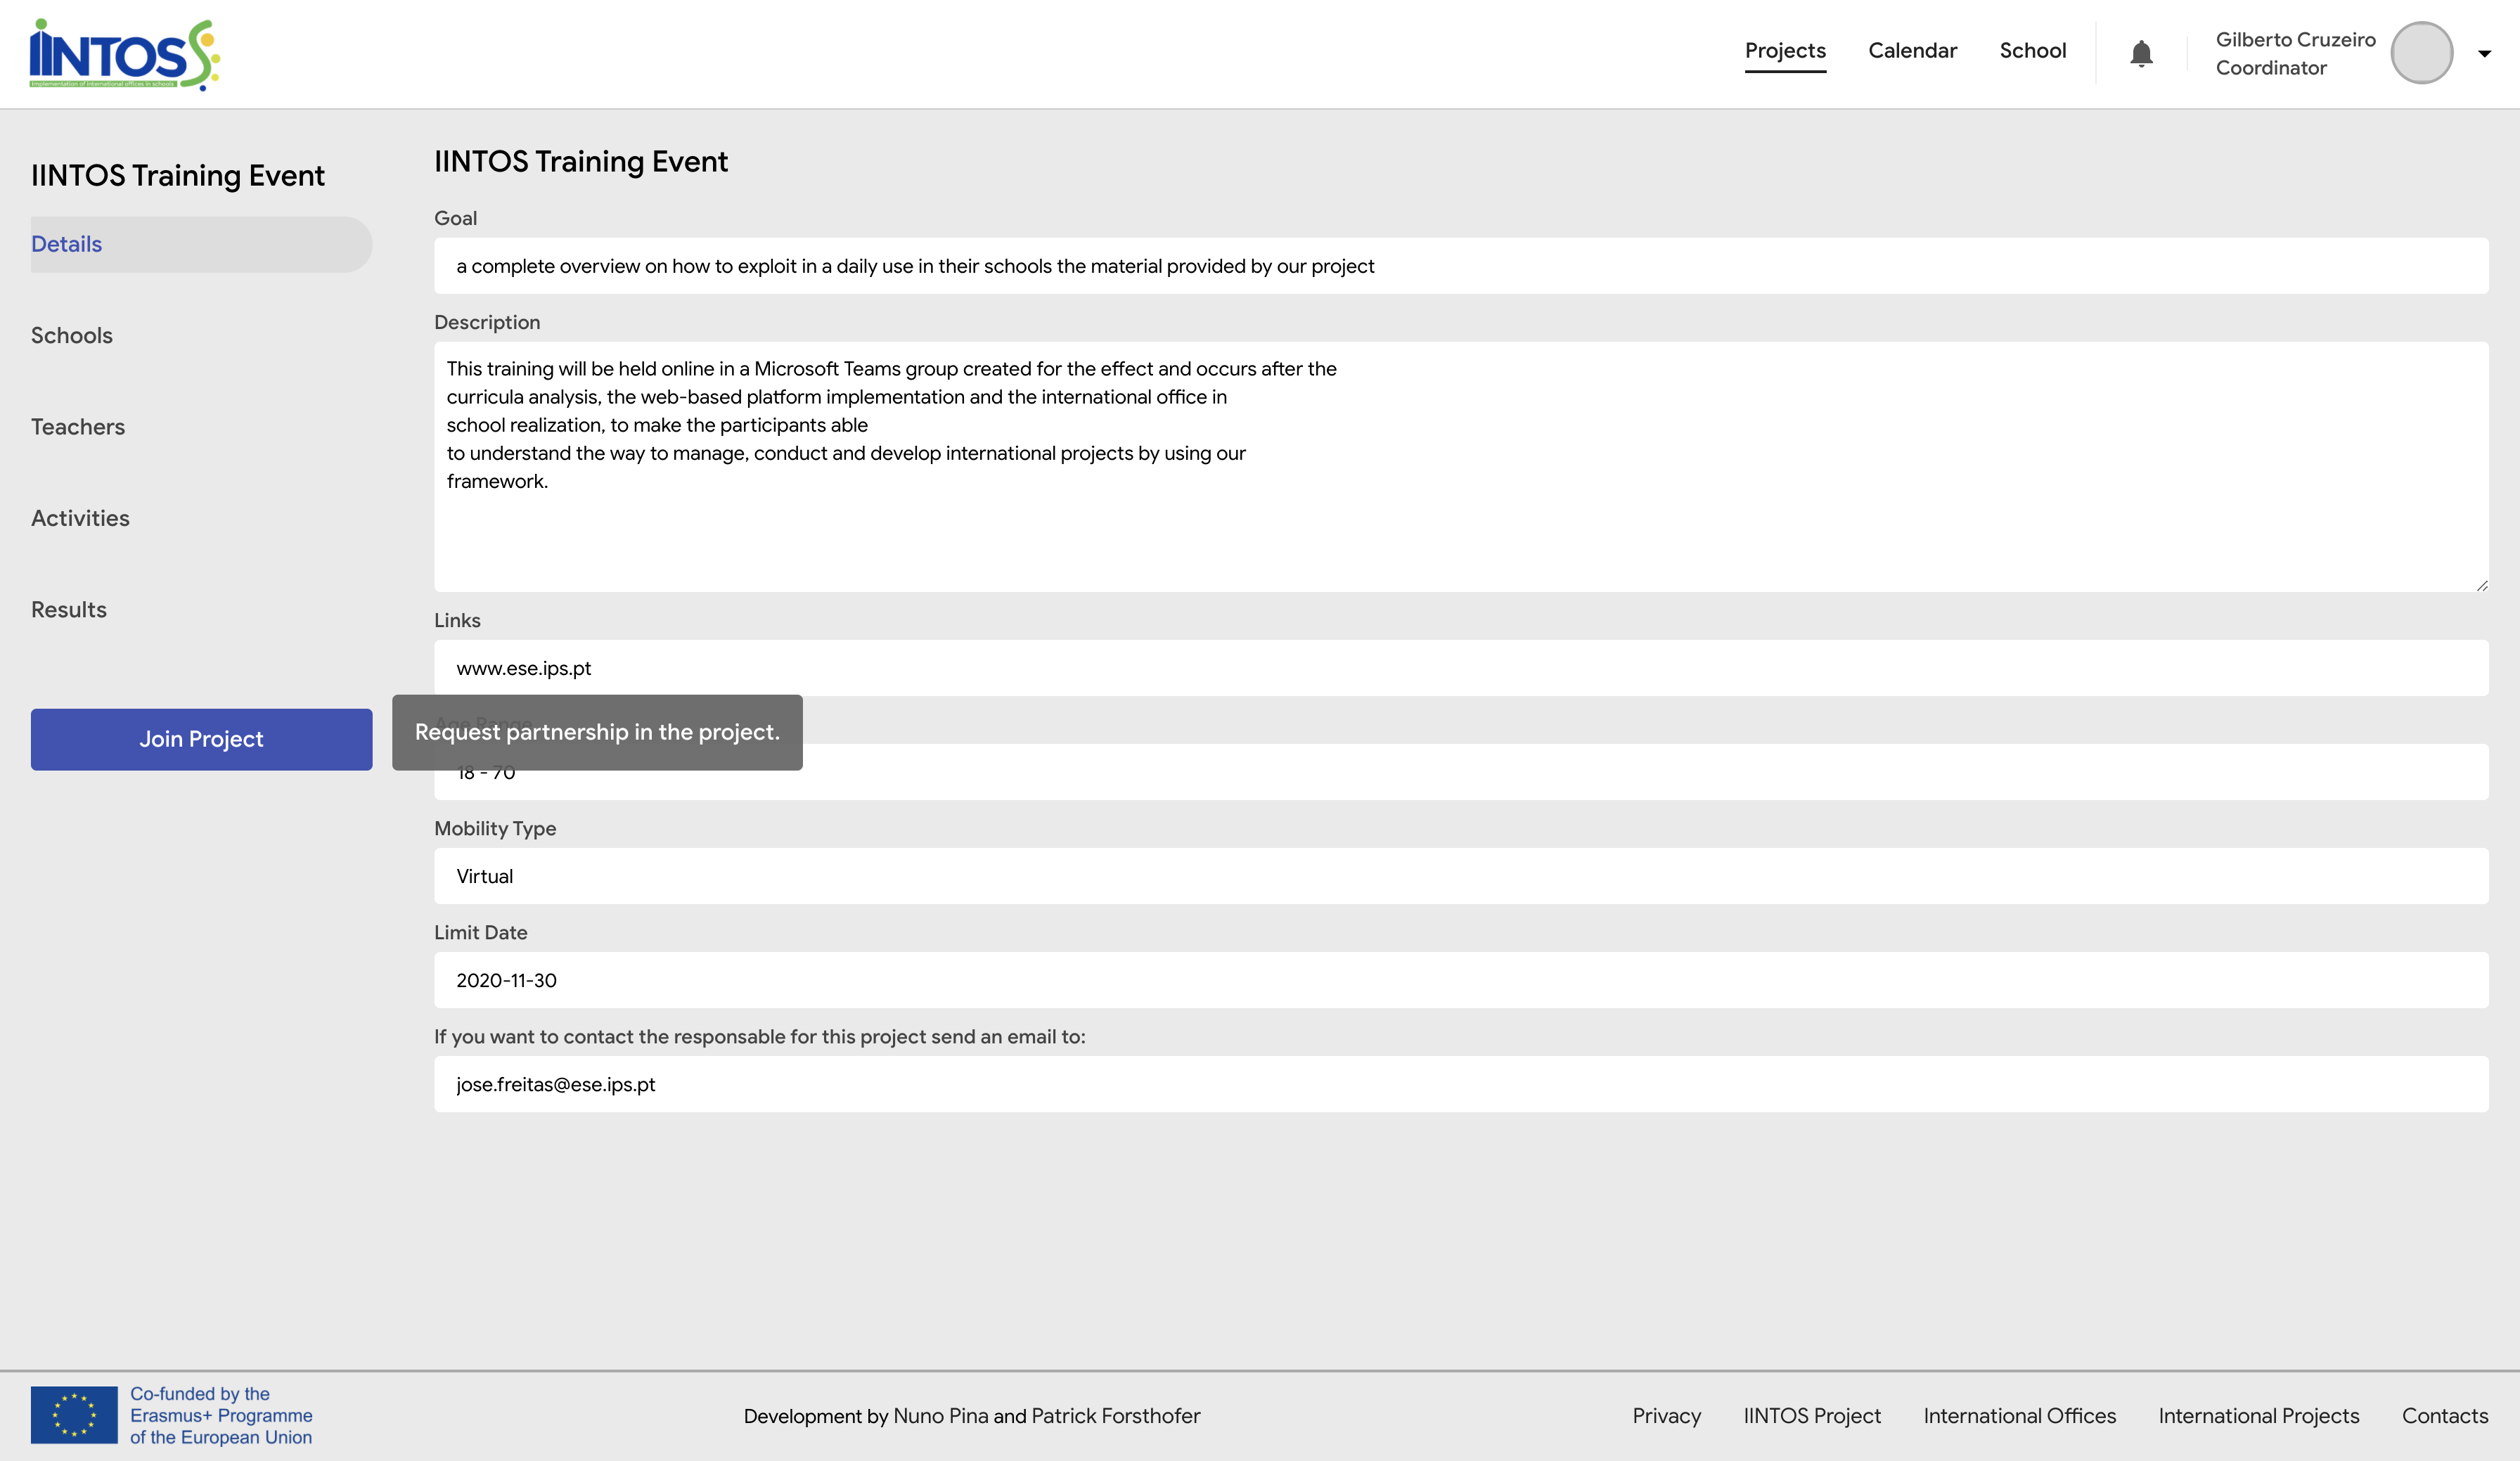
¶ Join Requests
If your school isn't a member of the project, you can see the blue button "Join Requests" on the left menu, you can send your request to join in the project clicking on the button.
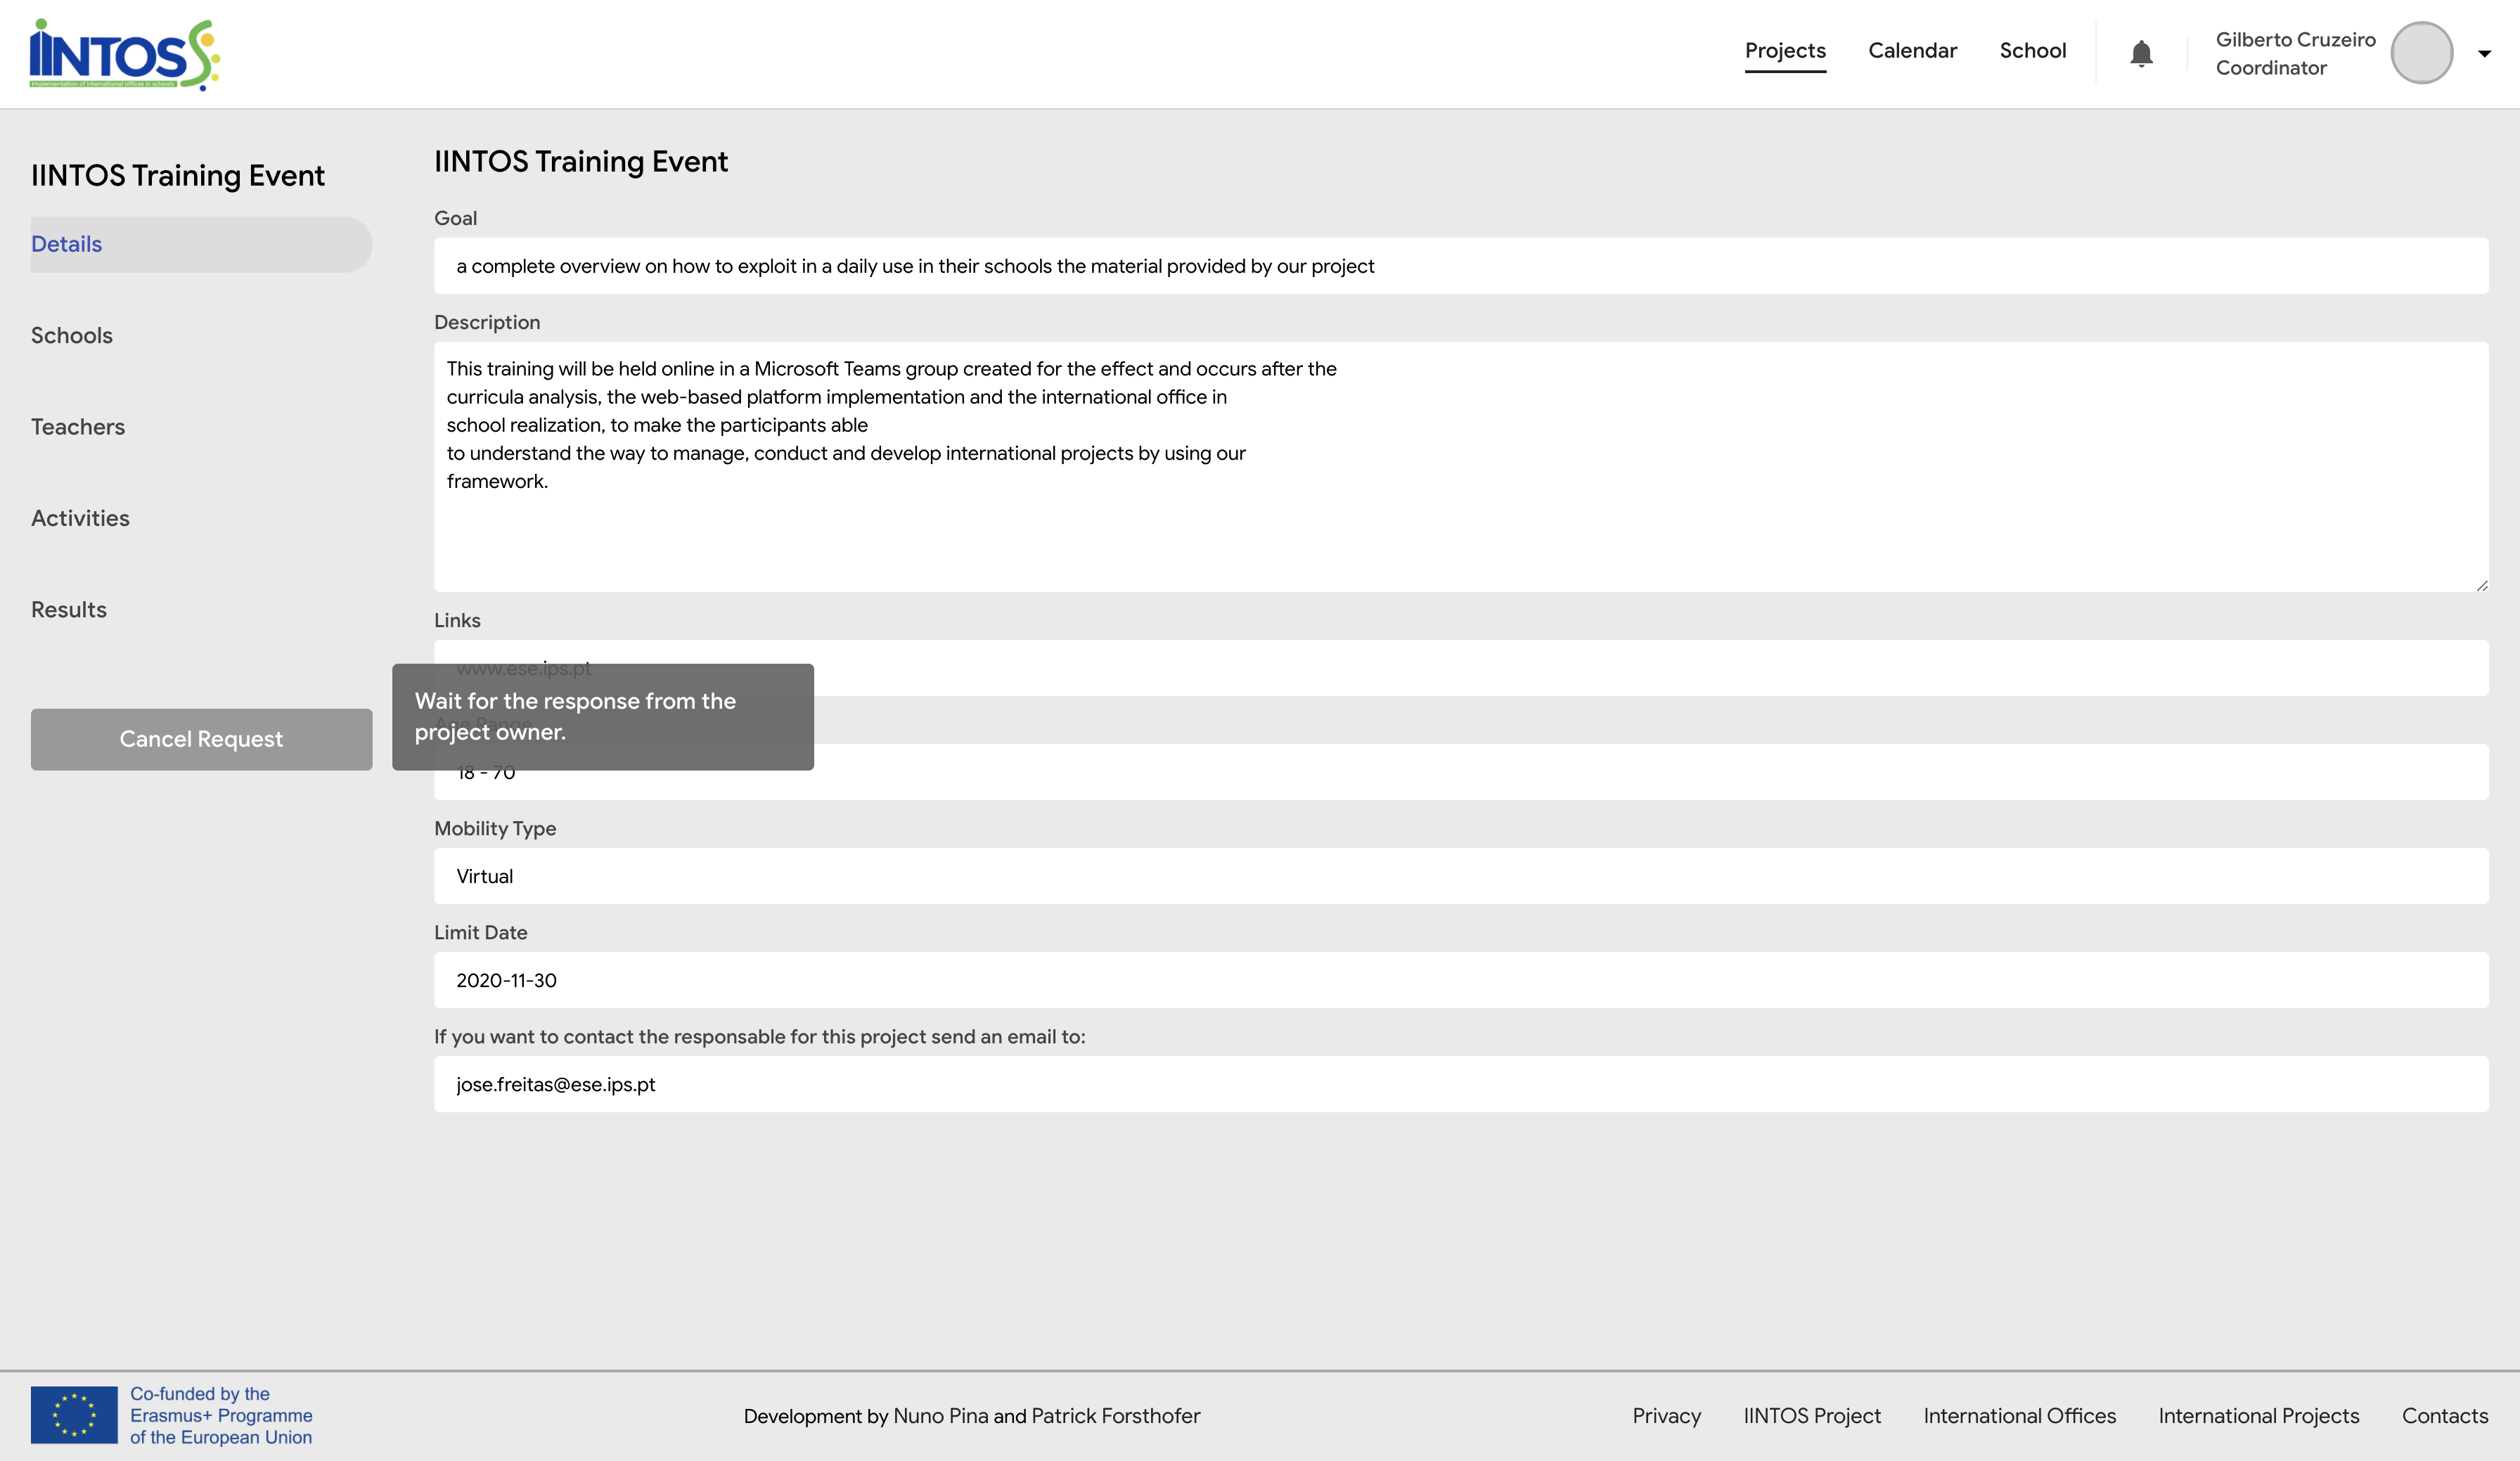
¶ Join Requests
If your school isn't a member of the project, you can see the gray button "Cancel Request" on the left menu, you can cancel your request to join in the project clicking on the button.
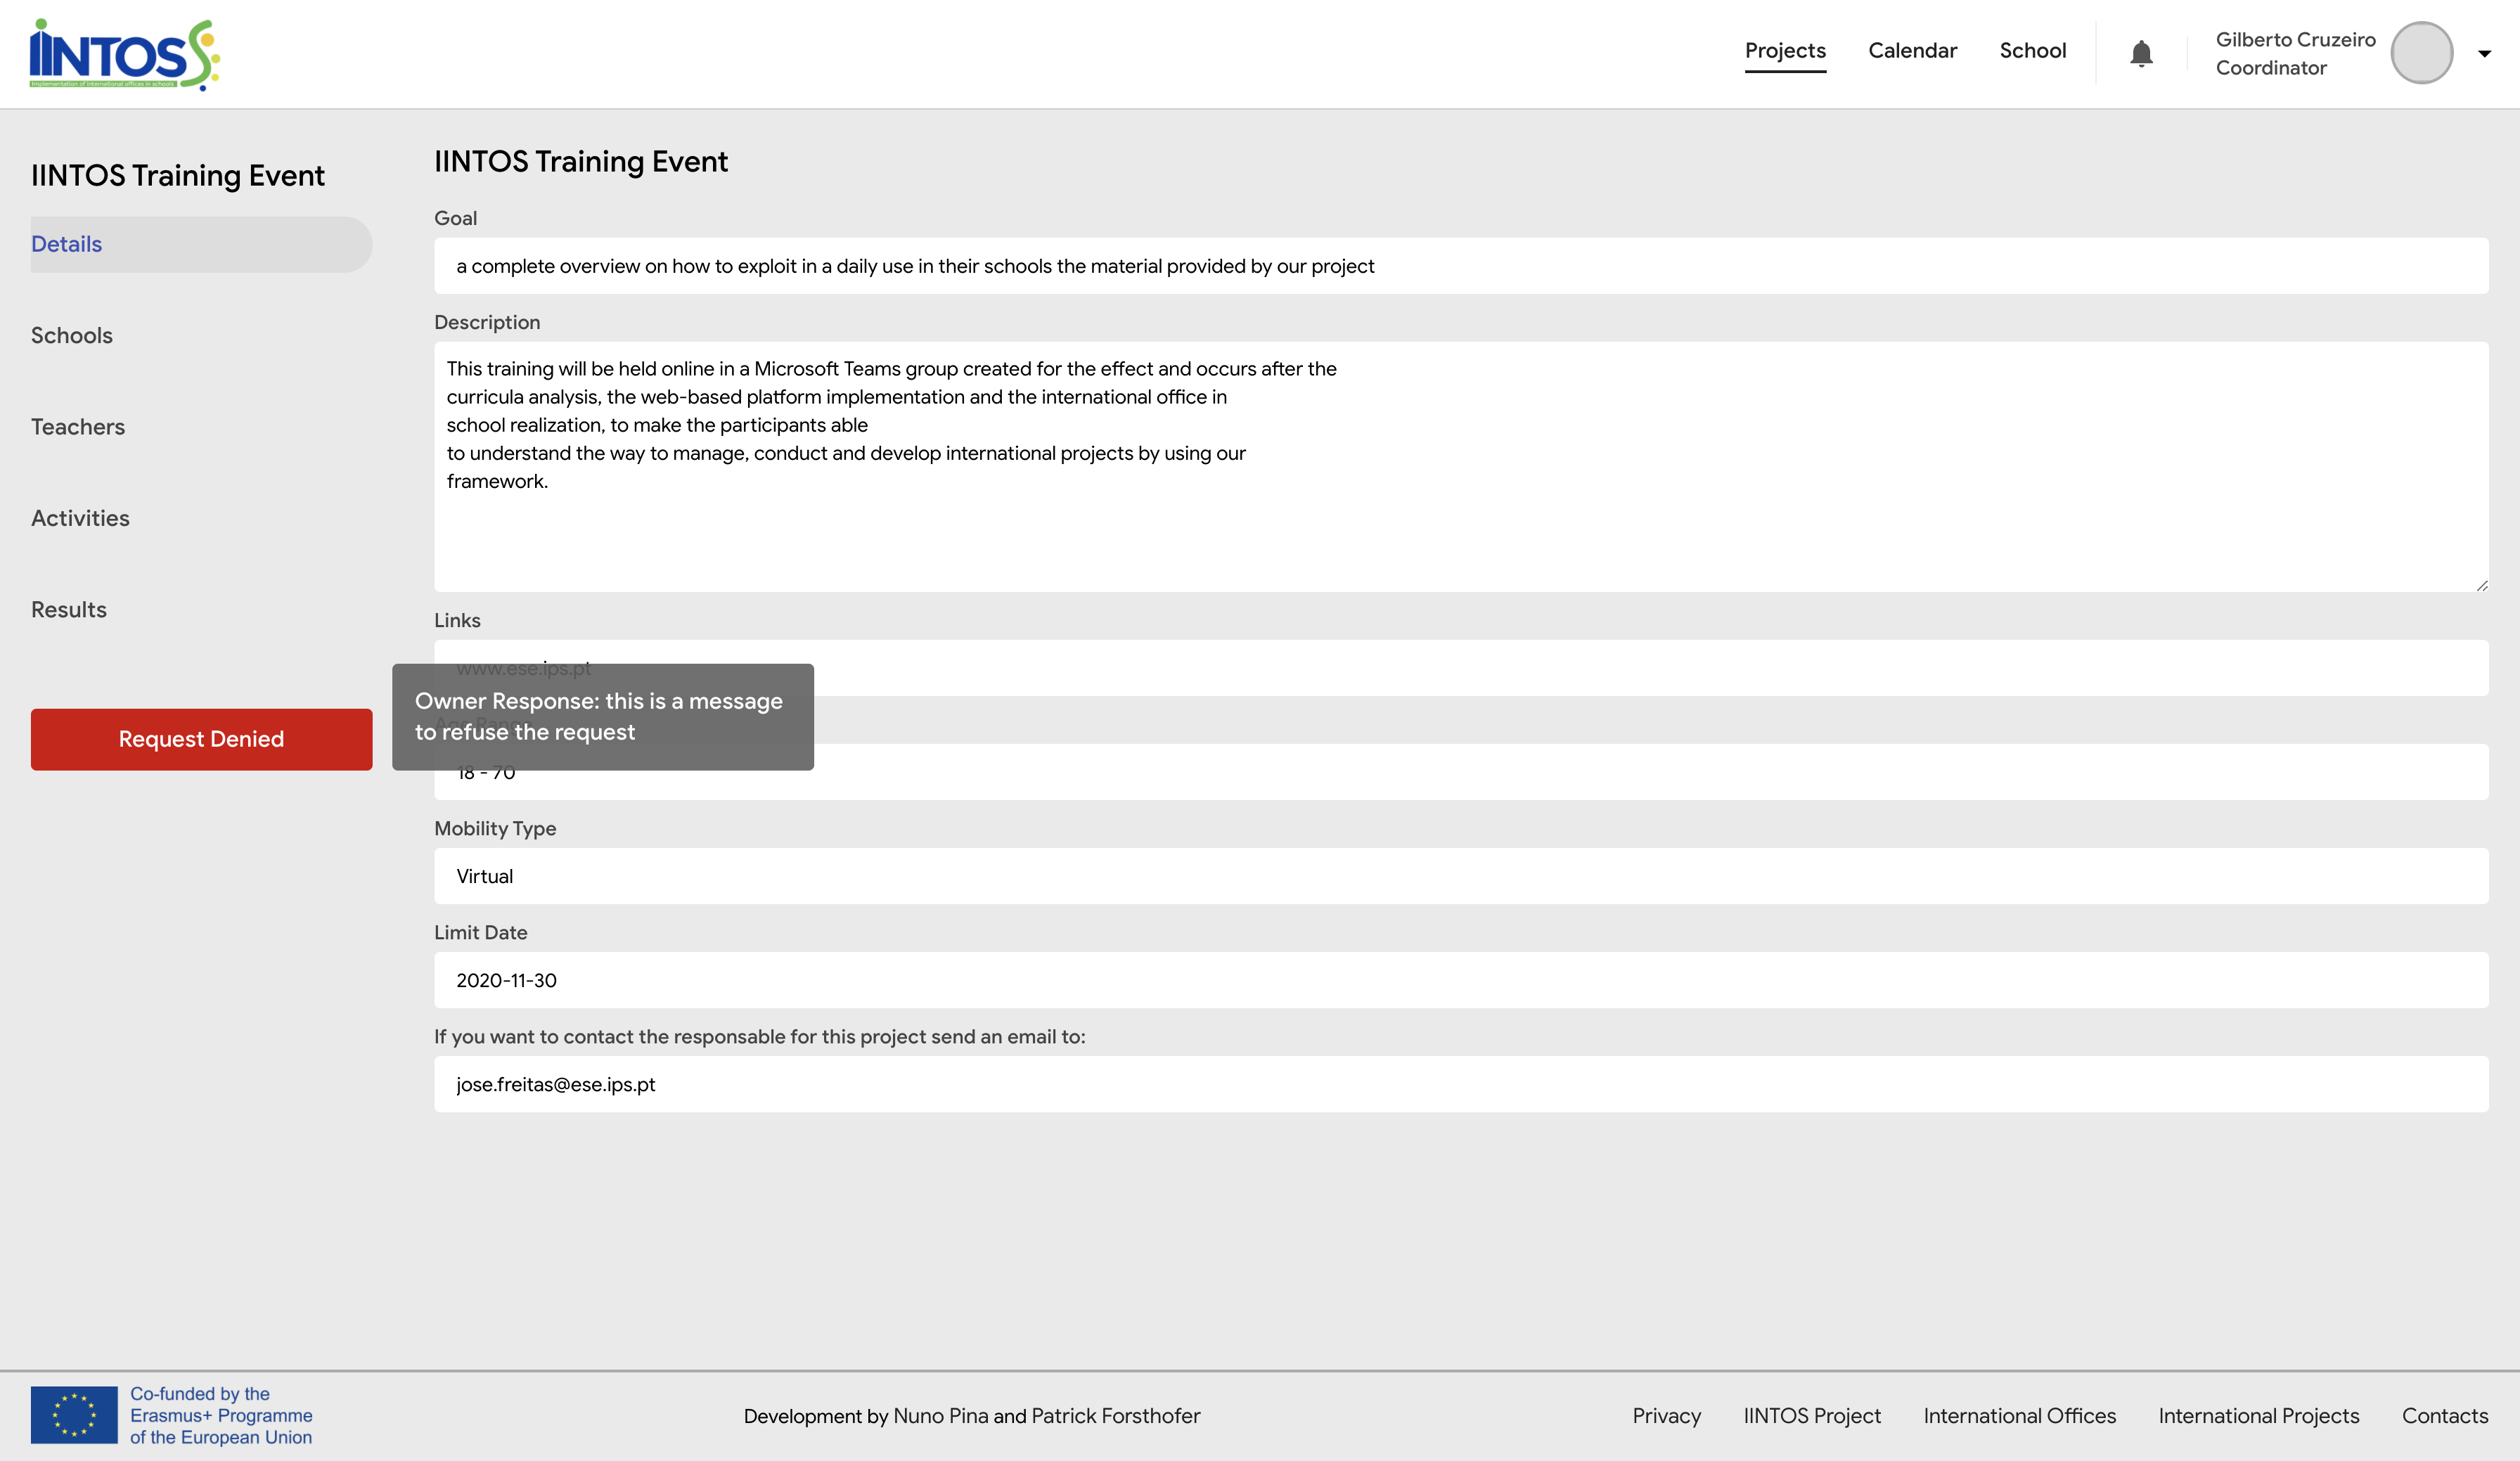
¶ Join Requests
If your school isn't a member of the project, you can see the red alert "Request Denied" on the left menu, by hovering over the alert, you can see the reason for the refusal request.
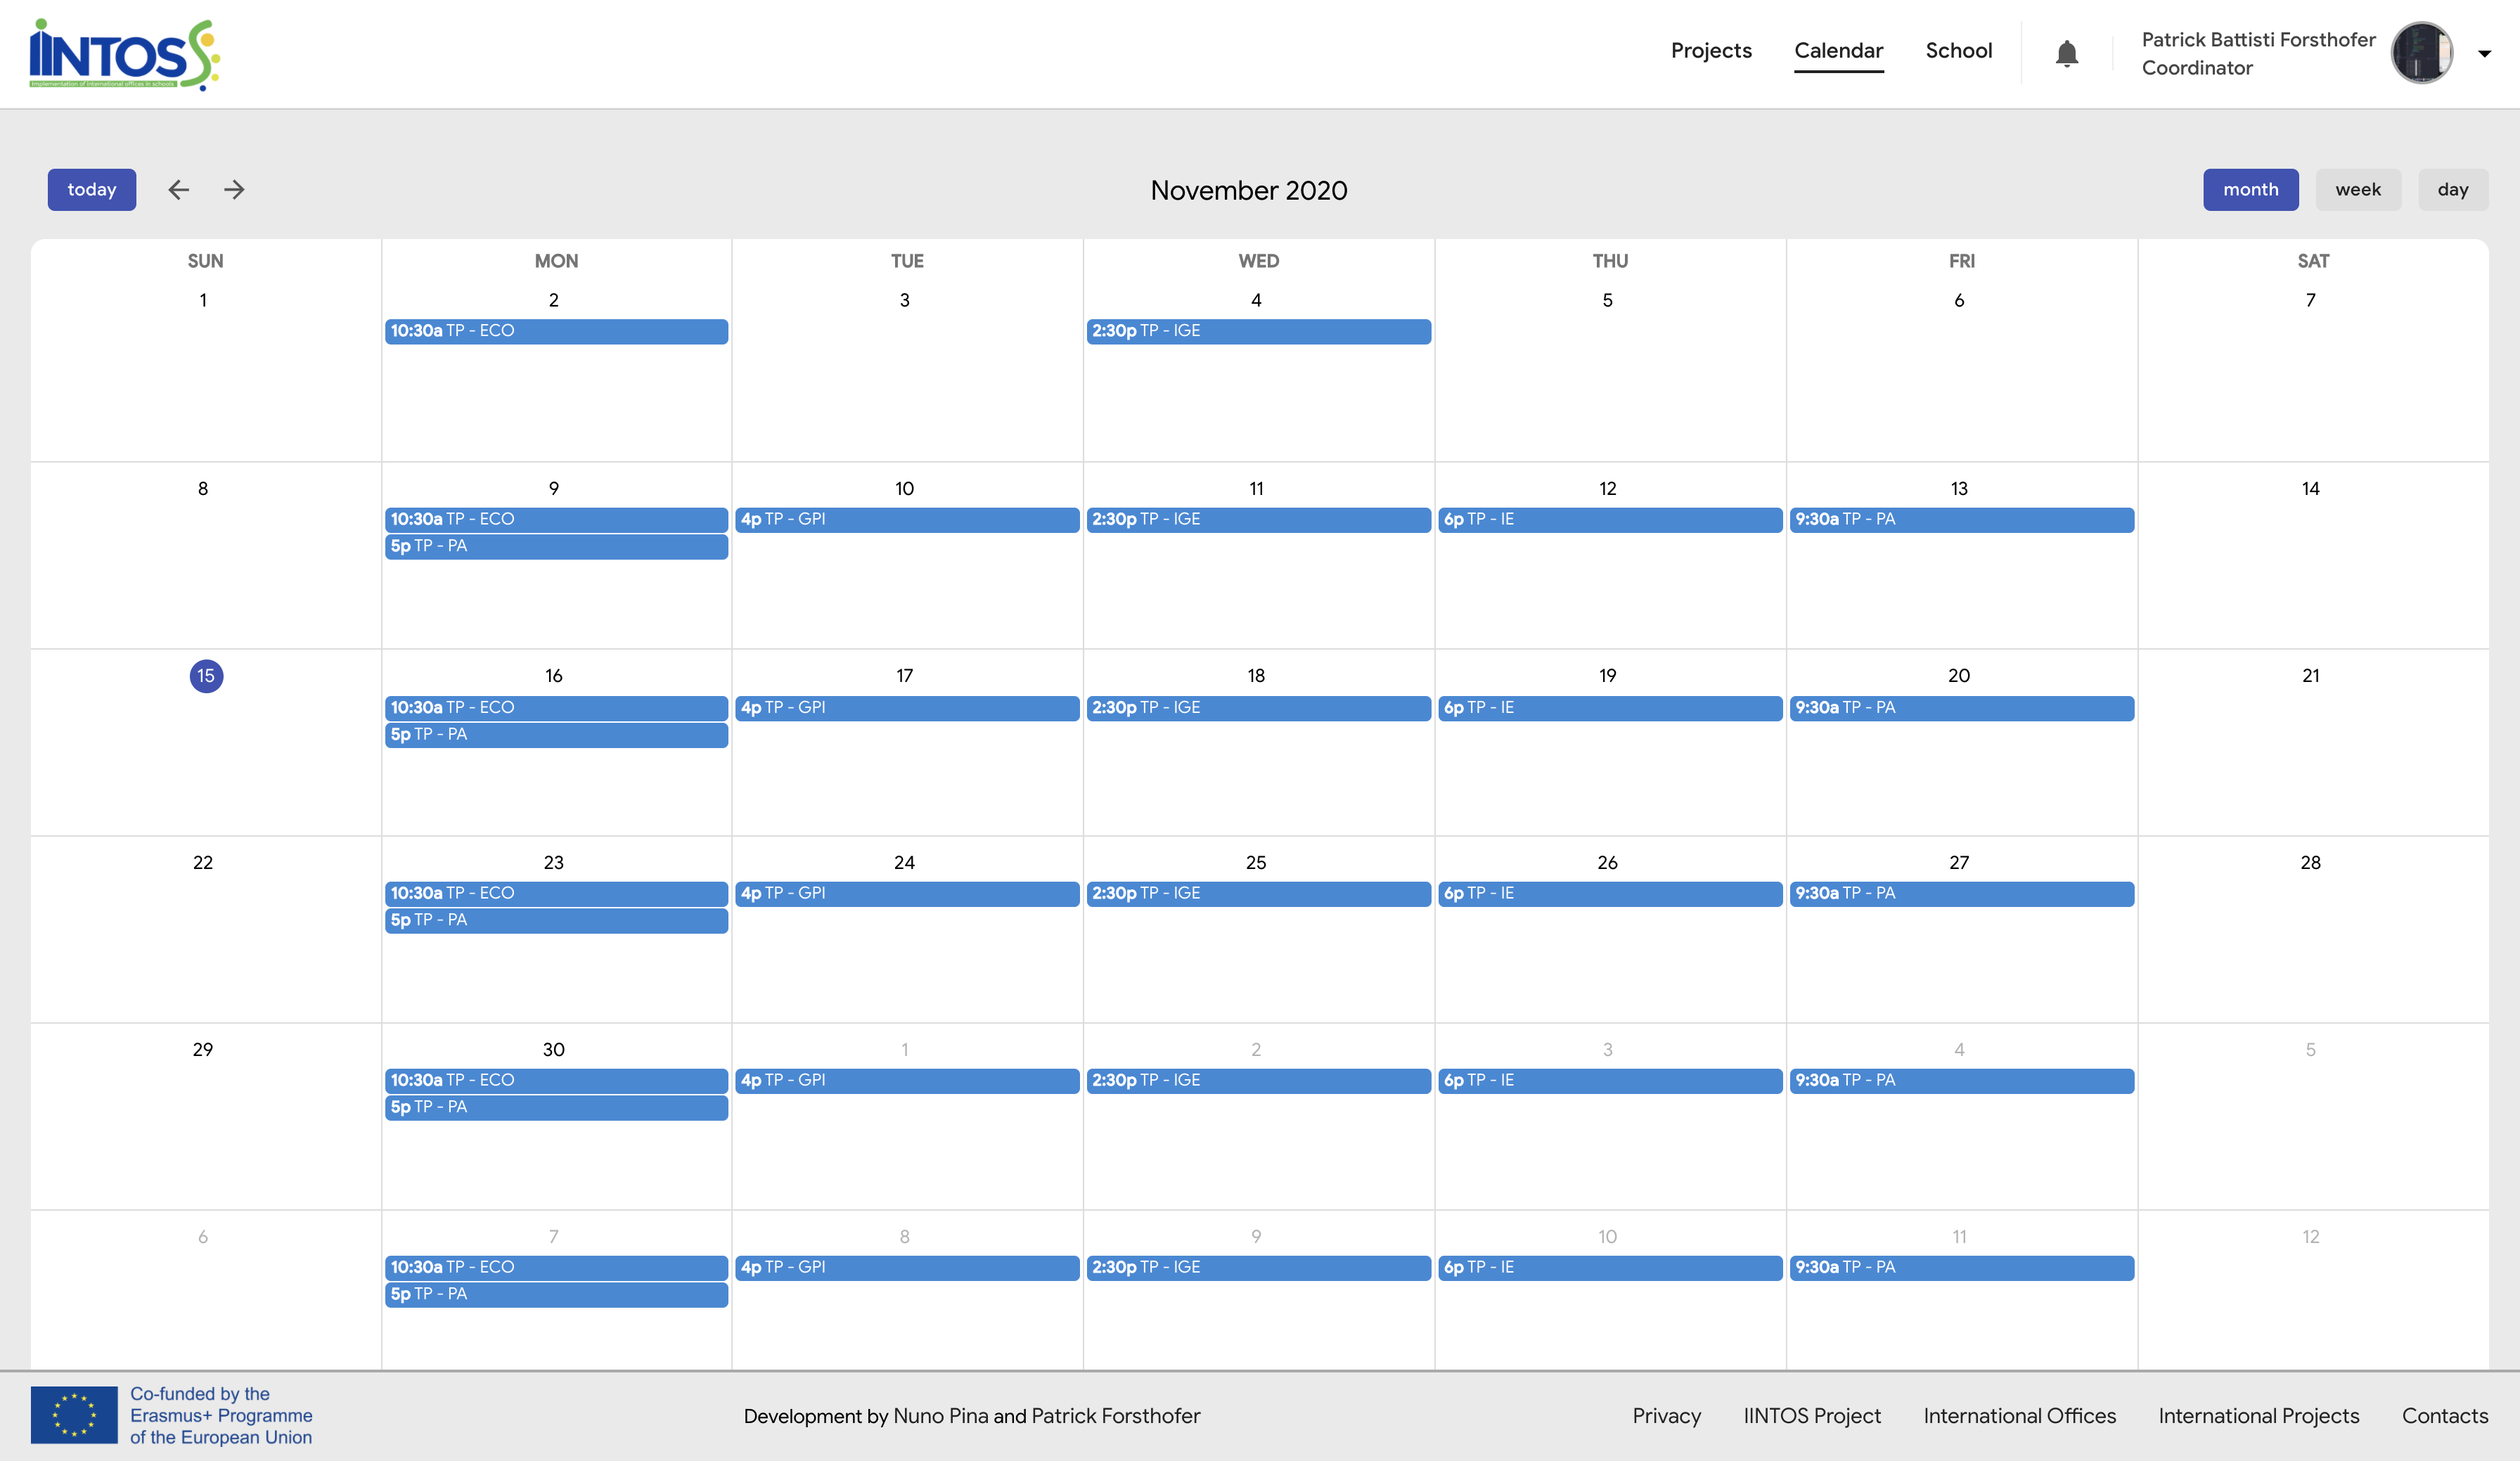
¶ Calendar
In the “Calendar” option on the hader, you can integrate our platform with Google Calendar, and then you can see all the platform activities on your Google Calendar. You can sign in to your account clicking "Google Login" and selecting your Google Account. Already logged in, you can click on a calendar cell to open the activity creation form.
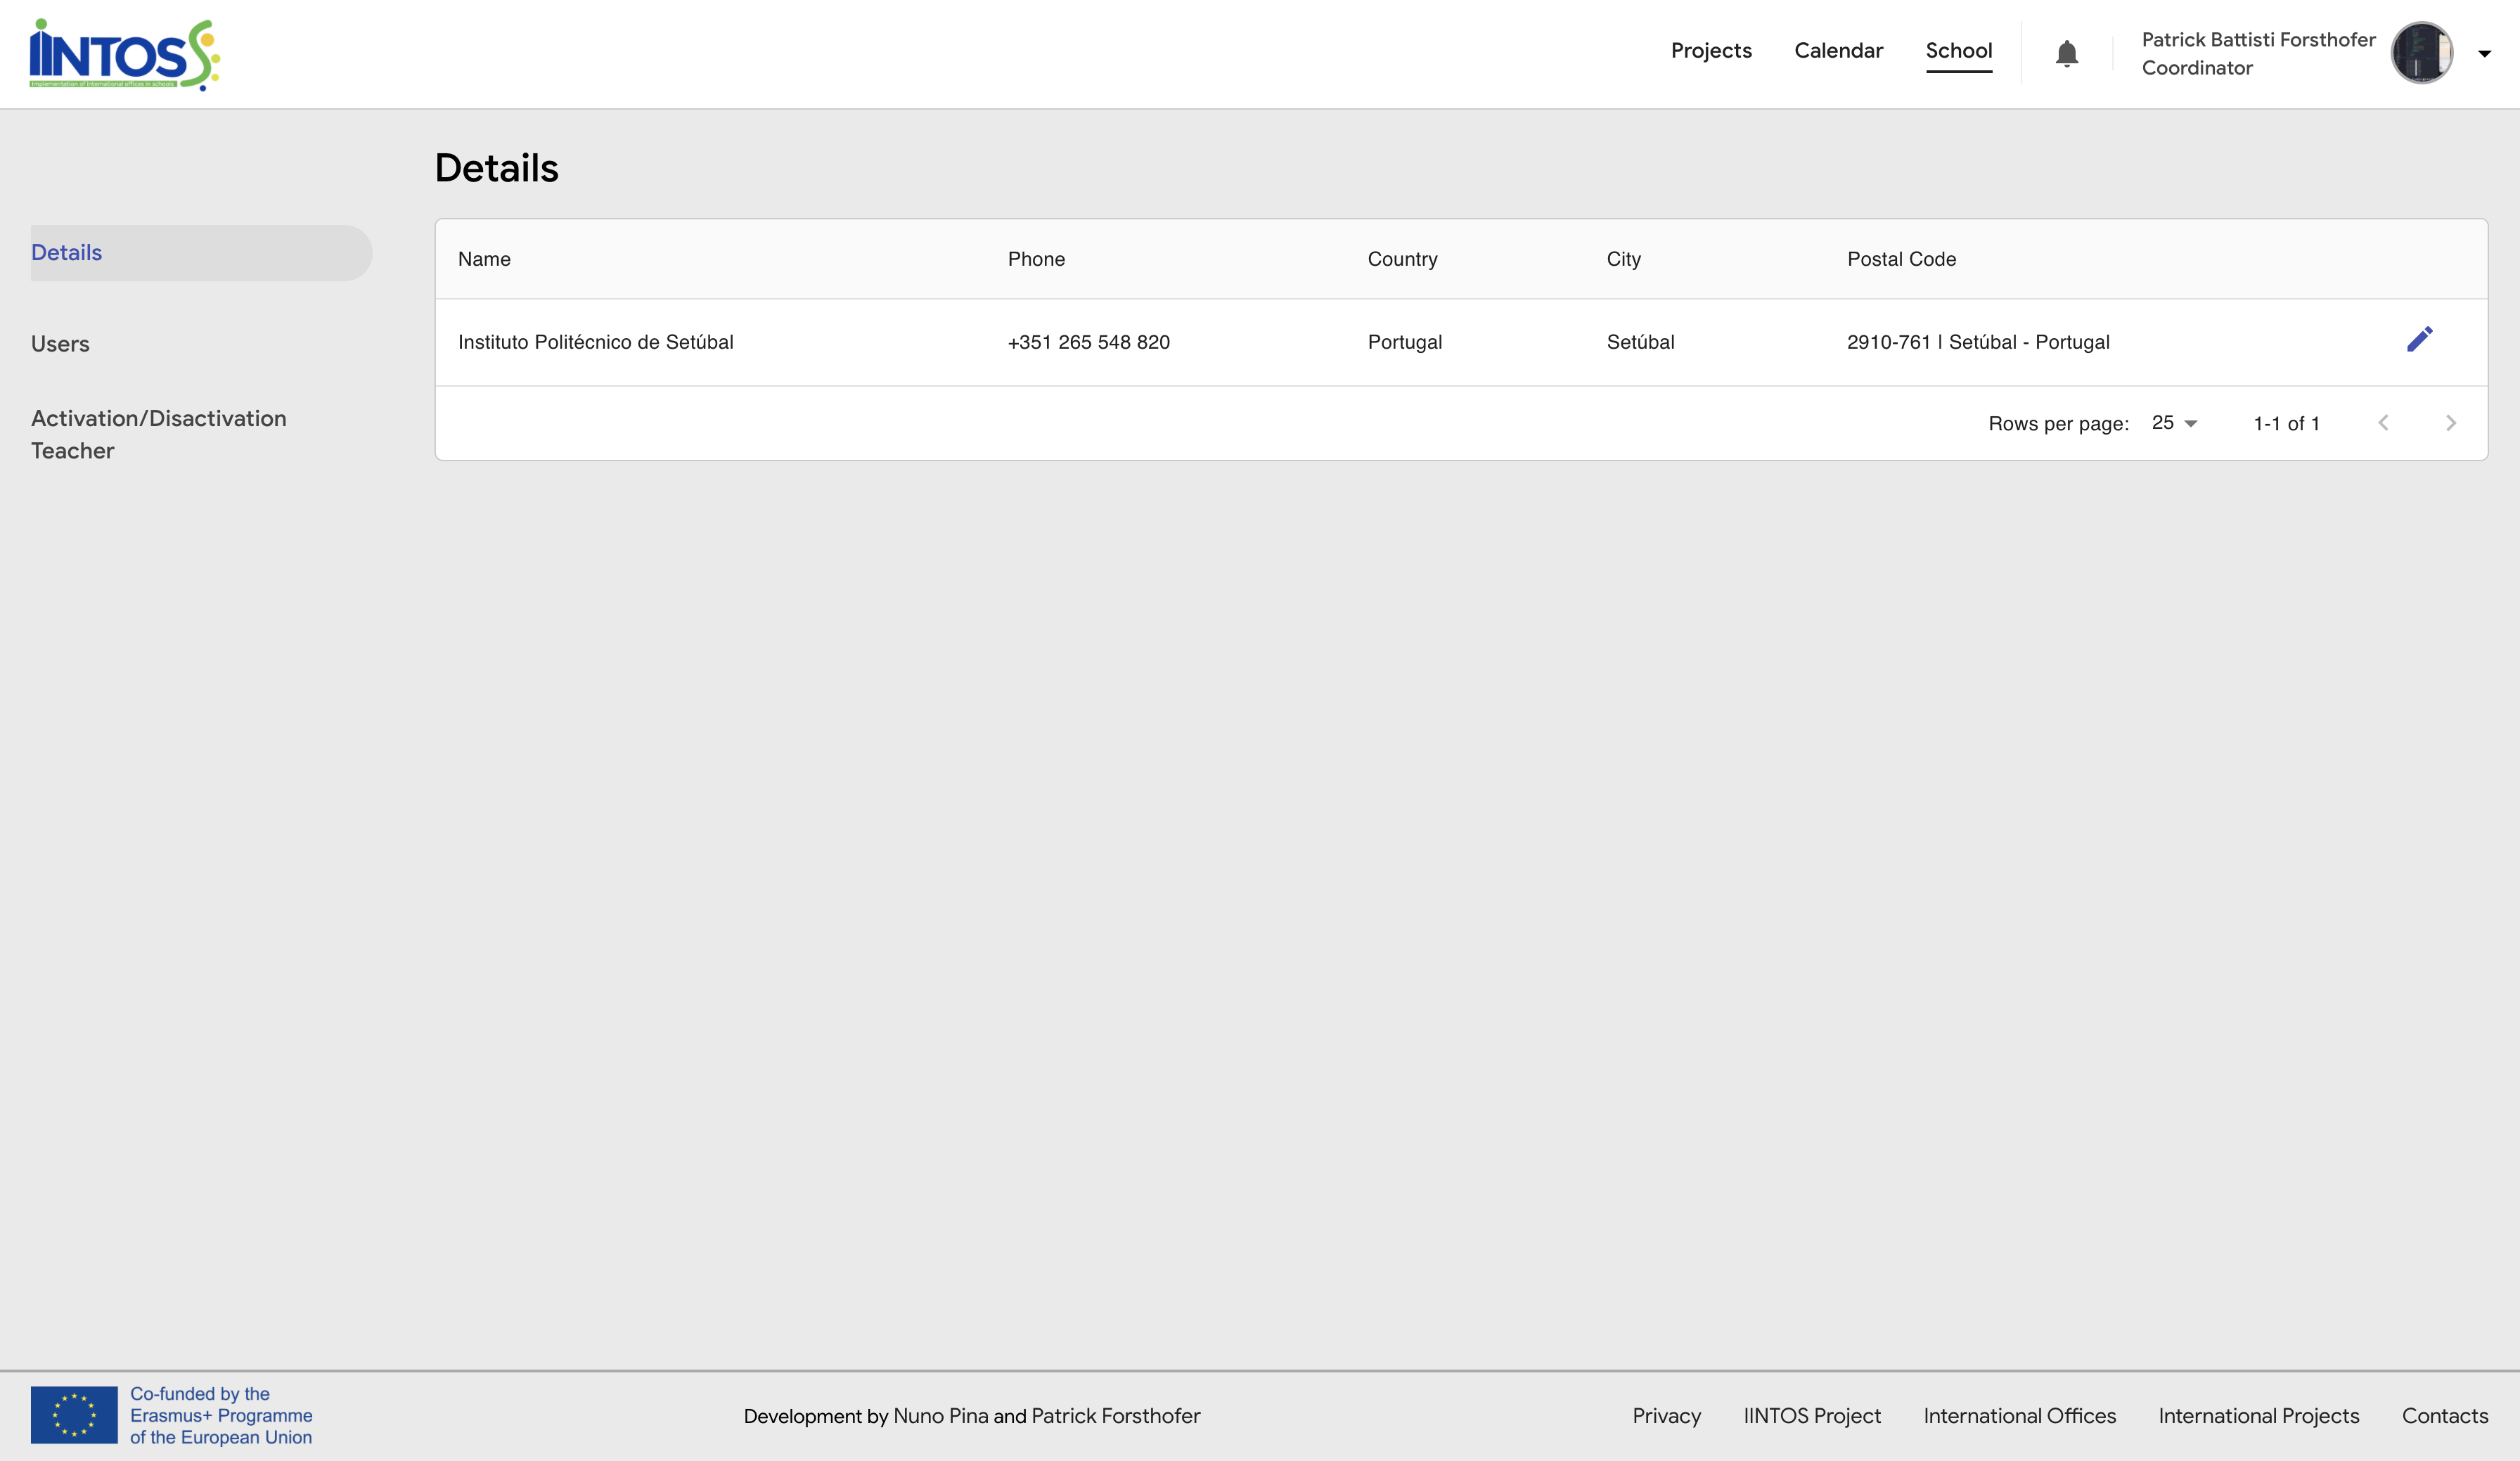
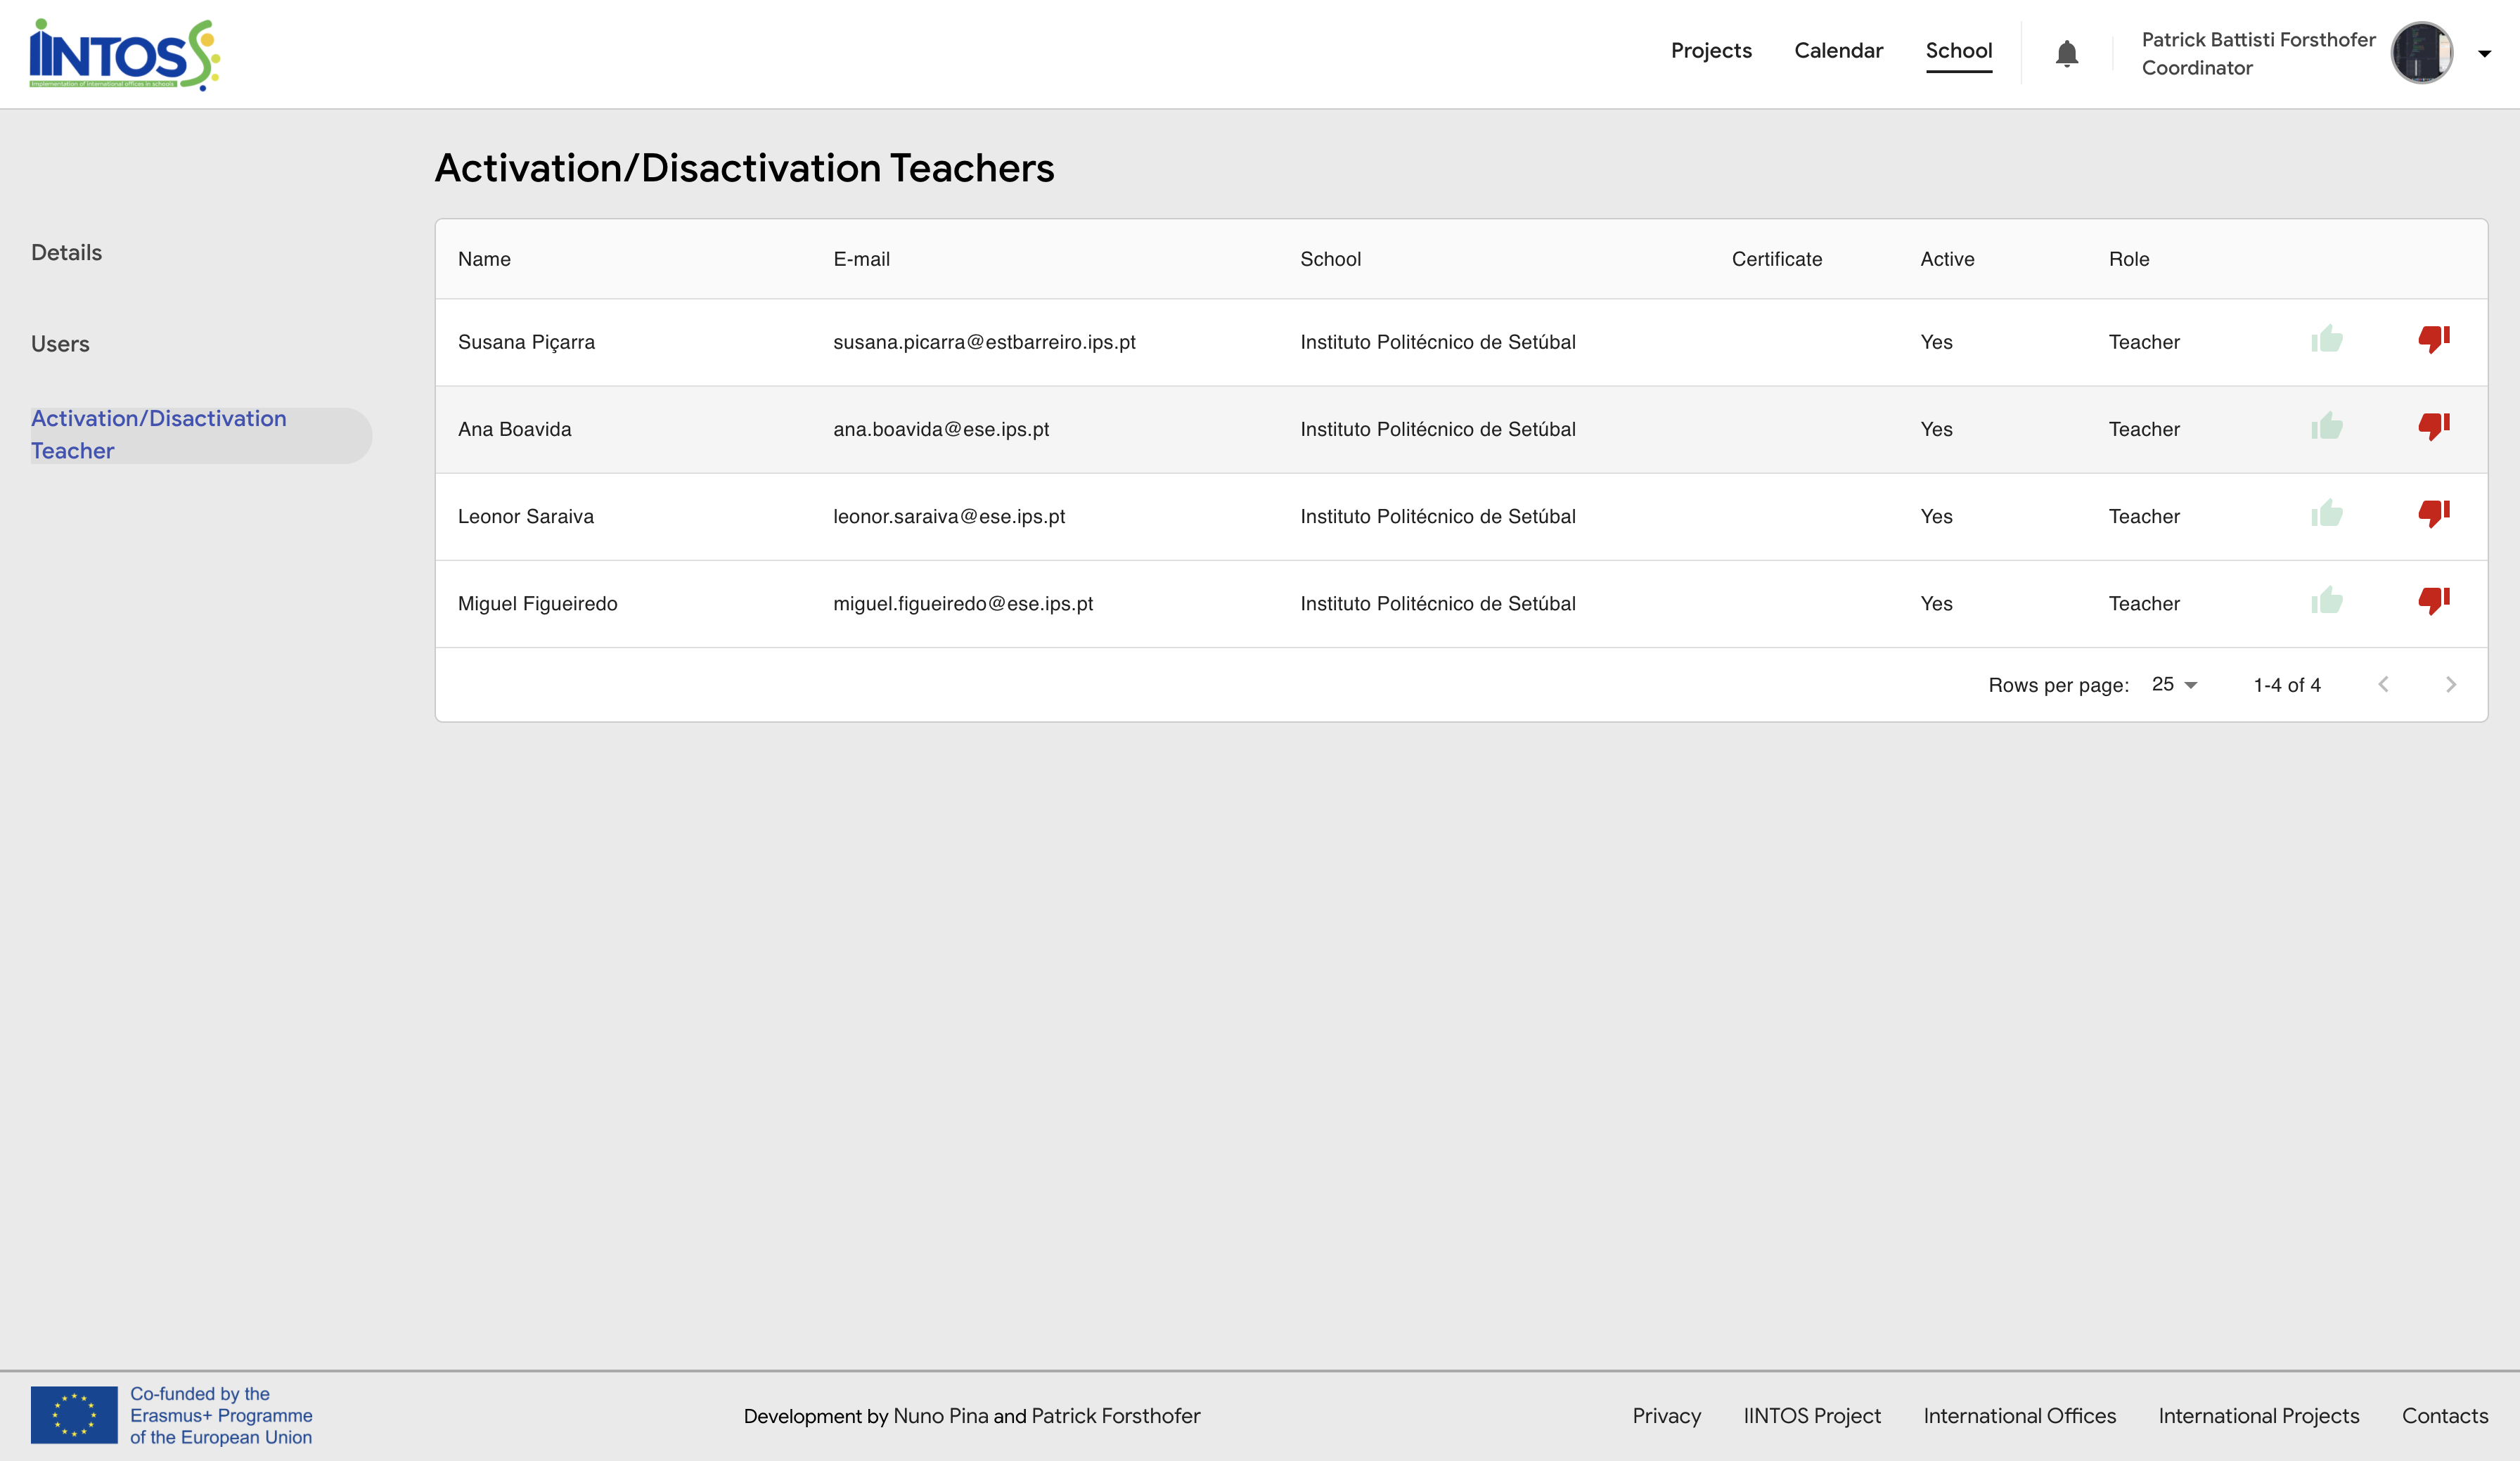
¶ School - Details
Under "School", you will see your school's information. You can browse to see school users and approve the teacher on the left menu.
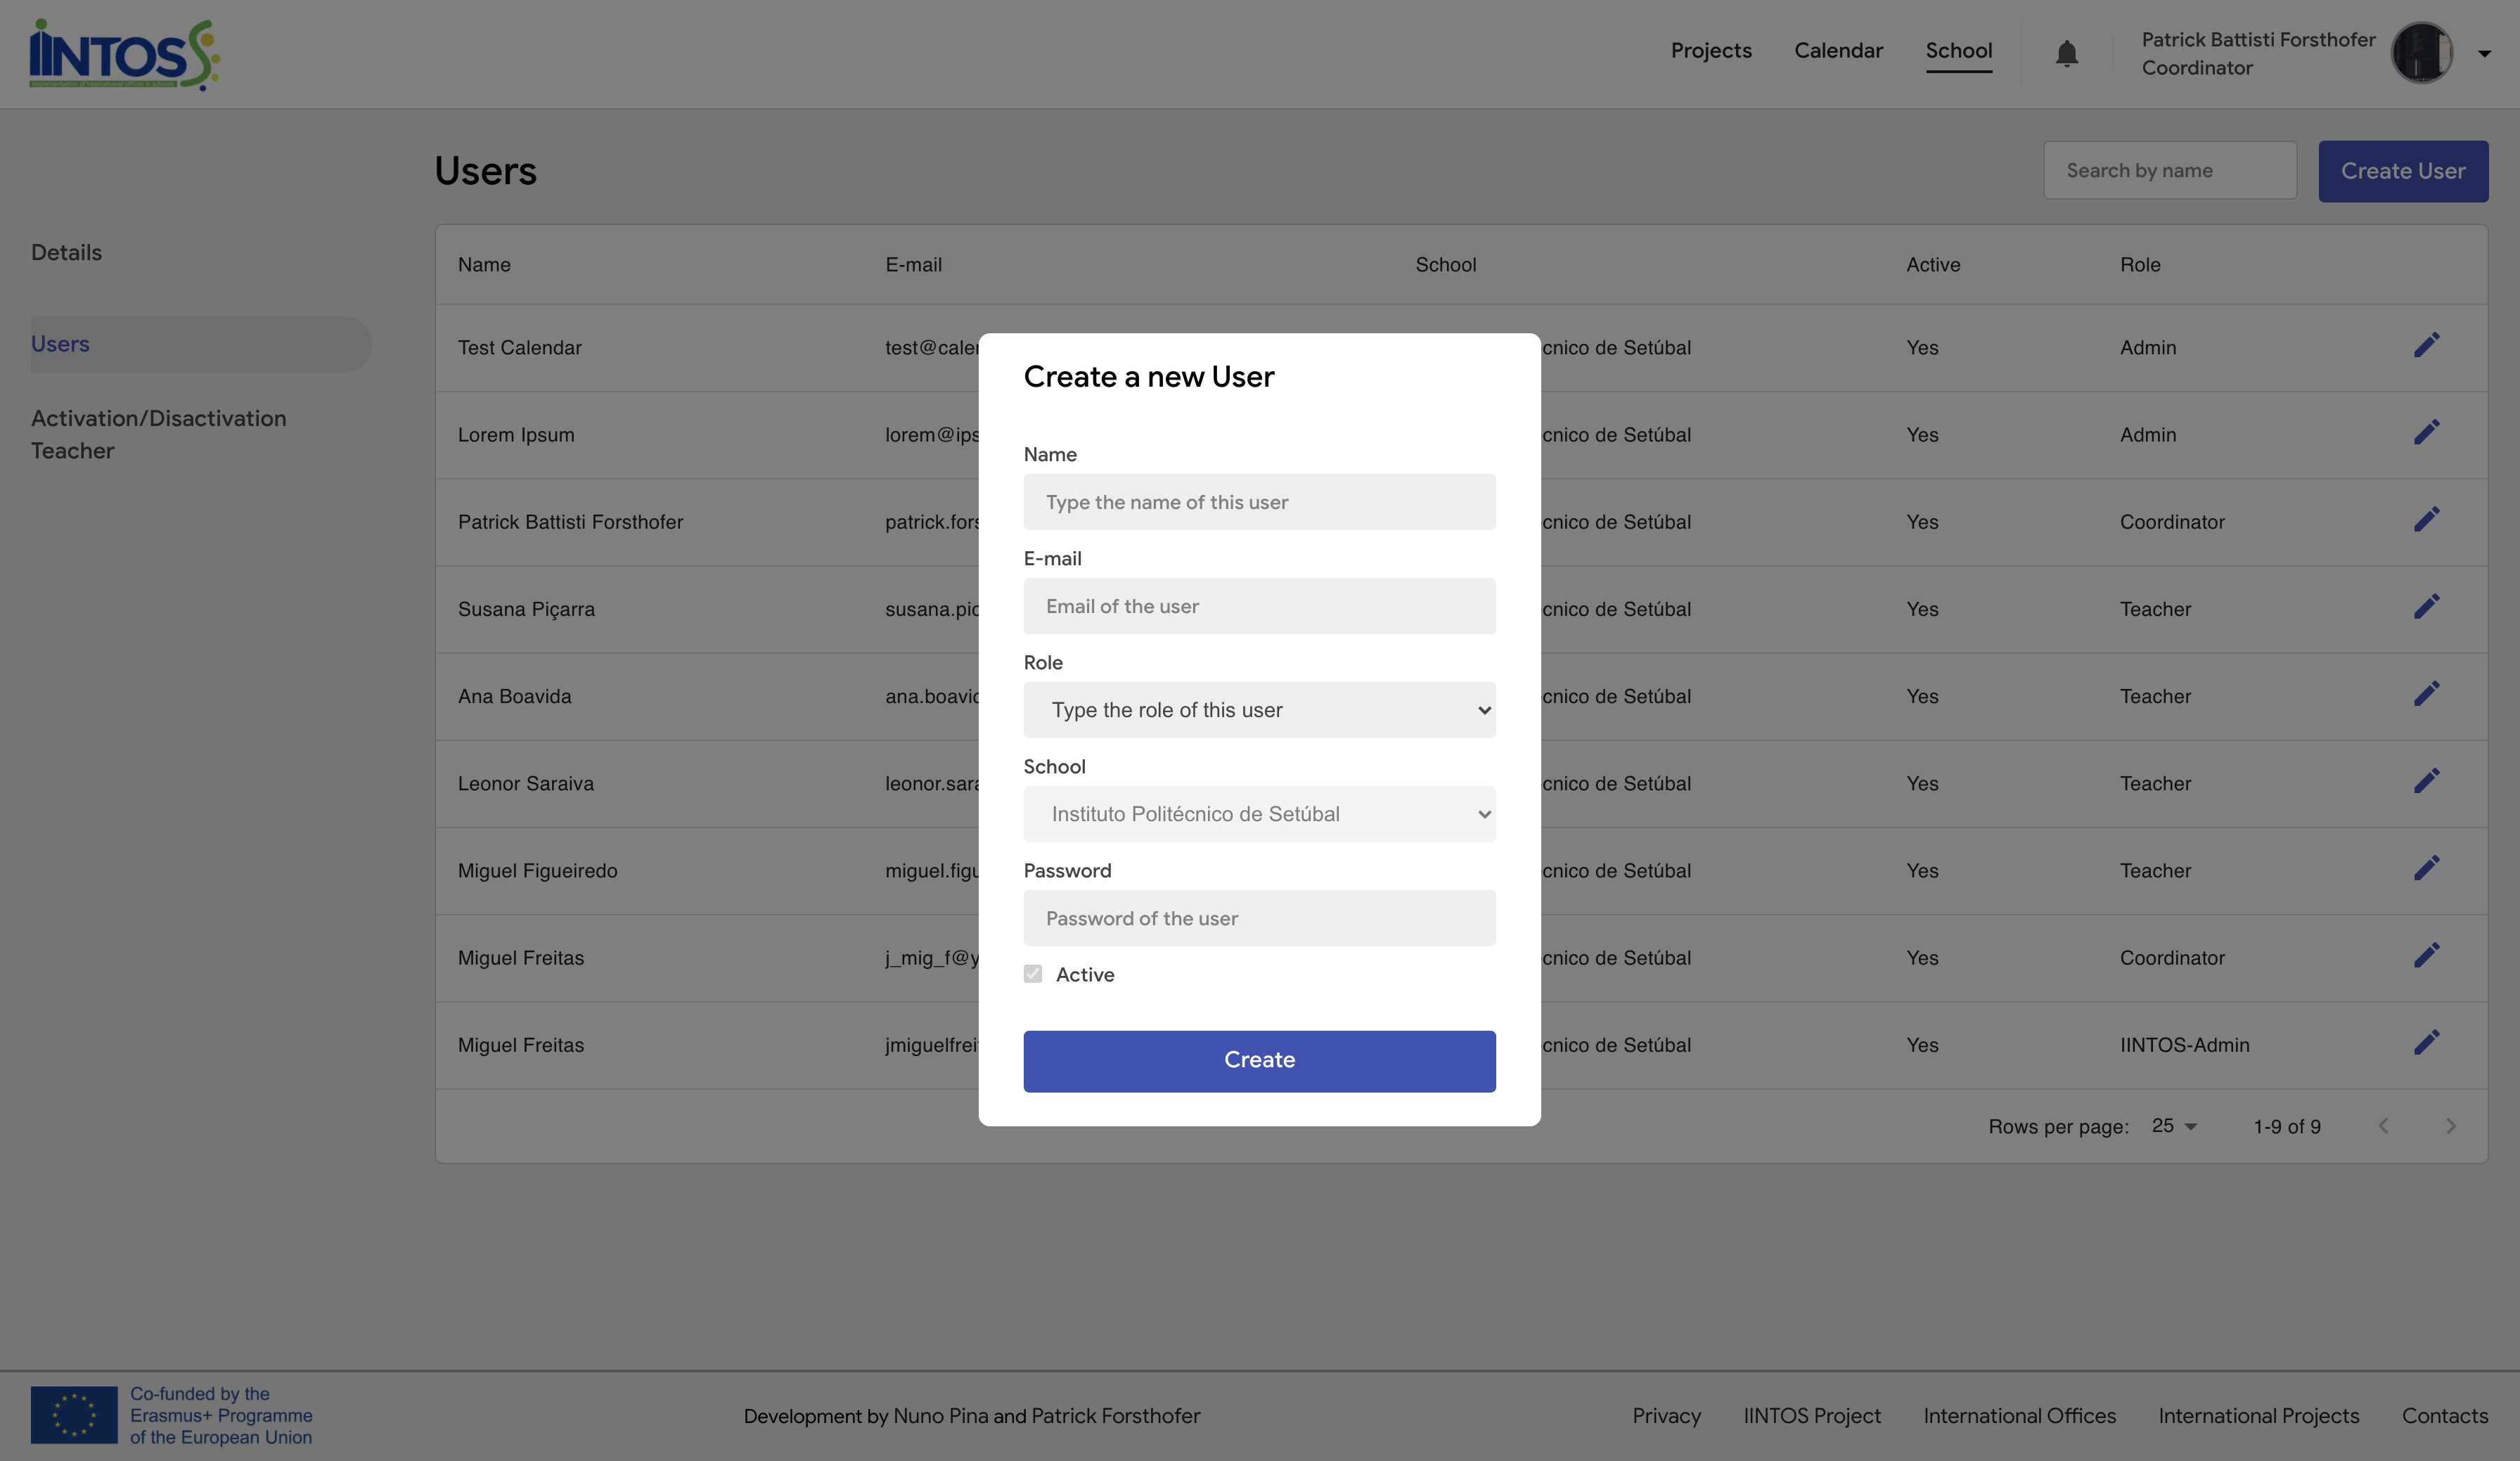
¶ School - Users
Here you can create users clicking on "Create user" and edit existing users clicking on the pen.
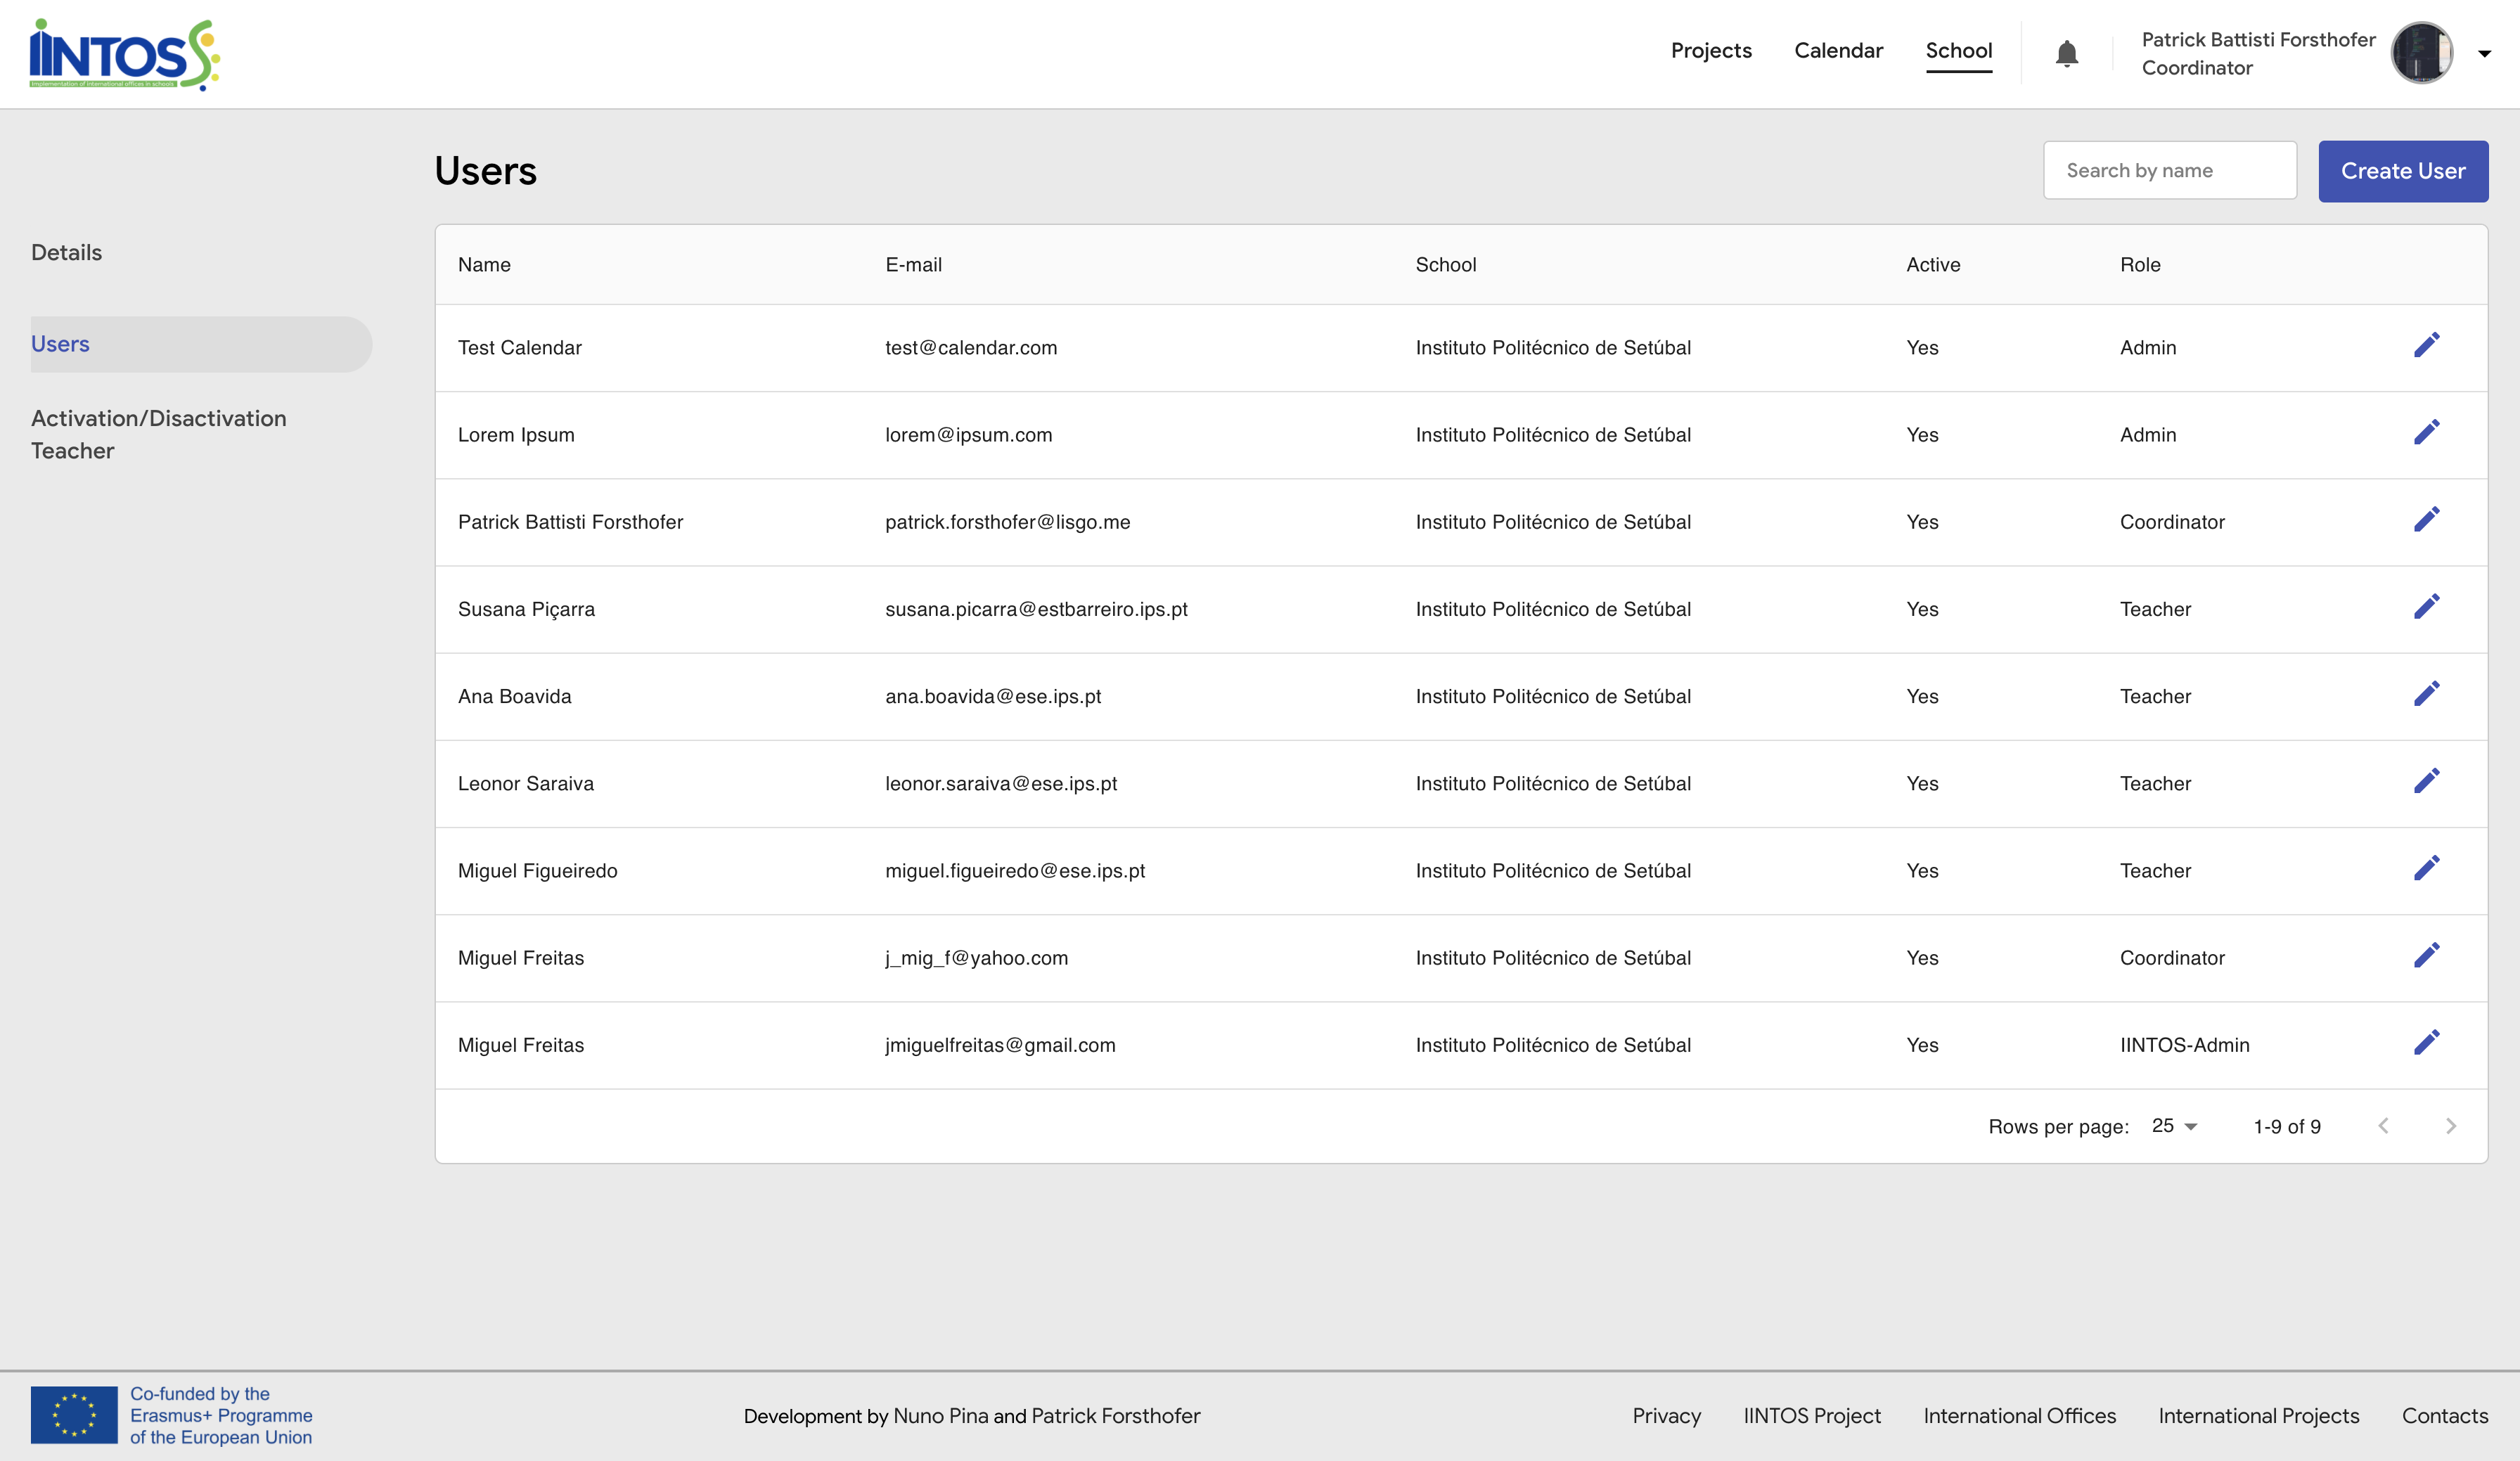
¶ School - Users
To create a user fill in the form with the user's information. Select the role according to the type of user, if it is a coordinator or teacher. Check the "Active" option to give the user access to the platform and uncheck it to limit access to the platform. The user password will be sent by email after creation.
¶ School - Users
If you are a coordinator, you must approve or reject the registration of your school's teacher, you can click the green positive icon to approve it or click the red negative icon to reject it. If you are a teacher, you do not have access to this page.
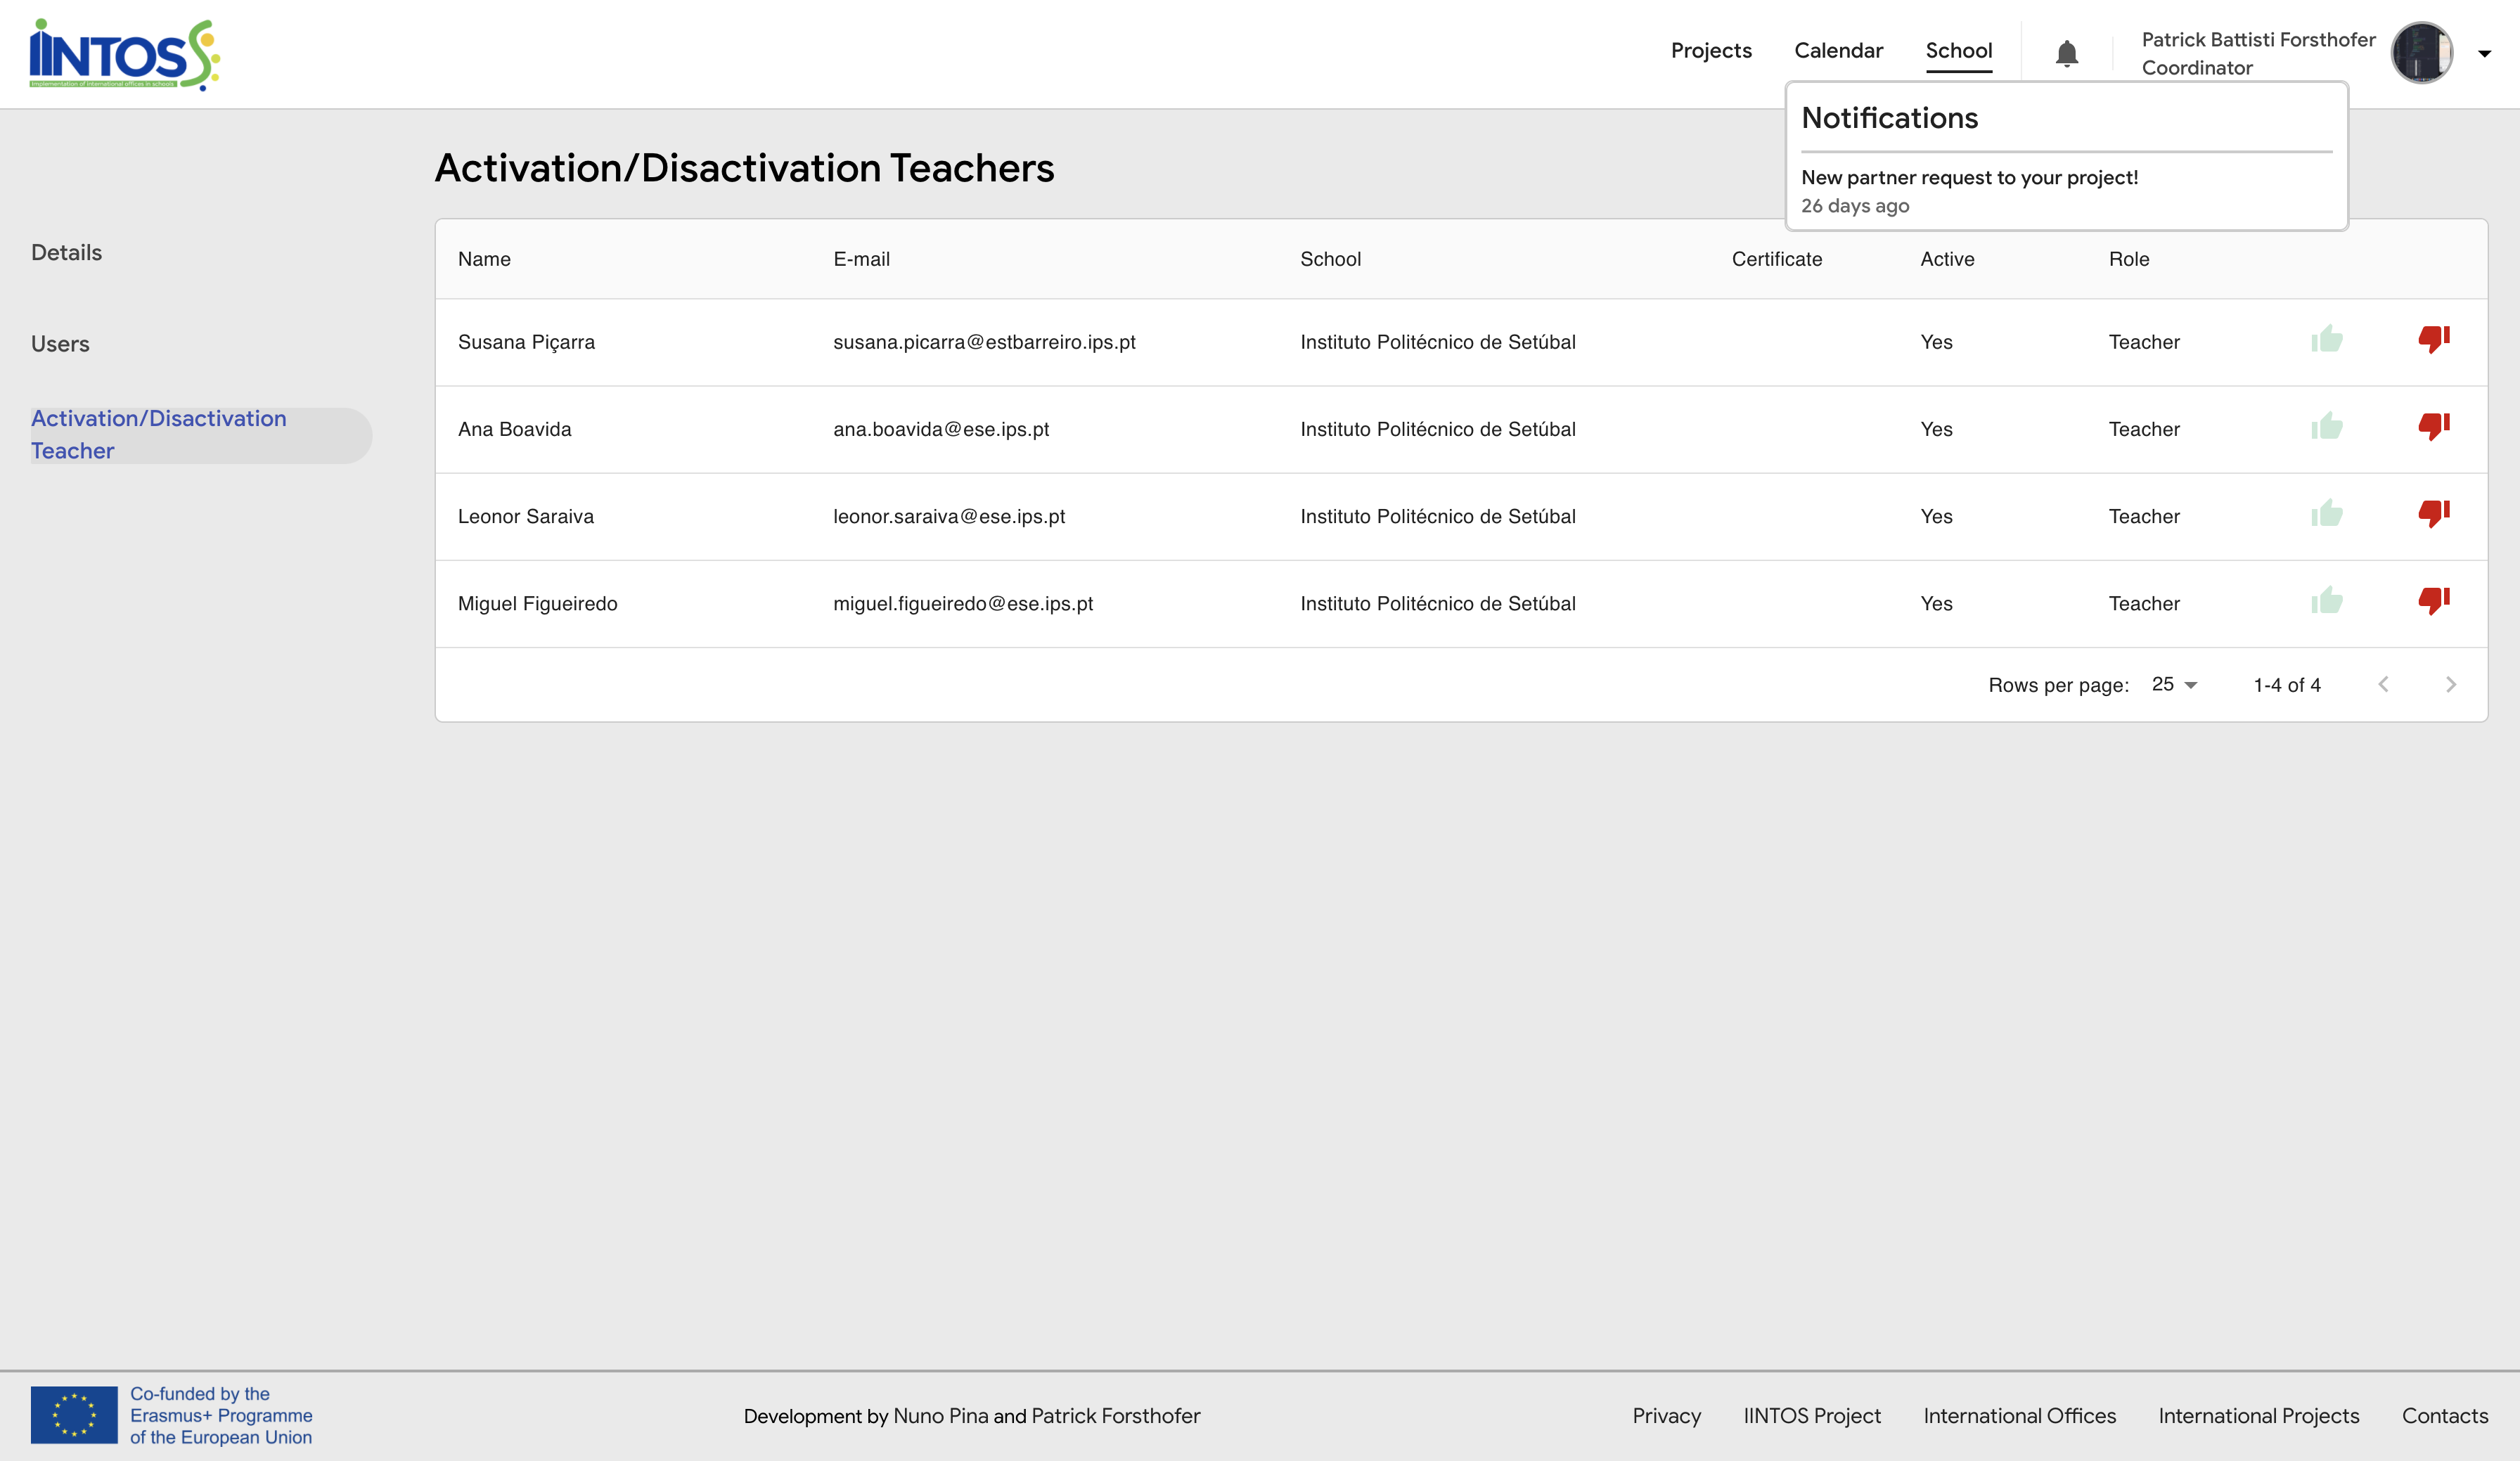
¶ Notifications Menu
You can show your notifications clicking on the upper bell icon.
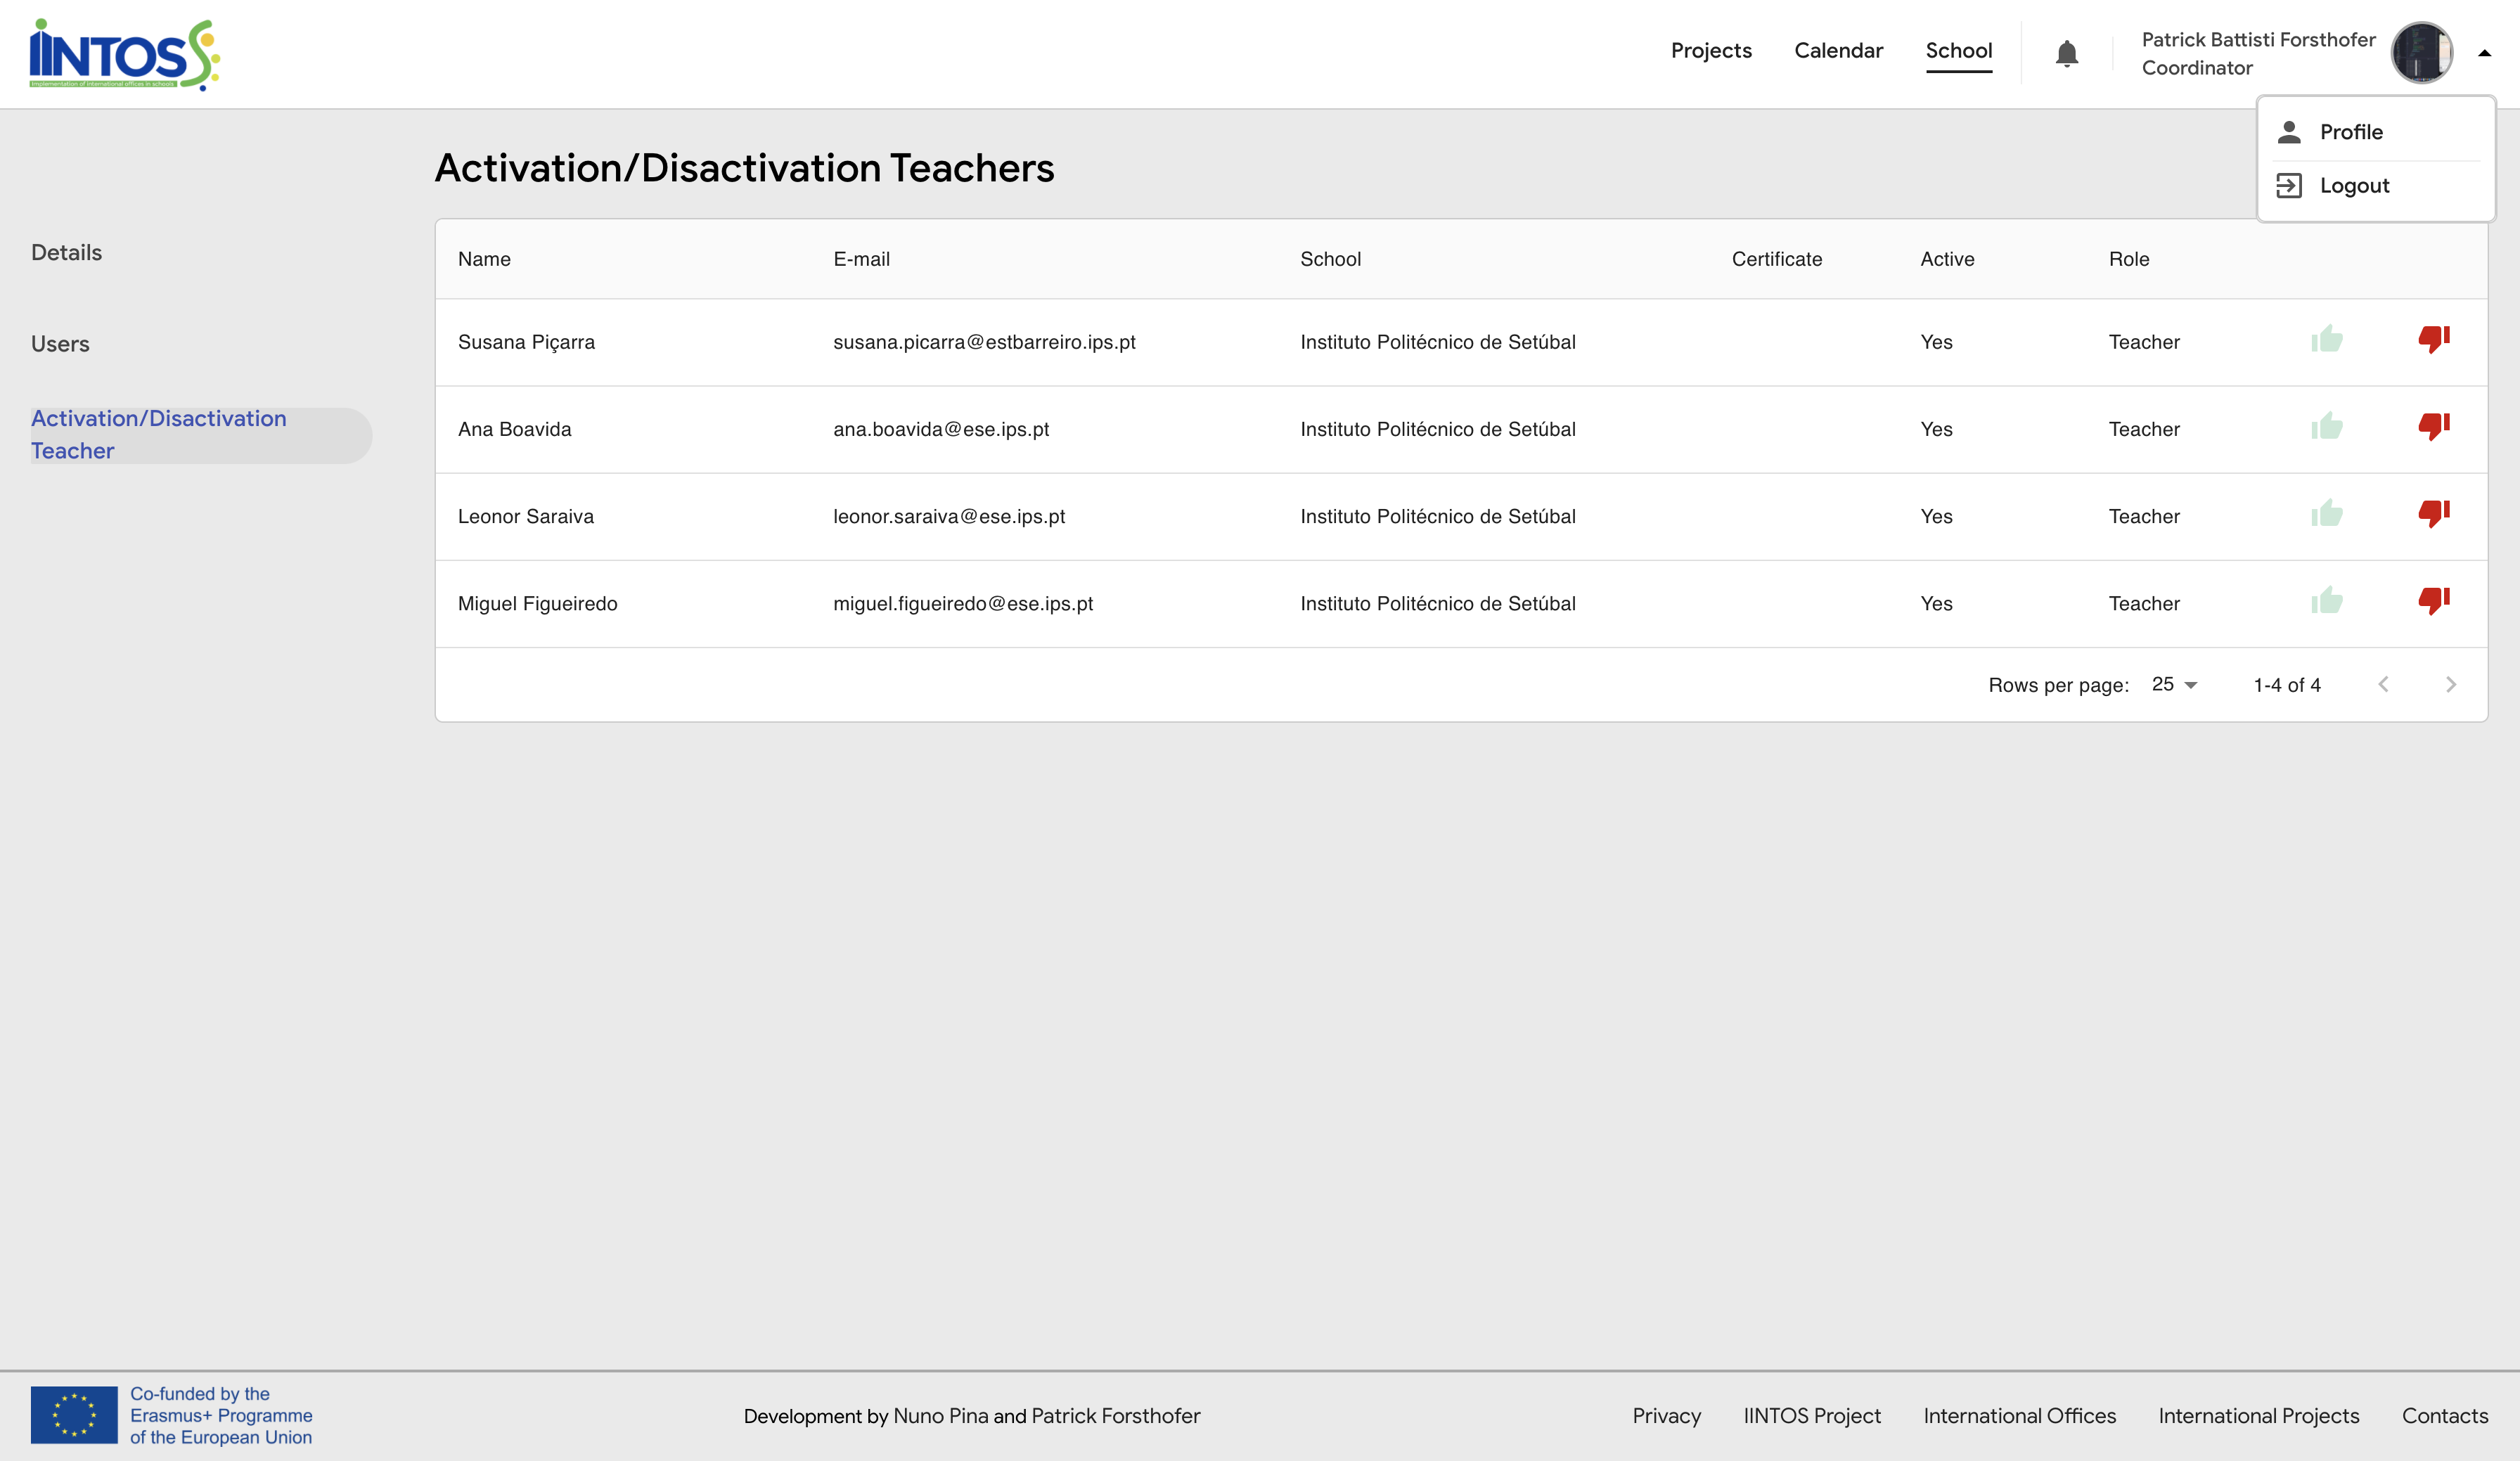
¶ Profile Menu
You can log out clicking on the upper right circle and clicking on "Logout" or access your profile information by clicking on “Profile".
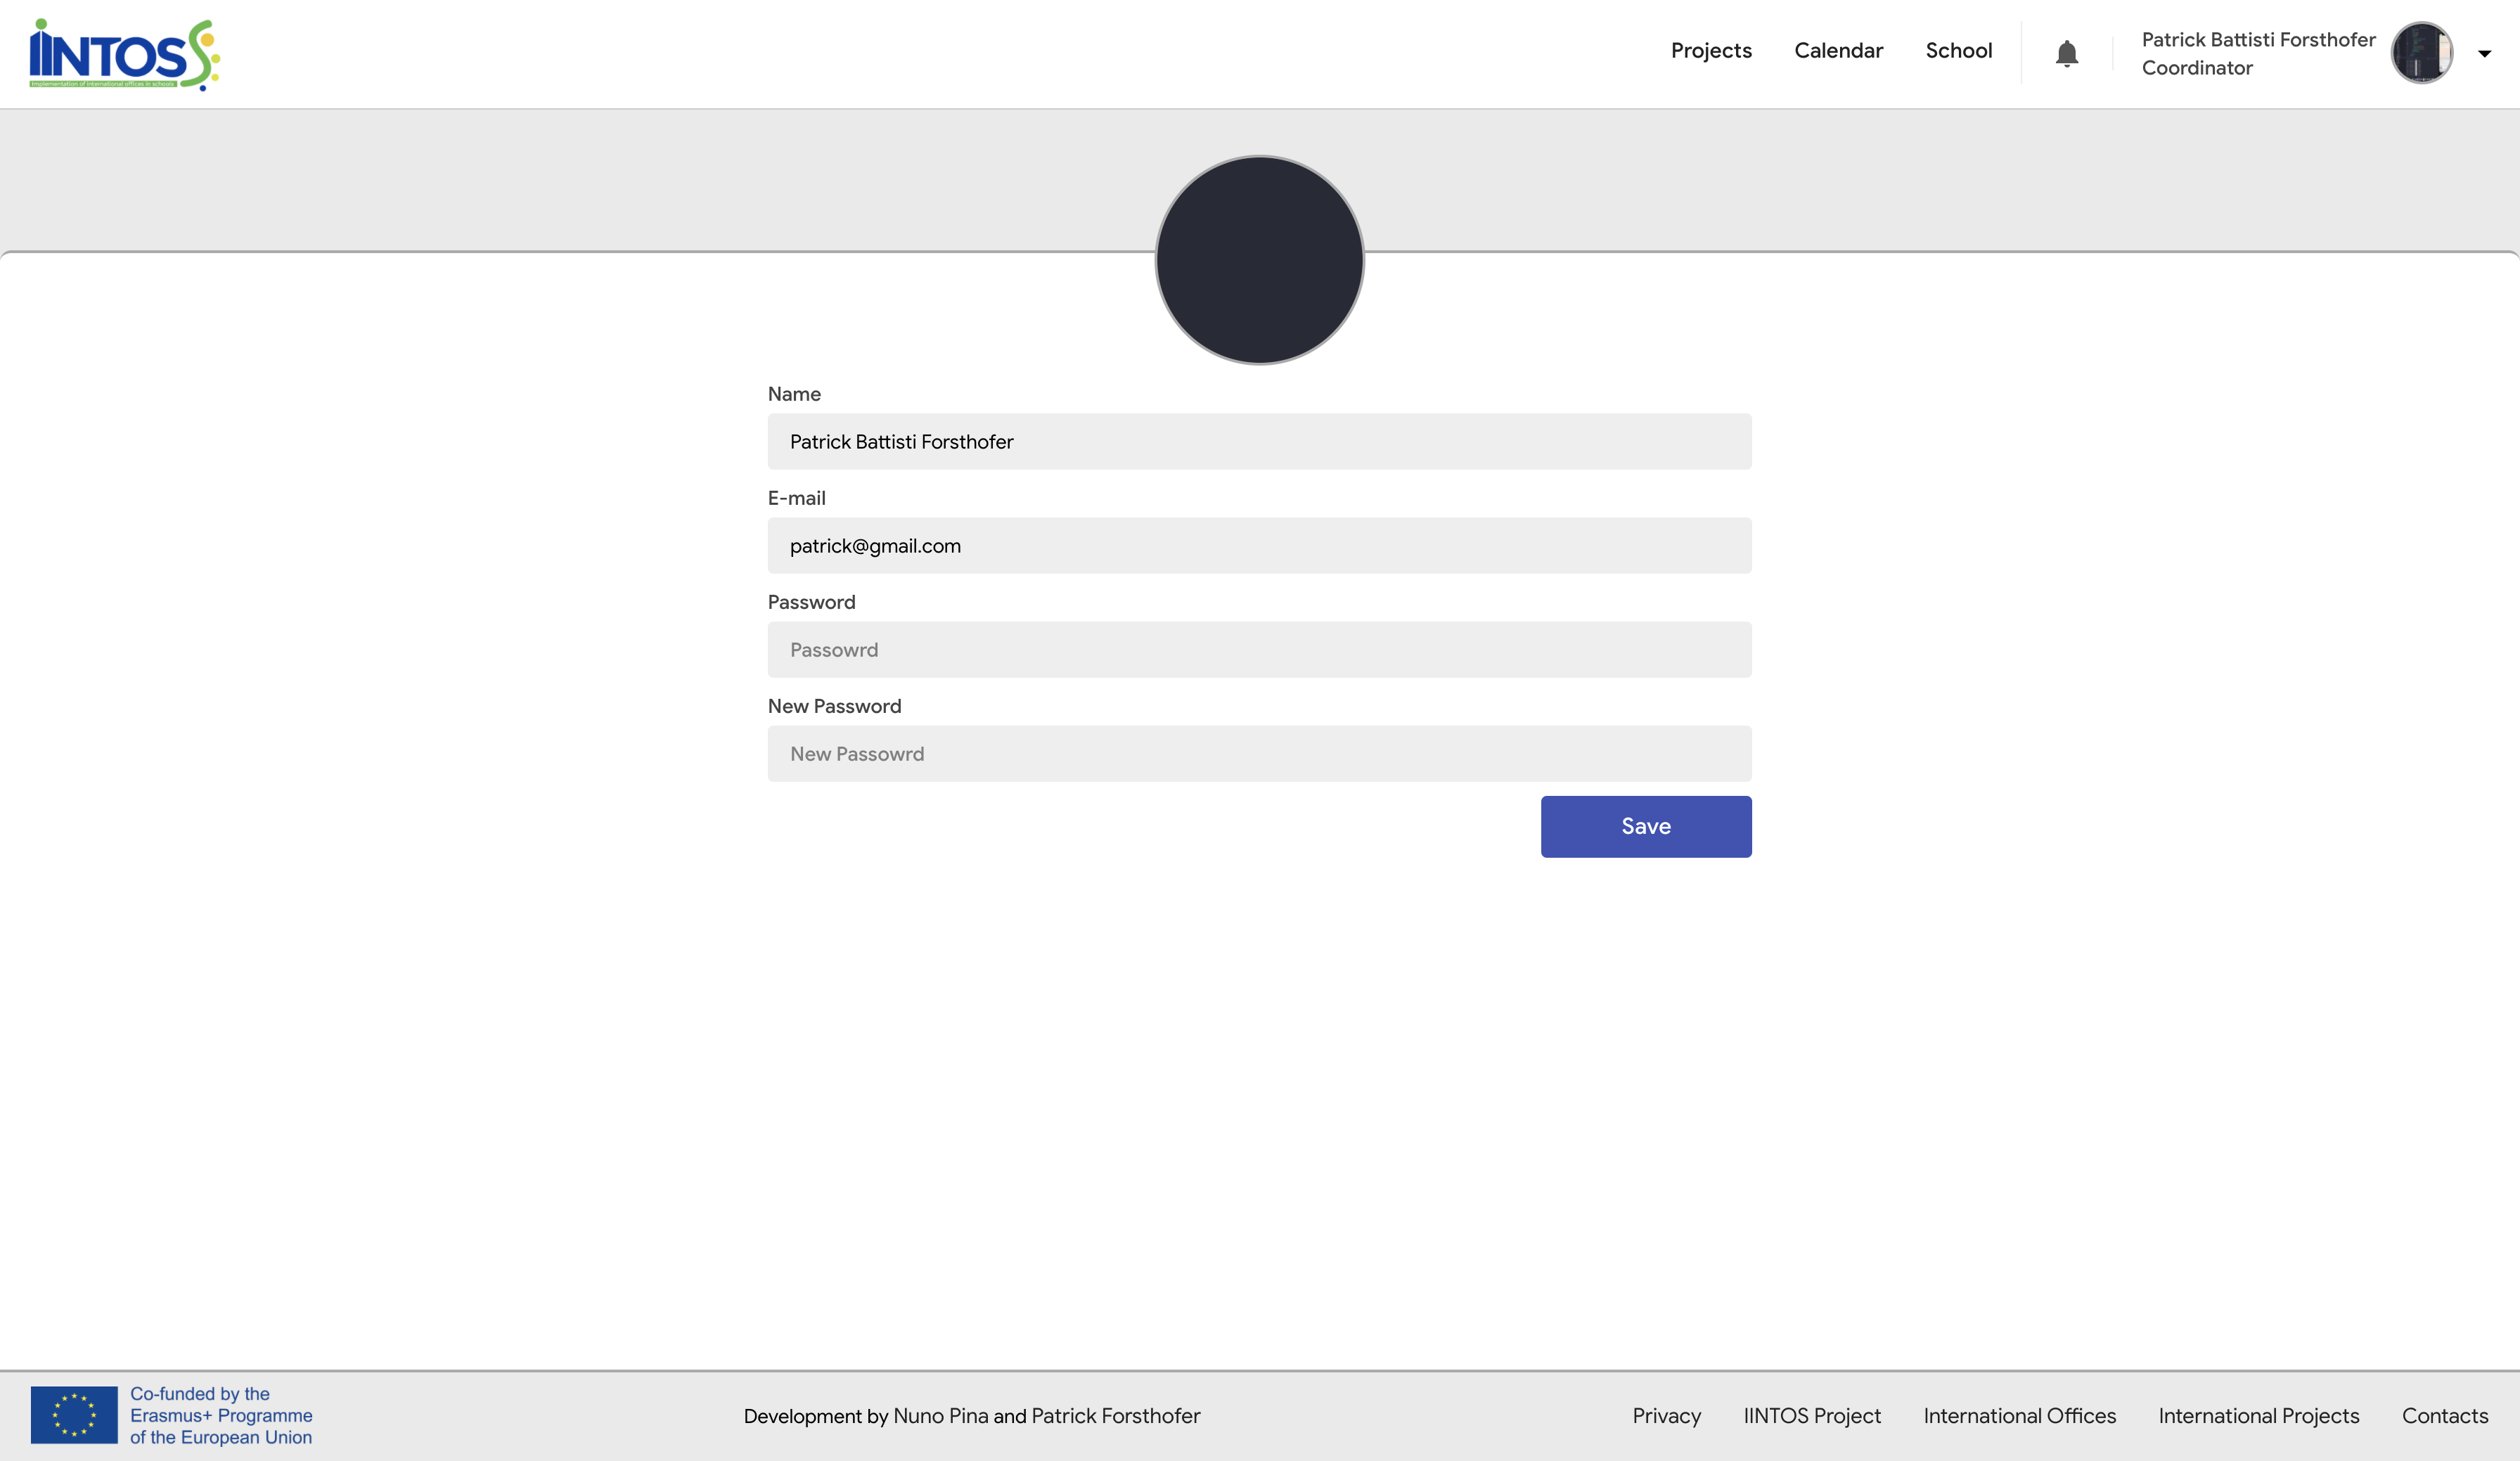
¶ Profile
After clicking on "Profile", you can edit your name, email and password. You can also upload an avatar by clicking on the camera icon and choosing the image file.
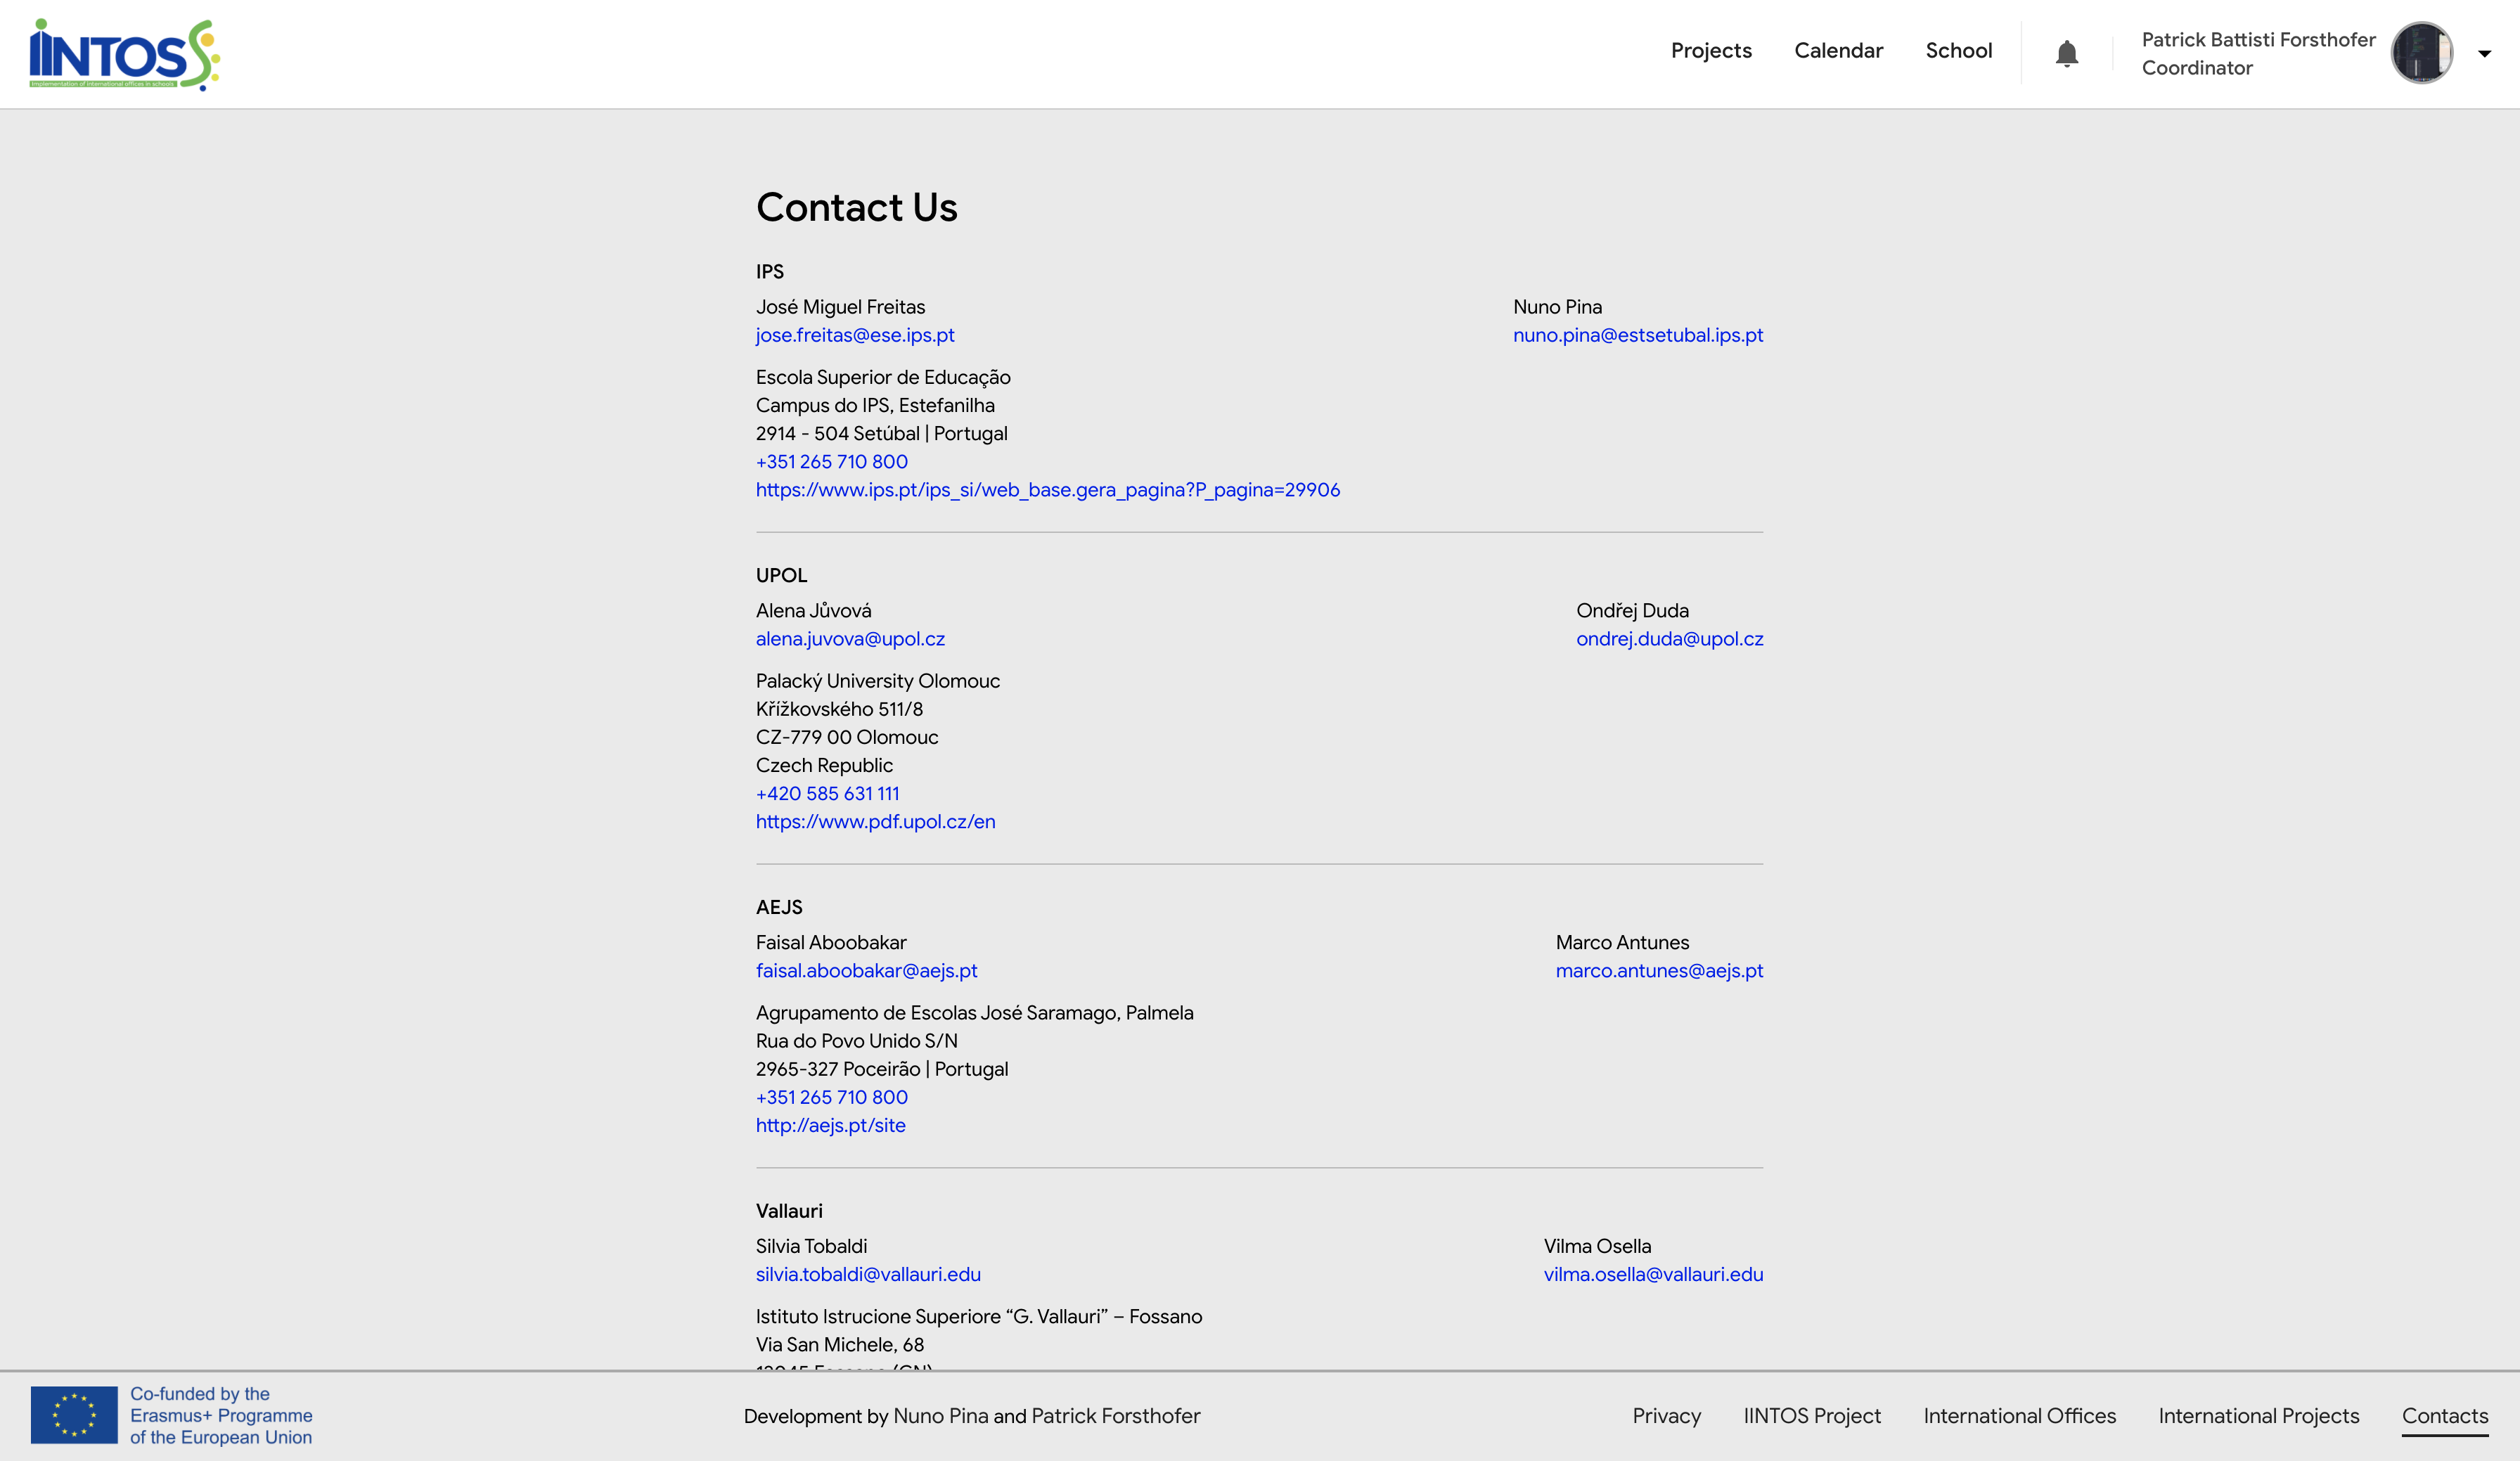
¶ Contacts
You can view the contact page by clicking on the "Contacts" option at the bottom. You can send an email by clicking the email link or make a phone call by clicking the phone link.
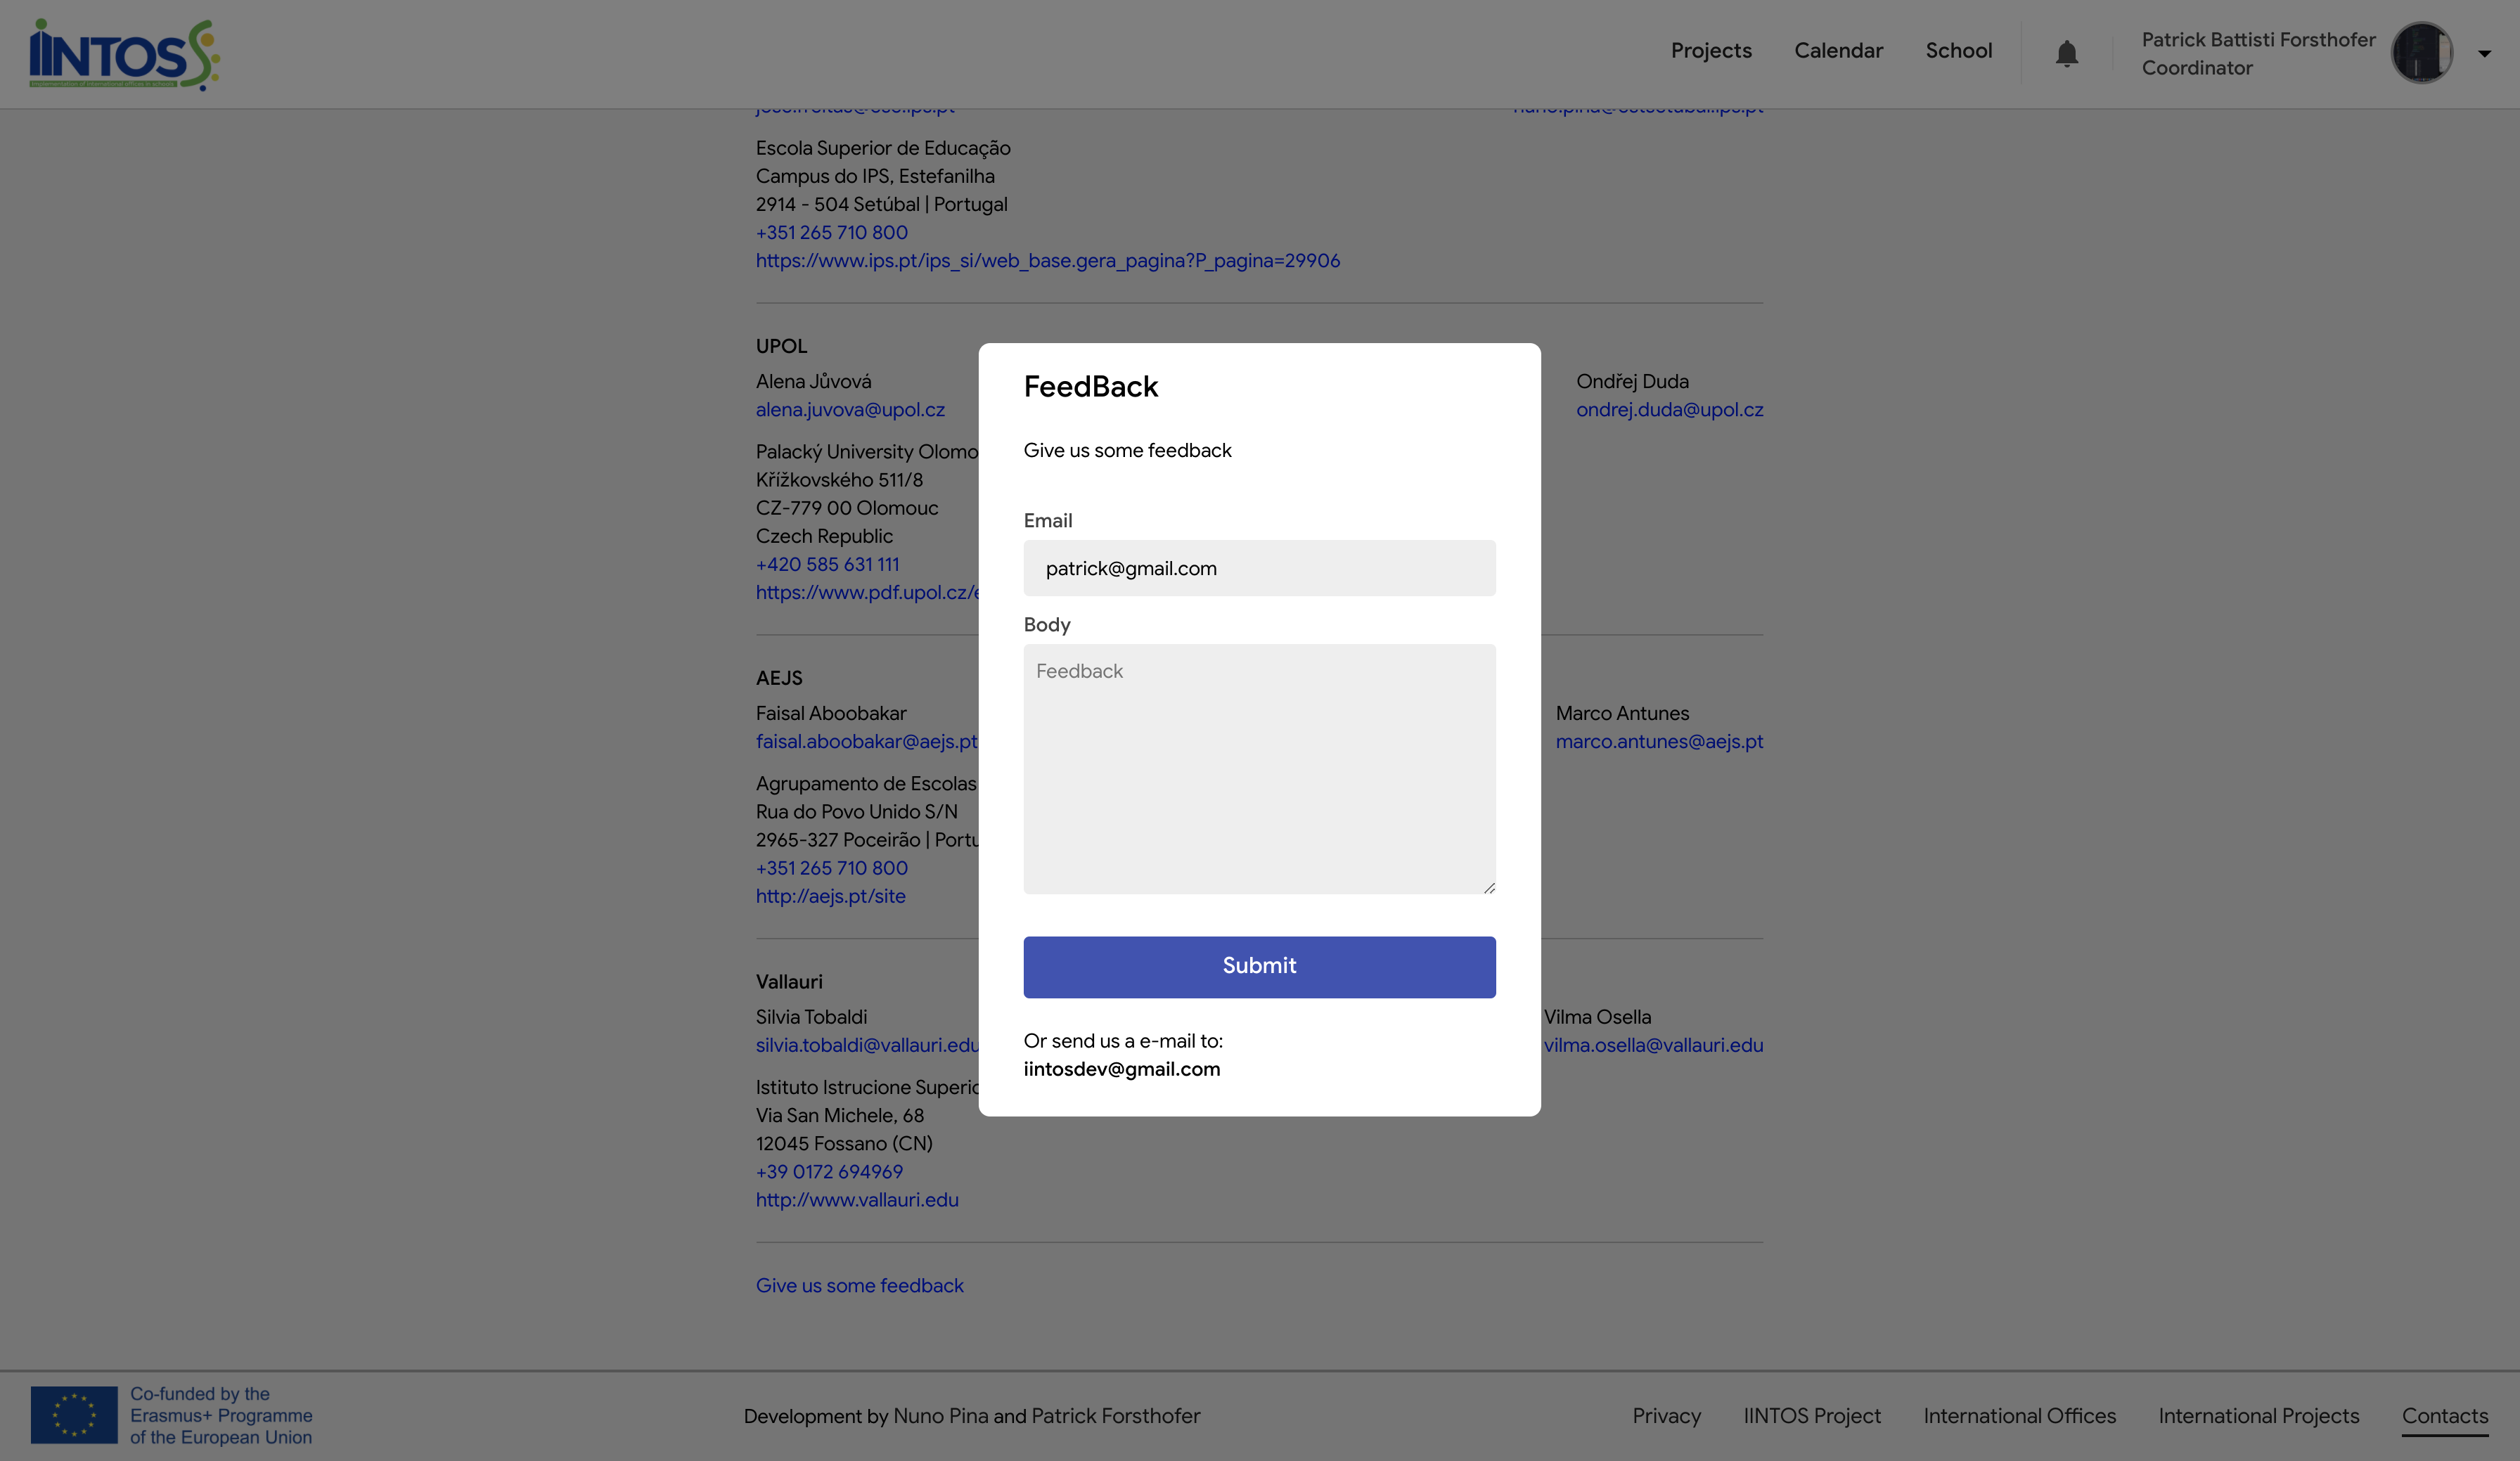
¶ Contacts
You can send us feedback by clicking on the "Send us feedback" link. Please complete the “Body” field with your message.
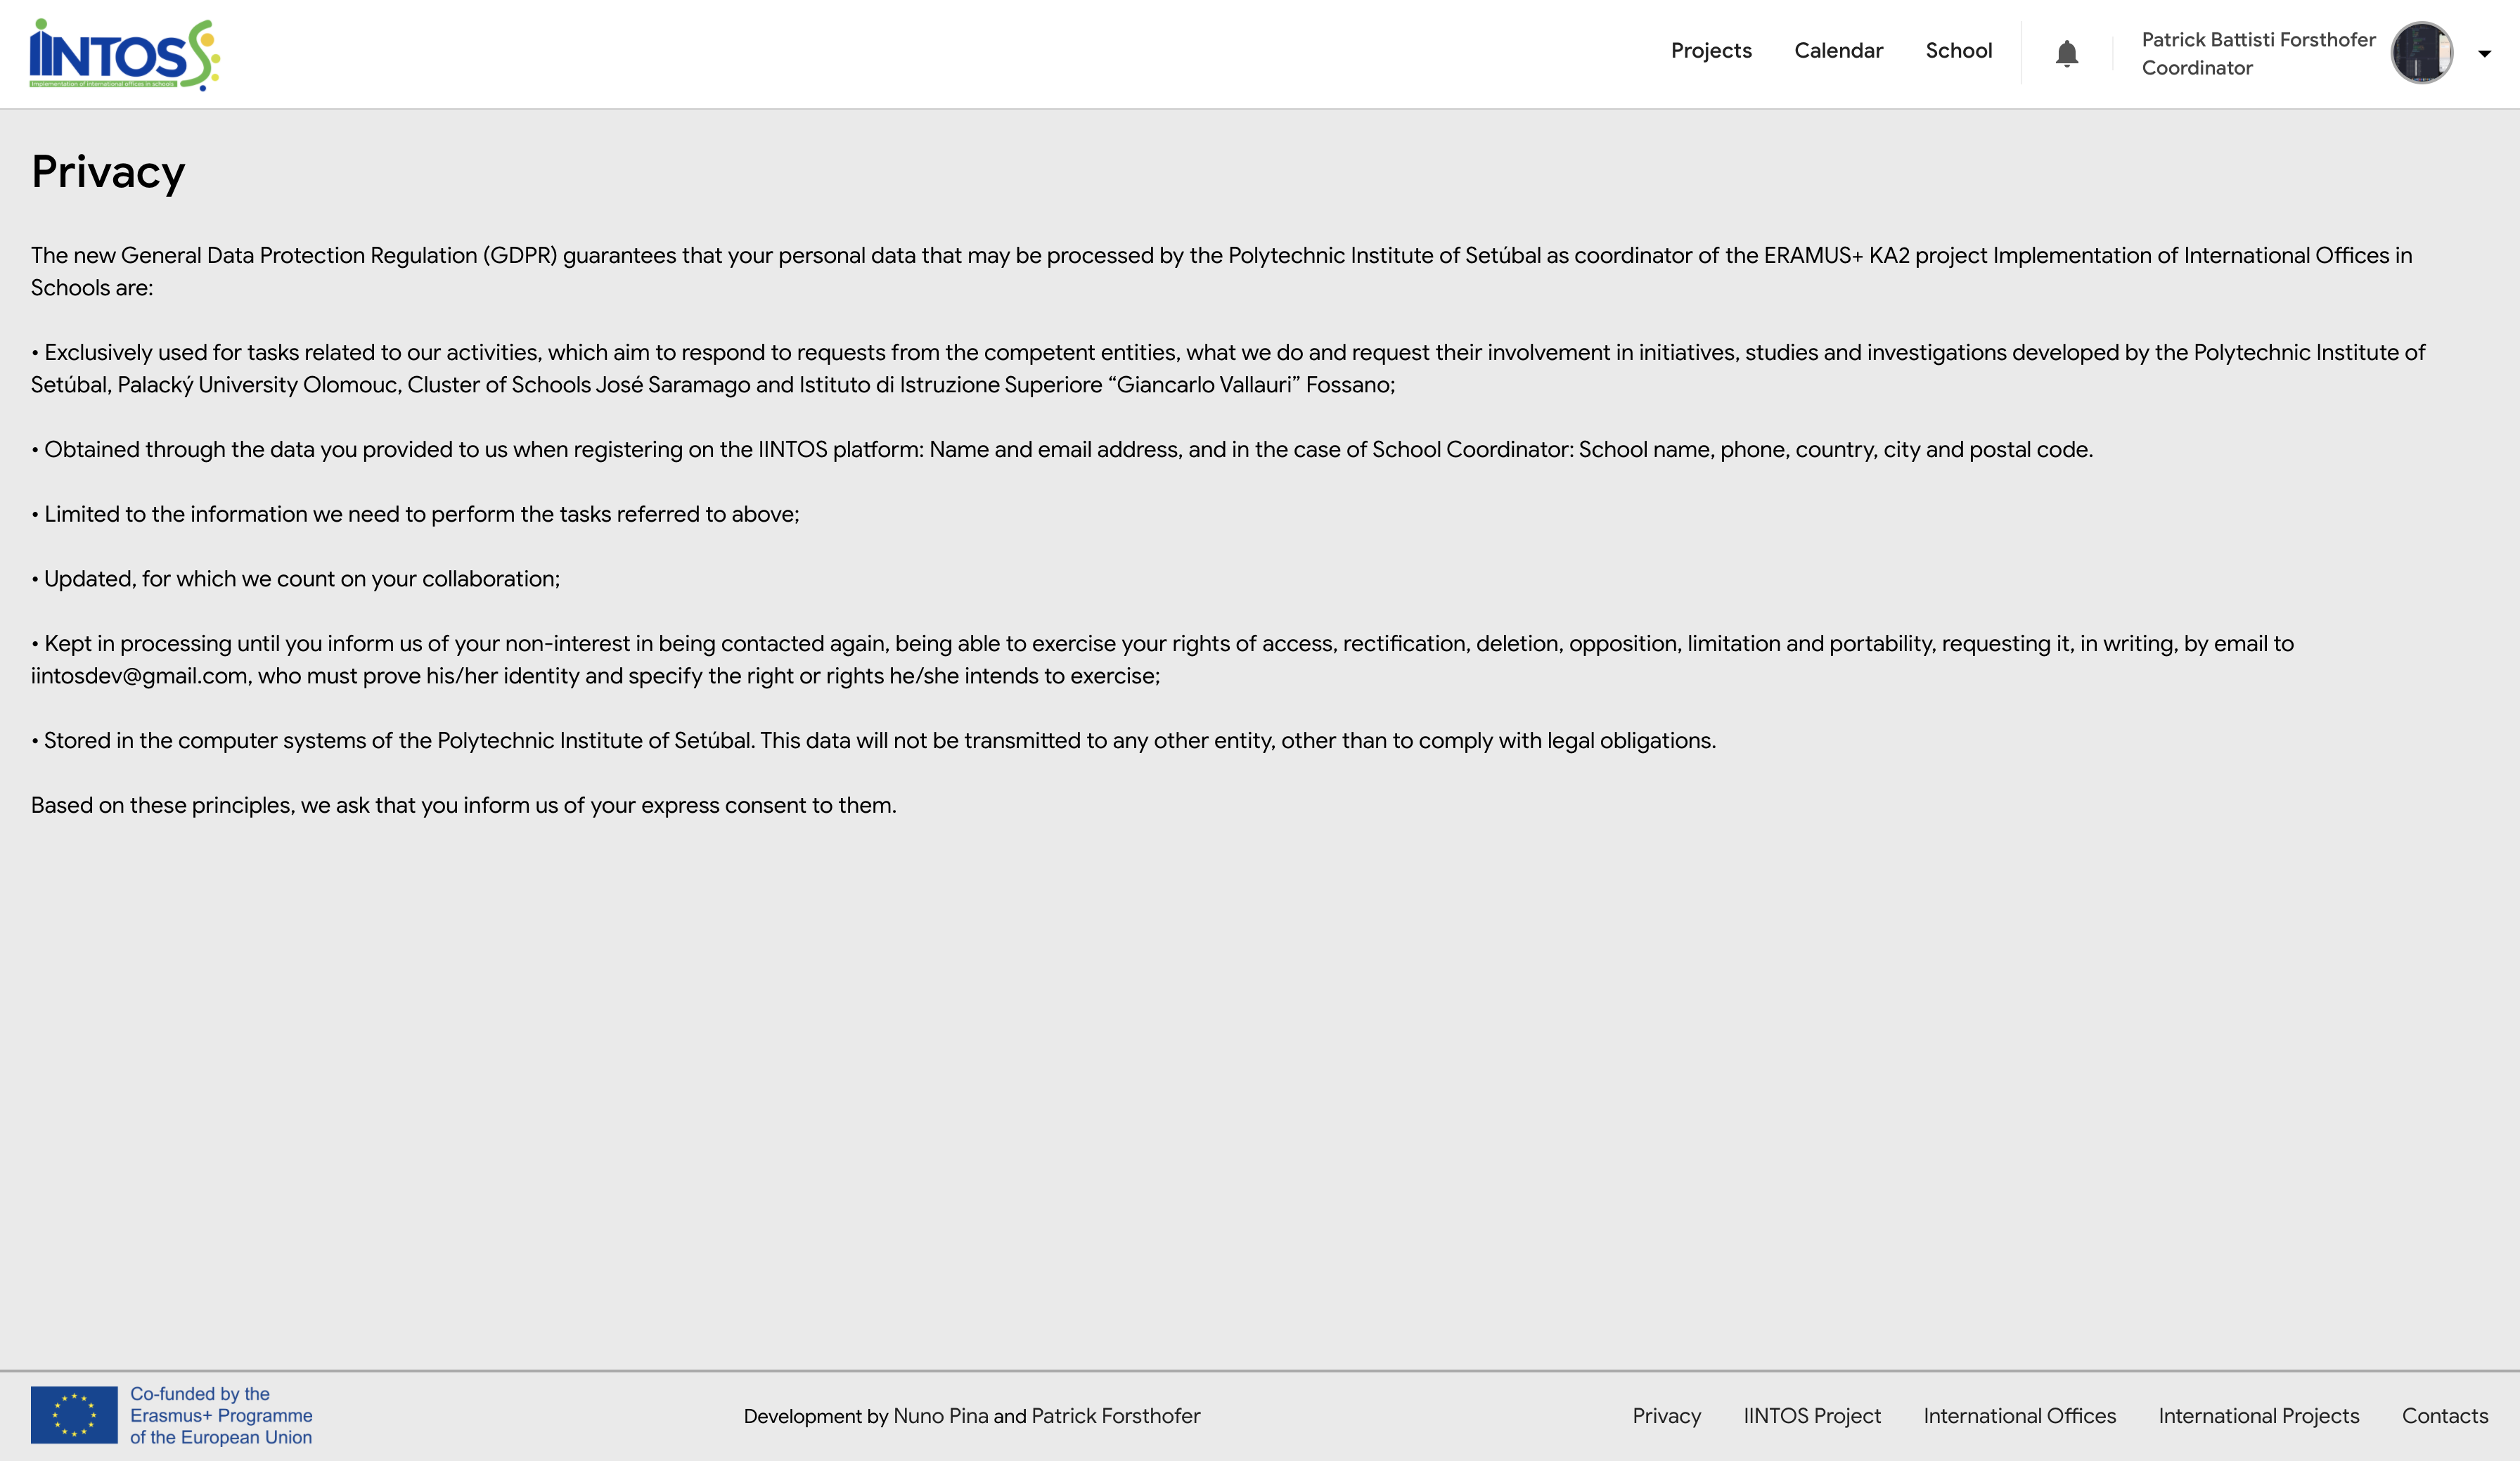
¶ Privacy
You can read our privacy terms by clicking on the text "Privacy" in the bottom left corner.